The Google Pixel 8 series has some of the best cameras we’ve tested, complete with an arsenal of features to help you get the perfect shot. Of course, spending the time to sift through them all and figure out which ones are key to taking a great photo can be time consuming, let alone a bit tricky if you’re not sure what you’re doing.
So, let me help you with that. I’m breaking down some of the best tips and tricks for taking photos (and videos) with your Google Pixel 8 or 8 Pro so you can nail it every time. It’s worth noting that some of the more basic tips are available on every Pixel phone unless I say otherwise.
The Google Pixel 8 and 8 Pro are some of the best camera phones out there, particularly for folks who want lots of easy options for editing their shots after the fact.
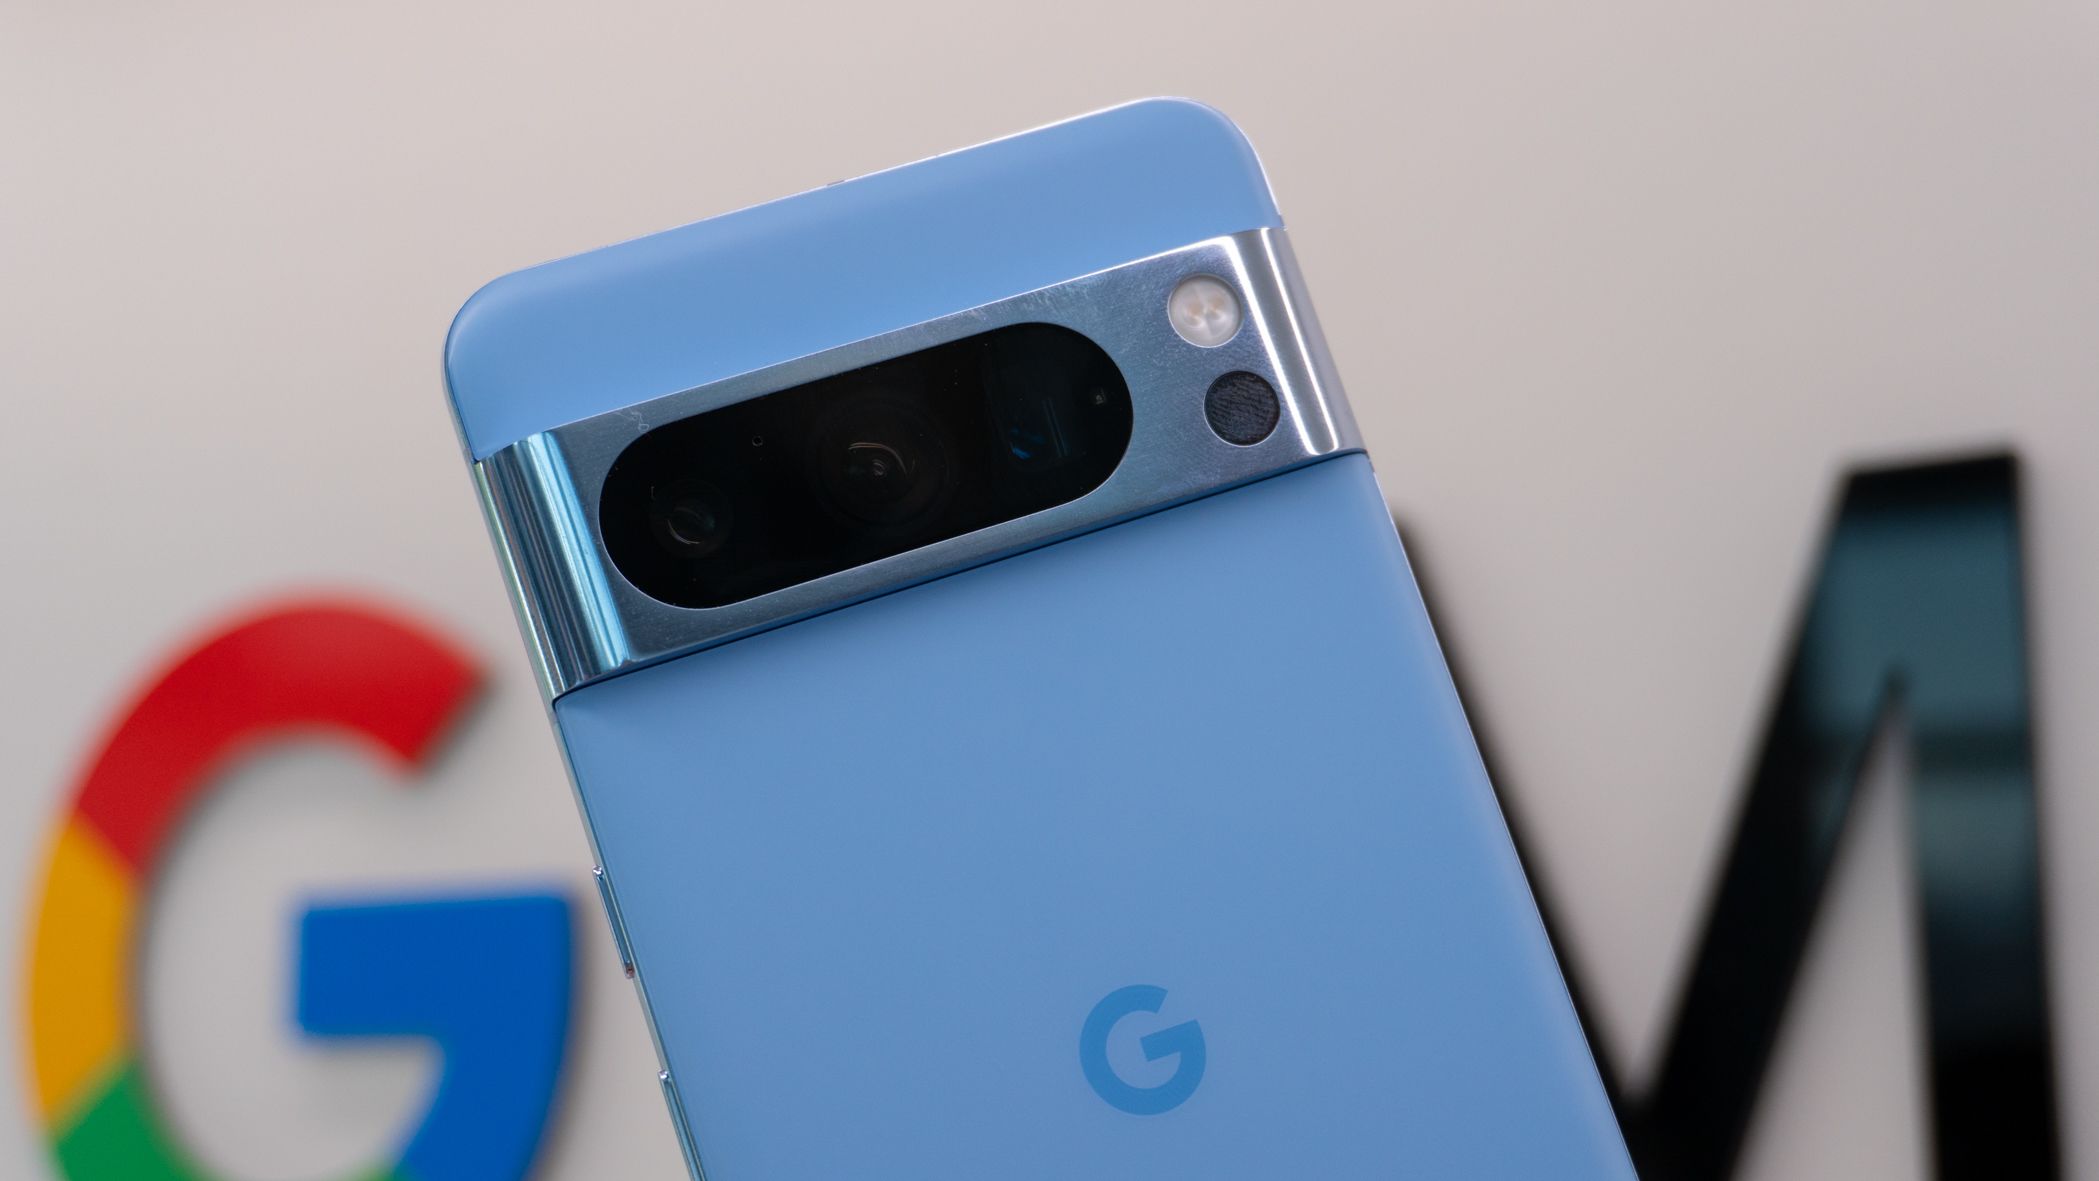
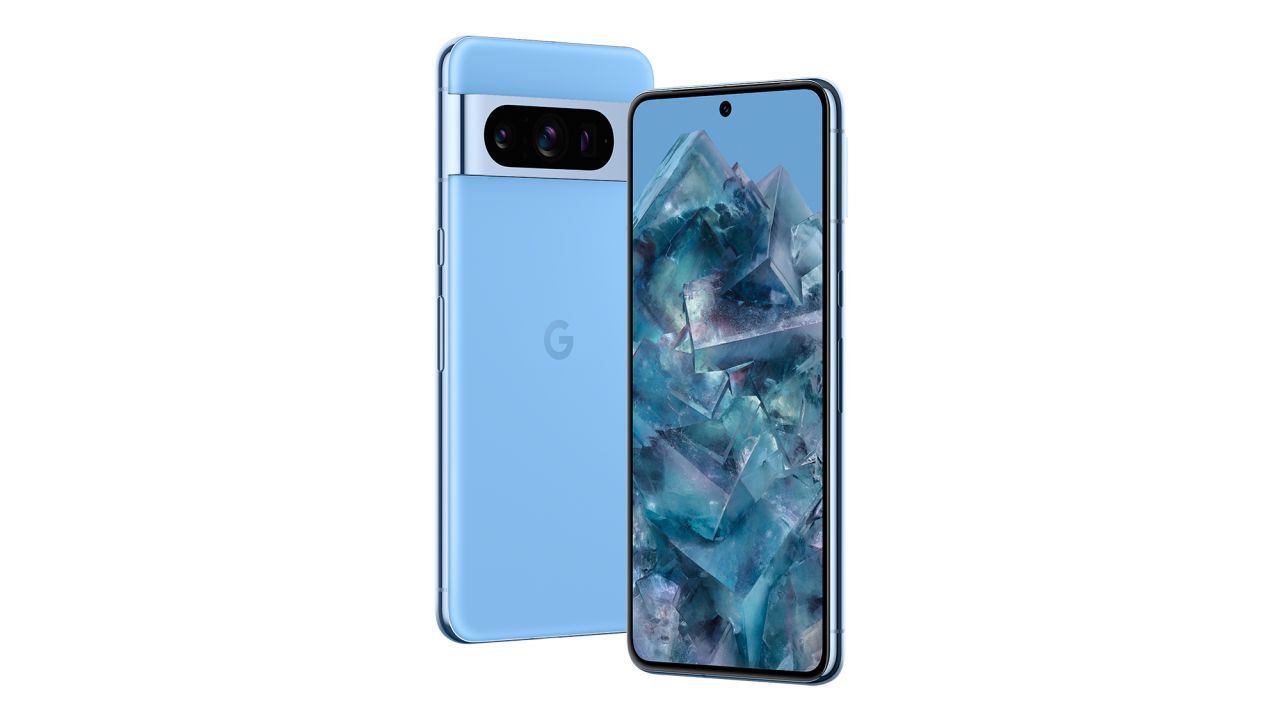
The Pixel 8 Pro has the same main camera as the Pixel 8, but with a 48-megapixel ultrawide camera and a 48-megapixel telephoto camera that gives you 5x optical zoom.
Basic Google Pixel 8 camera tips and tricks
First things first, let’s get some basics out of the way.
- If you’re shooting in landscape, make sure your screen has rotated. Nowadays, Google Pixel phones ship with auto-rotate turned off, which isn’t a big deal until you go to take a photo of something and realize the camera hasn’t adjusted. If you don’t have auto-rotate turned on, when you open the Camera app and rotate your device 90 degrees, a button will appear in the bottom corner letting you rotate the user interface. It works in both portrait and landscape. Mind you, if you take a landscape photo while it’s still in portrait mode, you can just edit it later to correct things. Still, it’s worth being mindful of.
- Tap. To. Focus. It’s one of the simplest things you can do to correct your shot before you take it, yet so many people forget about it. Just tap the area on your screen that you want to focus on and watch your Pixel adjust accordingly.
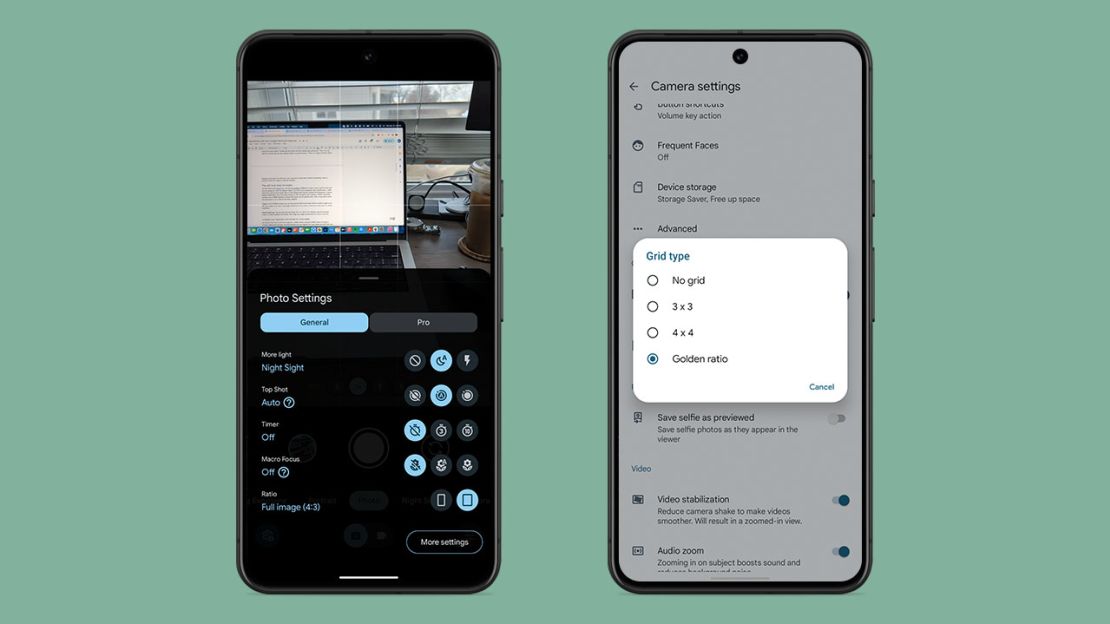
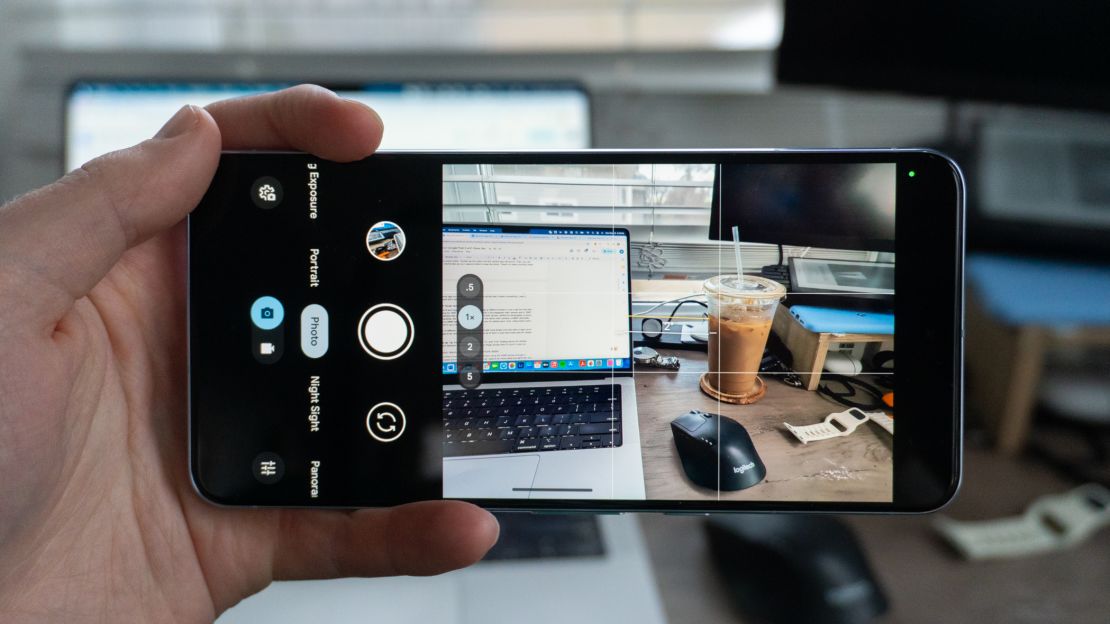
- Use the grid for proper framing. I almost never use a smartphone camera unless I have some type of grid enabled since it can help tremendously when composing your shot. To turn it on, tap the gear icon in the Camera app, then More settings, then toggle it on under “Composition.”
- Try to avoid the flash. Nowadays, smartphones can rely on computational processing to pull out details and sharpness in dim photos, which turns the LED flash into nothing but a glorified flashlight. And that’s completely fine, since the LED flash will almost always look worse in photos than when it’s turned off. So, do yourself a favor and lean on Night Sight with your Pixel when taking pics in low-light environments.
Taking the shot
Use the side buttons for easier control
When inspiration strikes and you want to take a quick photo, the biggest thing to keep in mind is how easy it is to launch the camera app on the Pixel (and most Android phones, for that matter) using the power button. Double tap the button and the camera app will launch. Then you can use the volume keys as your capture button to snap the photo. There’s no setup involved. These features work right out of the box, and I use them all the time if there’s something I want a picture of and don’t want to miss the moment.
Play with focal range and angles
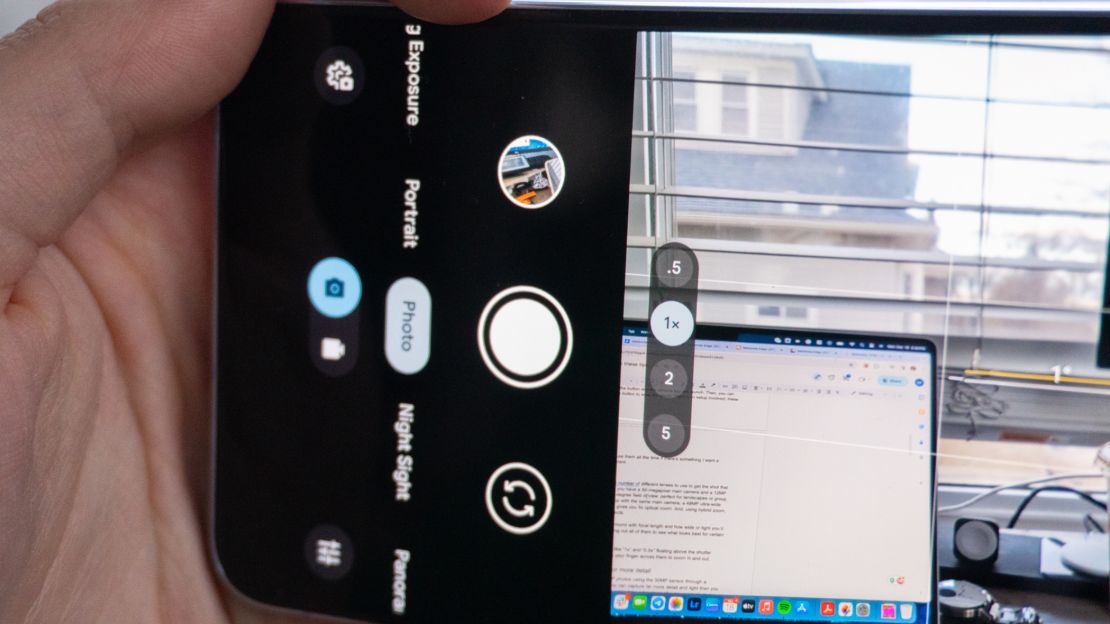
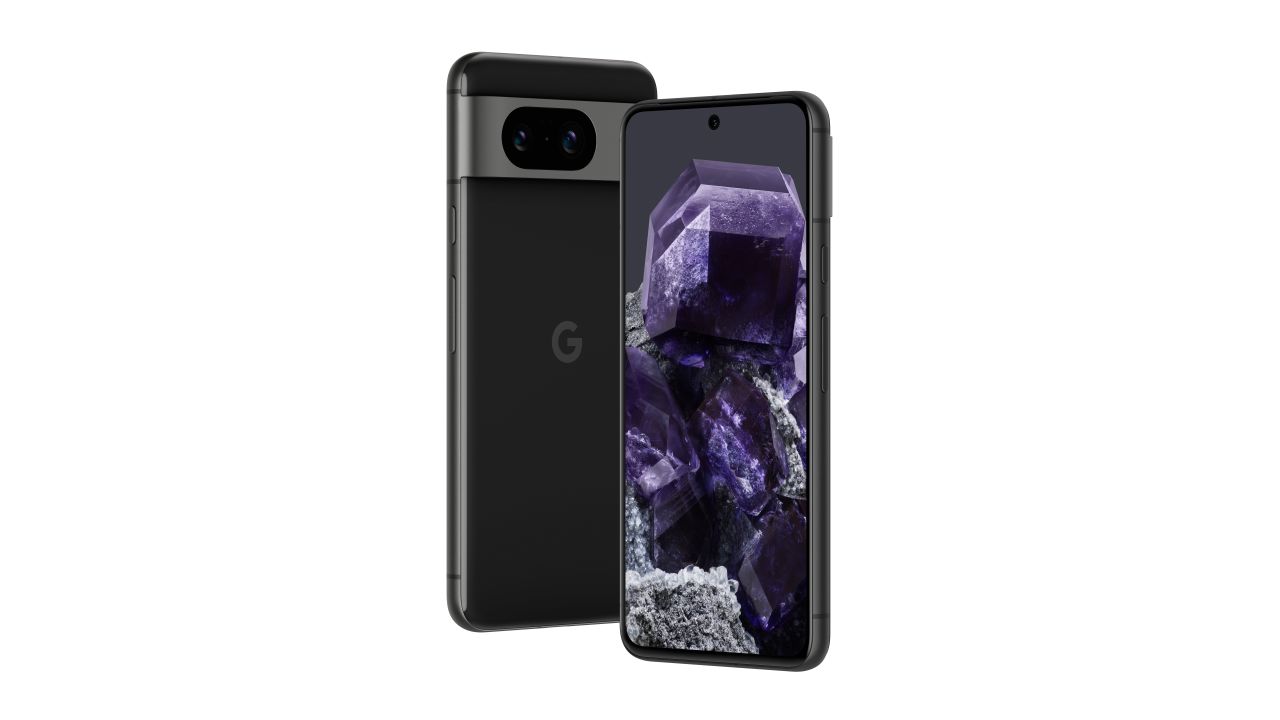
On the Pixel 8 and Pixel 8 Pro, you have a number of different lenses to use to get the shot that you’re looking for. With the regular Pixel 8, you have a 50-megapixel main camera and a 12-megapixel ultrawide camera that comes with a 125.8-degree field of view — perfect for landscapes or group photos. Meanwhile, the 8 Pro steps things up with the same main camera, a 48-megapixel ultrawide camera and a 48-megapixel telephoto camera that gives you 5x optical zoom. And using hybrid zoom, you can pinch in up to 30x for far-away subjects.
There are a lot of different ways you can play around with focal length and how wide or tight you’d like your angle to be, and I encourage checking out all of them to see what looks best for certain scenarios.
How to set it up: Tap the dots that say things like “1x” and “0.5x” floating above the shutter button to switch between the lenses, then drag your finger across them to zoom in and out.
Increase your resolution and format for more detail
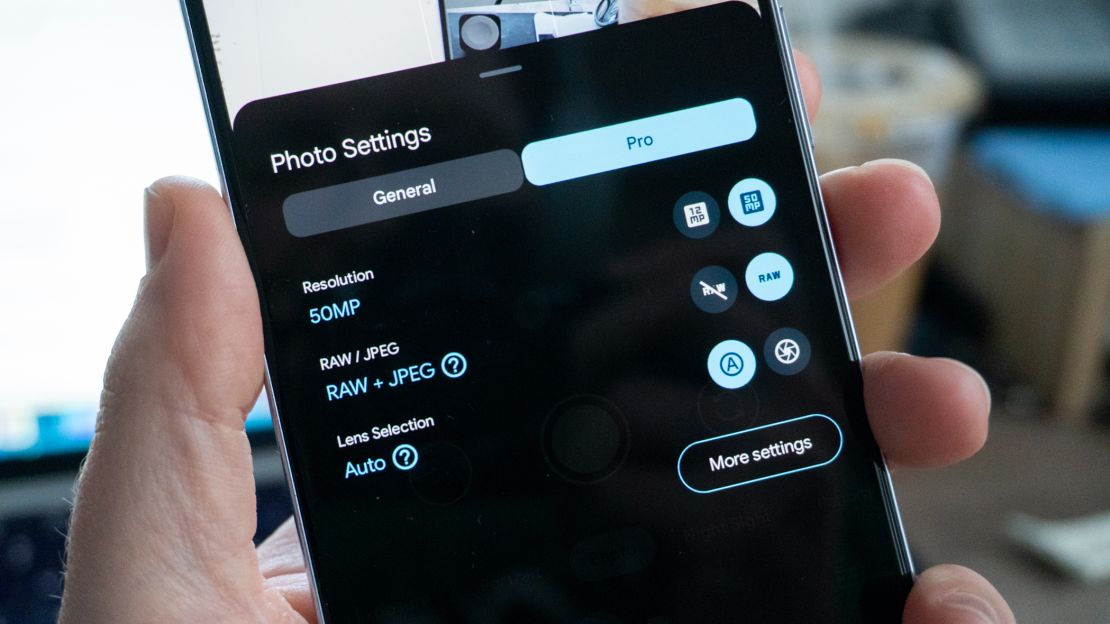
By default, the Pixel 8 and 8 Pro capture 12.5-megapixel photos using the 50-megapixel sensor through a process called pixel binning. Through binning, you can capture far more detail and light than you would with a regular 12-megapixel sensor, but you won’t get to take advantage of every megapixel you have available. Luckily, for users of the Pixel 8 Pro, there’s a setting that lets you capture full 50-megapixel photos for the highest resolution and amount of detail possible.
And for those who like to take their photos and edit them in professional apps like Adobe Lightroom, Google lets you capture photos using the RAW file format, which preserves certain settings and doesn’t apply all the company’s post-processing magic for a more natural-looking image. It’s helpful if you plan to edit your photos after they’re taken and want to maximize the amount of information you collect.
How to set it up: For higher-resolution photos, tap the gear icon at the bottom of the Camera app, then hit the Pro tab. Under Resolution, switch to 50MP. For RAW photos, tap the gear icon, then hit More settings. Under “General options,” tap on Advanced, then toggle on RAW/JPEG control. (You won’t have to do this if you own a Pixel 8 Pro.) From there, go back to photo mode in the Camera app, then hit the gear icon again and toggle on RAW + JPEG.
Make tiny adjustments using Pro Controls
The Pixel 8 Pro sticks to its brand by giving you a full suite of professional photography settings, perfect for dialing in the exact ISO and white balance, among other things. Admittedly, these settings can be pretty confusing to average users, and I wouldn’t blame you if you find them even harder than I’m letting on. (It took me years to fully understand everything.) But by diving into them, with all the sliders and dials at your disposal, you can really lock in the perfect shot to maximize clarity in any lighting condition.
Oh, and not to sound petty, but somehow Google beat Apple to the punch with its own professional controls. How that’s possible with the iPhone 15 Pro’s amazing camera system, I have no idea.
How to set it up: In the bottom right corner of the Camera app, there’s a button that’ll take you right to Pro Controls. From there, you can configure just about anything you want, from shutter speed and exposure to white balance and focus.
At night, don’t move a muscle
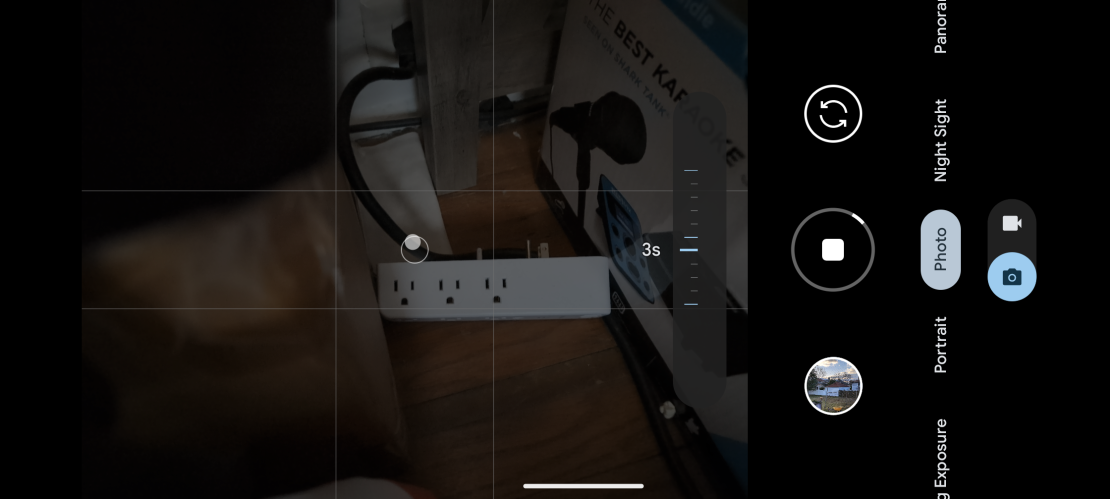
When it gets dark out, the Pixel 8 and 8 Pro are smart enough to switch over to Google’s Night Sight mode, which uses a longer exposure time — along with a ton of processing under the hood — to extract light and detail from the scene to produce a nicer-looking image. When that happens, I cannot stress enough how important it is to stand still.
With the long exposure and shutter time, your phone will be collecting information on what’s in front of it, and any type of movement could lead to light trails you don’t want or ghosting around subjects. Unless it’s Halloween, I’m sure you don’t want any ghosts floating around, so you’ve got to stay completely still for the highest-quality photo possible.
How to set it up: When shooting at night, the Pixel 8 will guide you in staying still with a solid circle and a ring. Keep the circle centered in the ring and you’ll get a nice-looking image. If you’re taking photos of the night sky, try using a tripod for the best results since any hand movements or heavy breathing could mess up your photo.
After the shot
Make adjustments in Google Photos
Editing with Google Photos
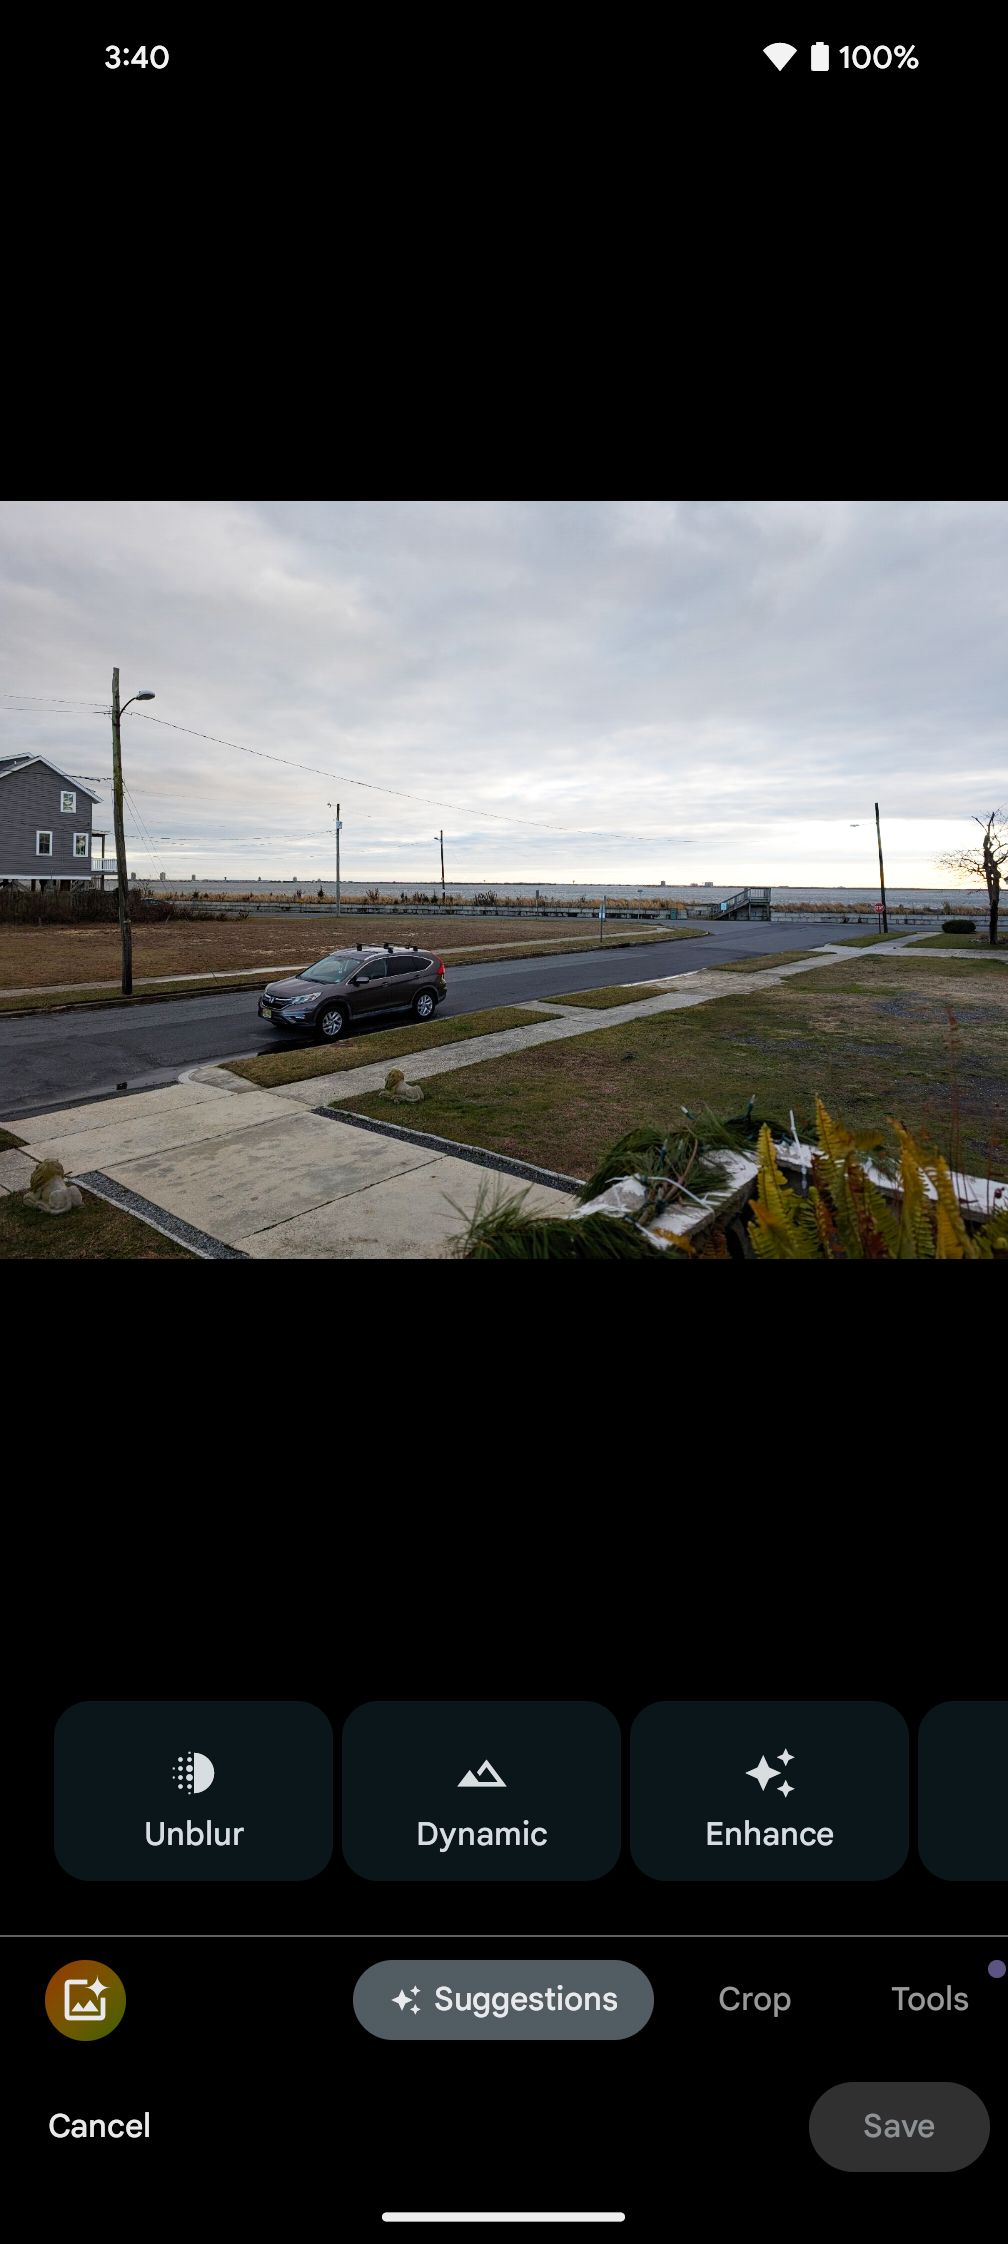
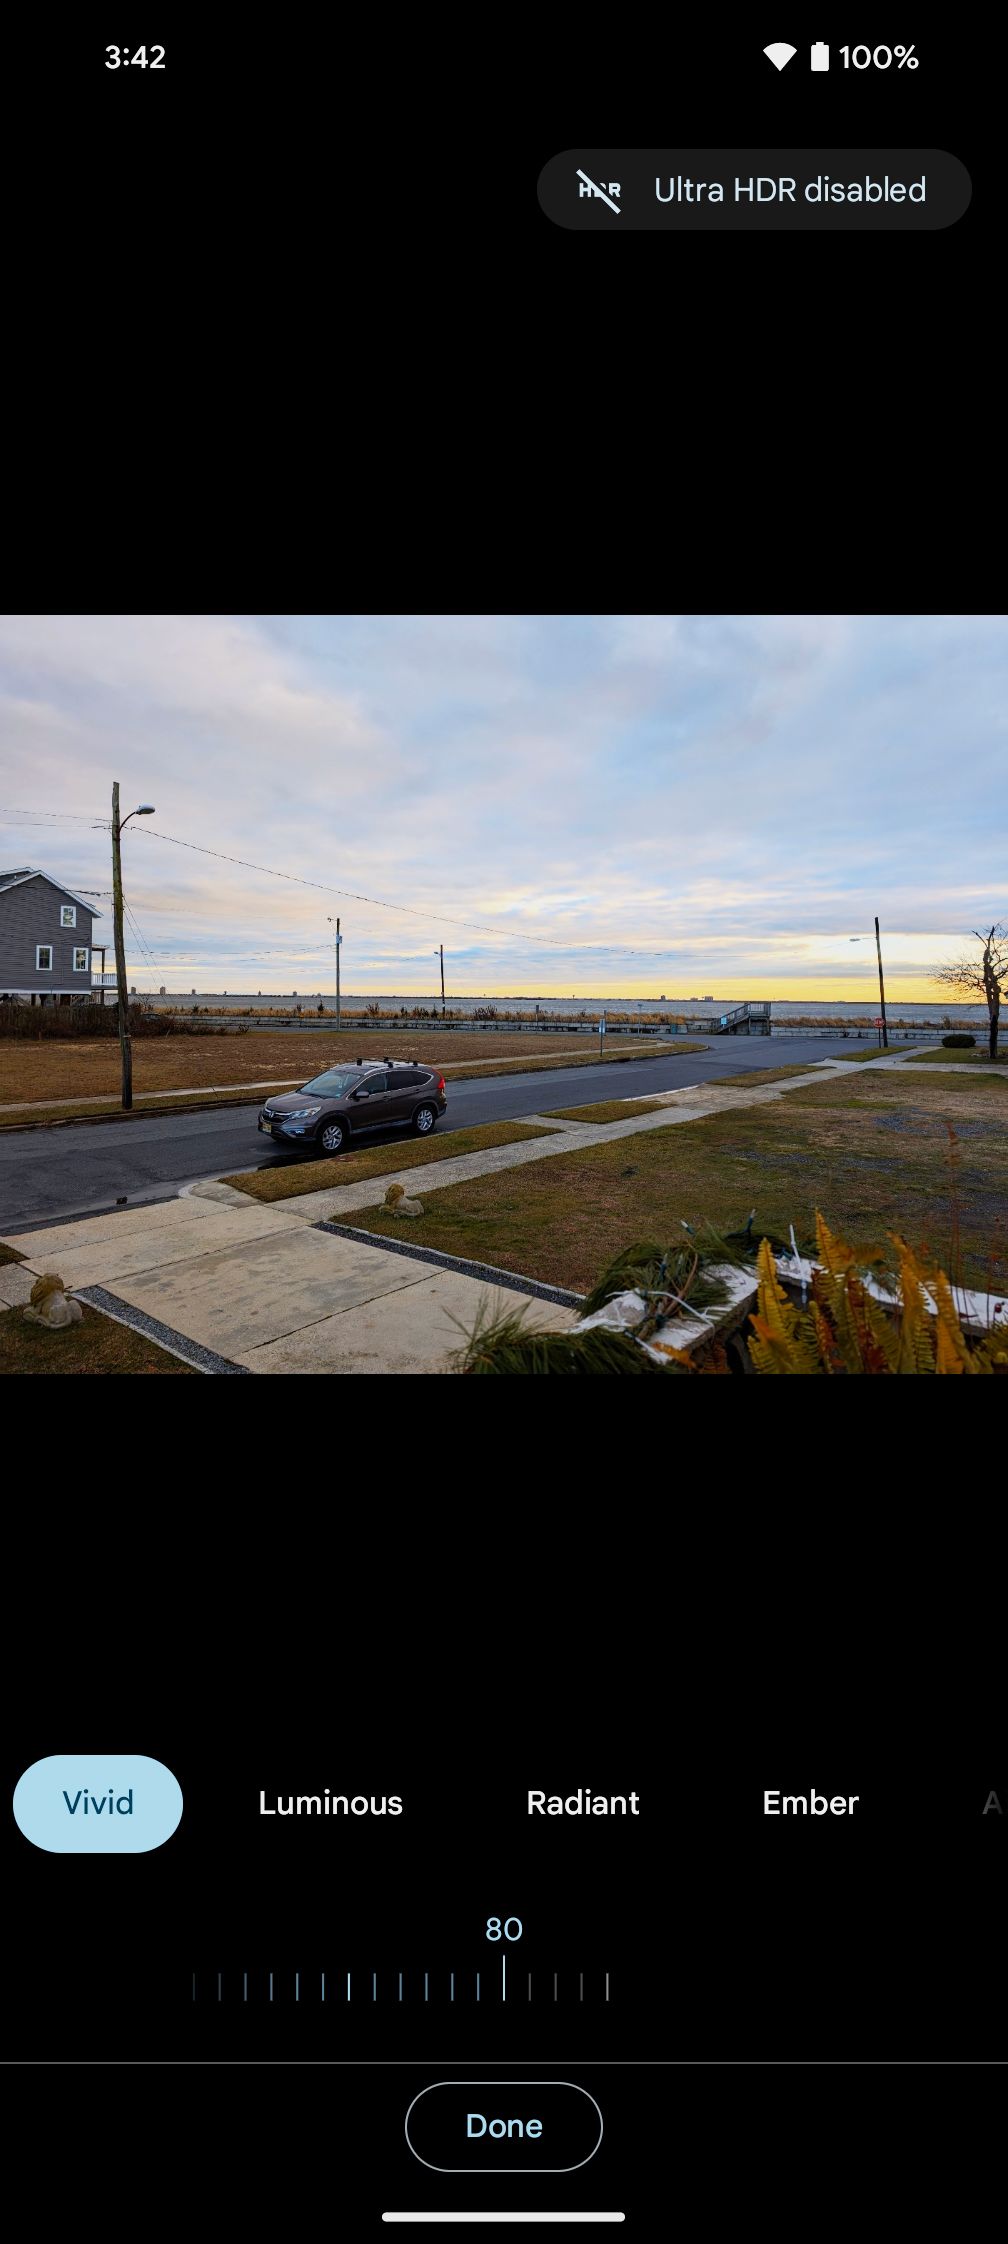
Once you’ve captured the image, you can take it into Google Photos to adjust anything that’s a bit out of whack. This includes exposure, contrast, saturation, white balance, highlights and more. Some third-party apps like Lightroom or Snapseed (also from Google) will give you extra controls, but the Google Photos app is a great way to get started.
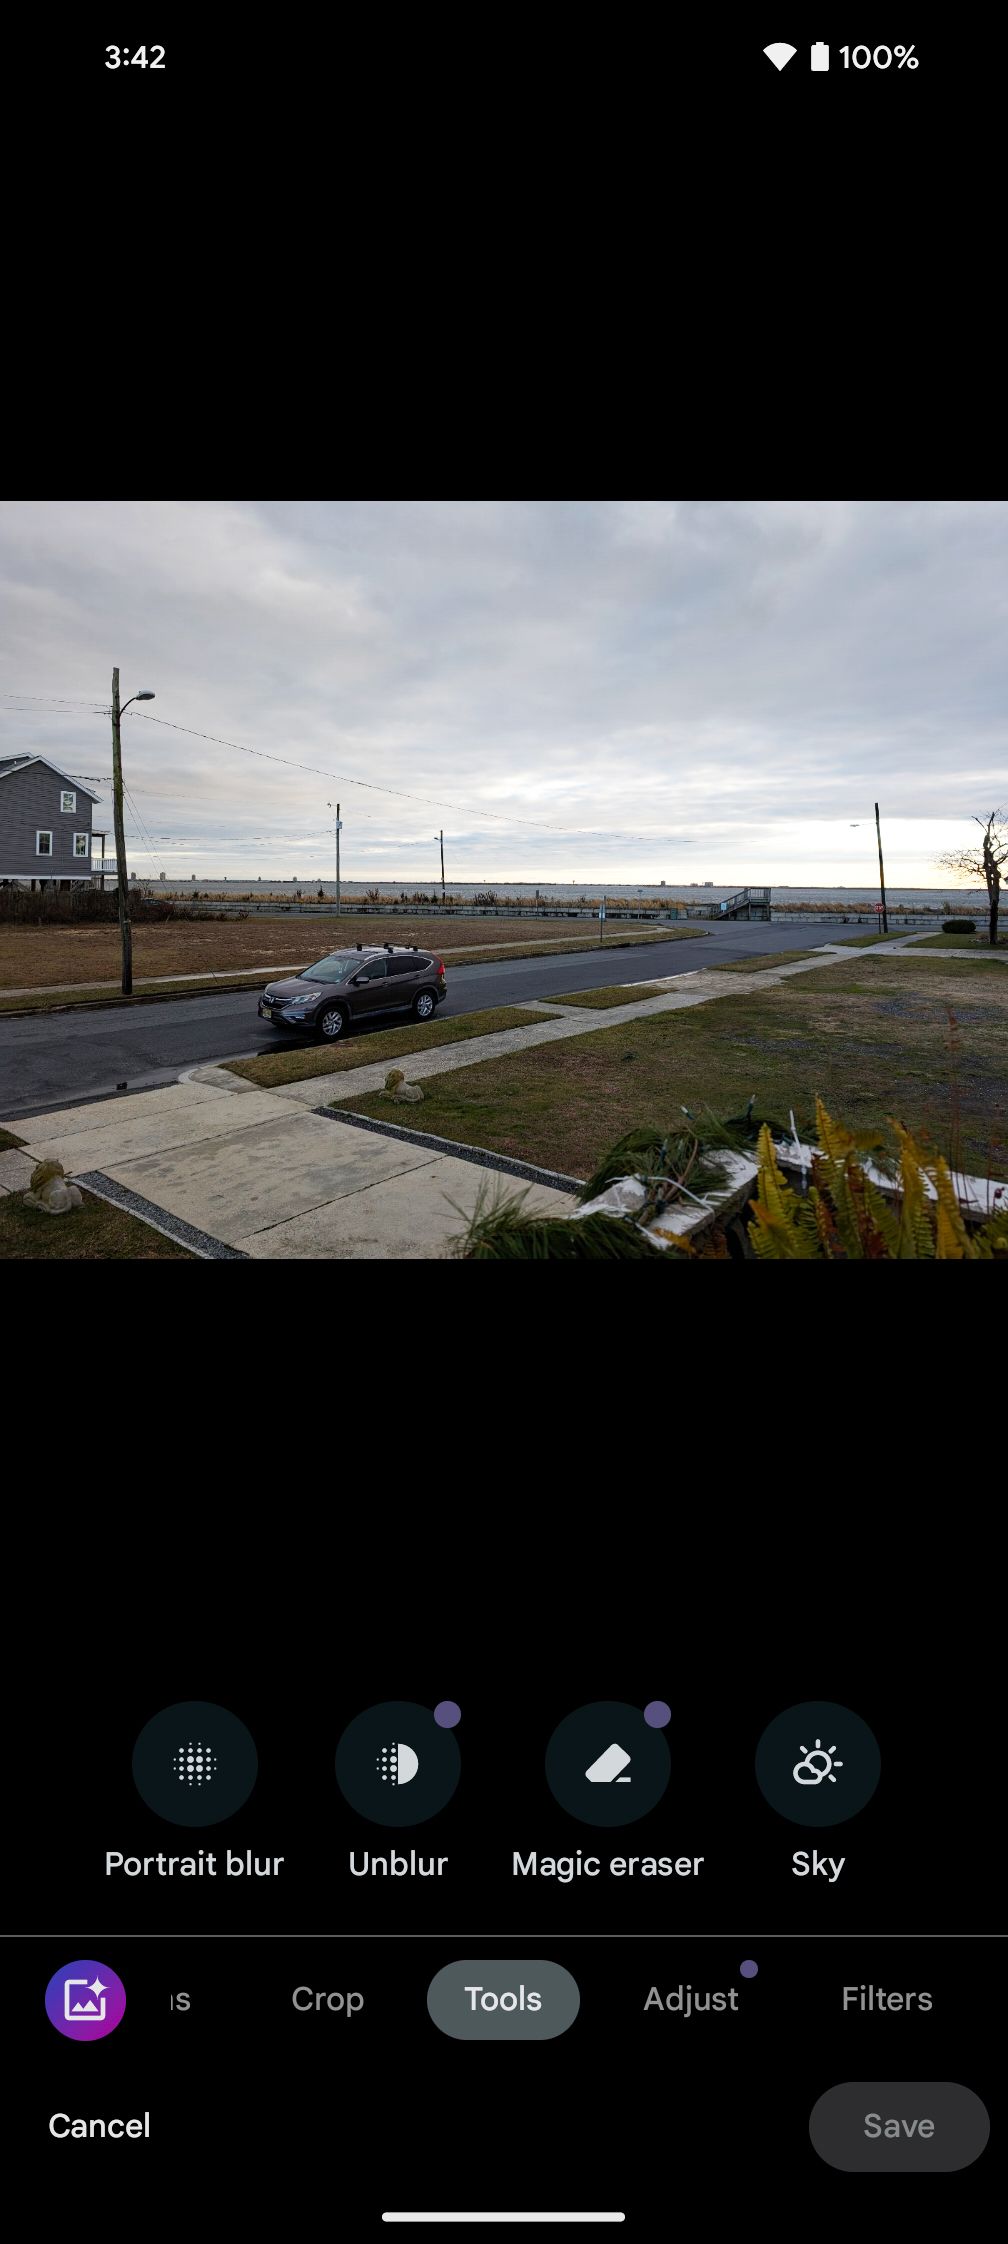
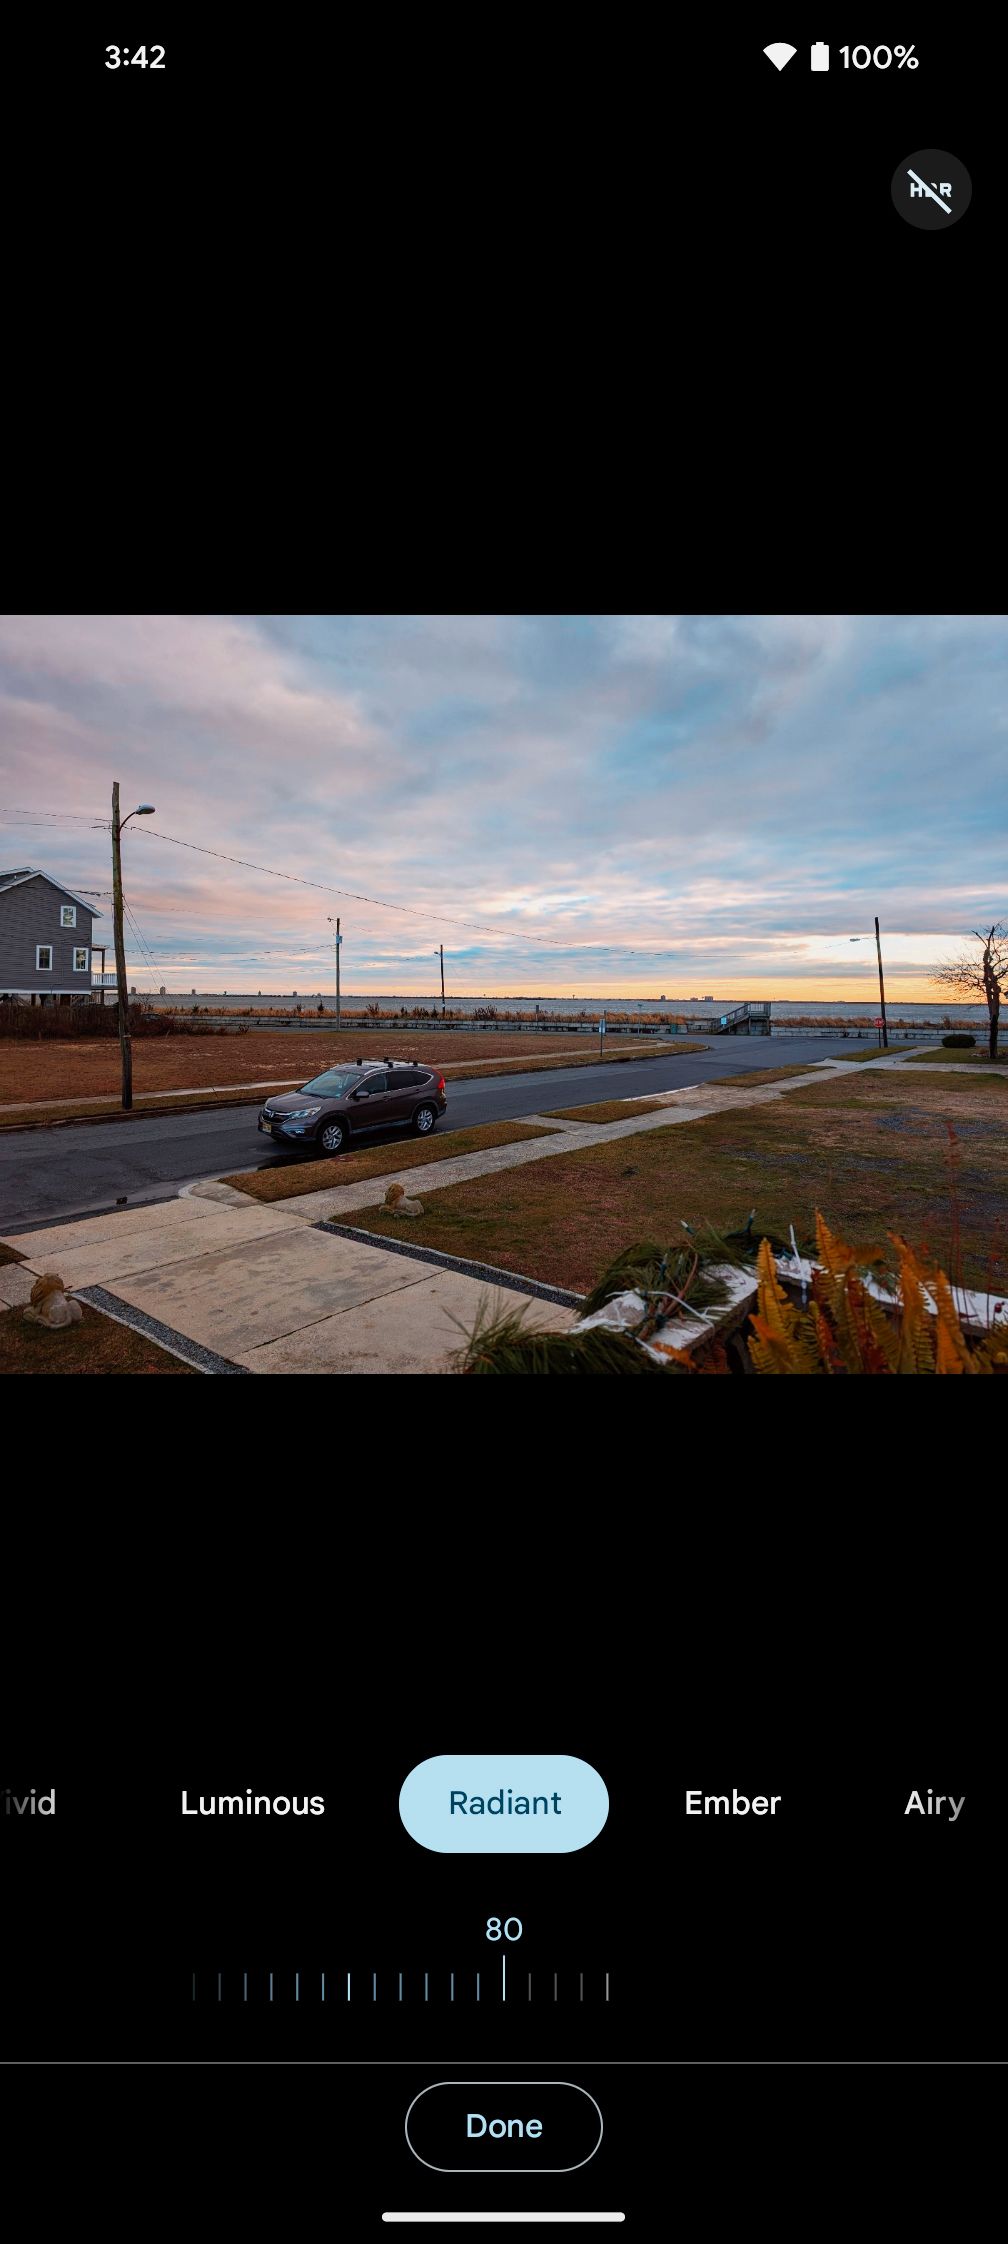
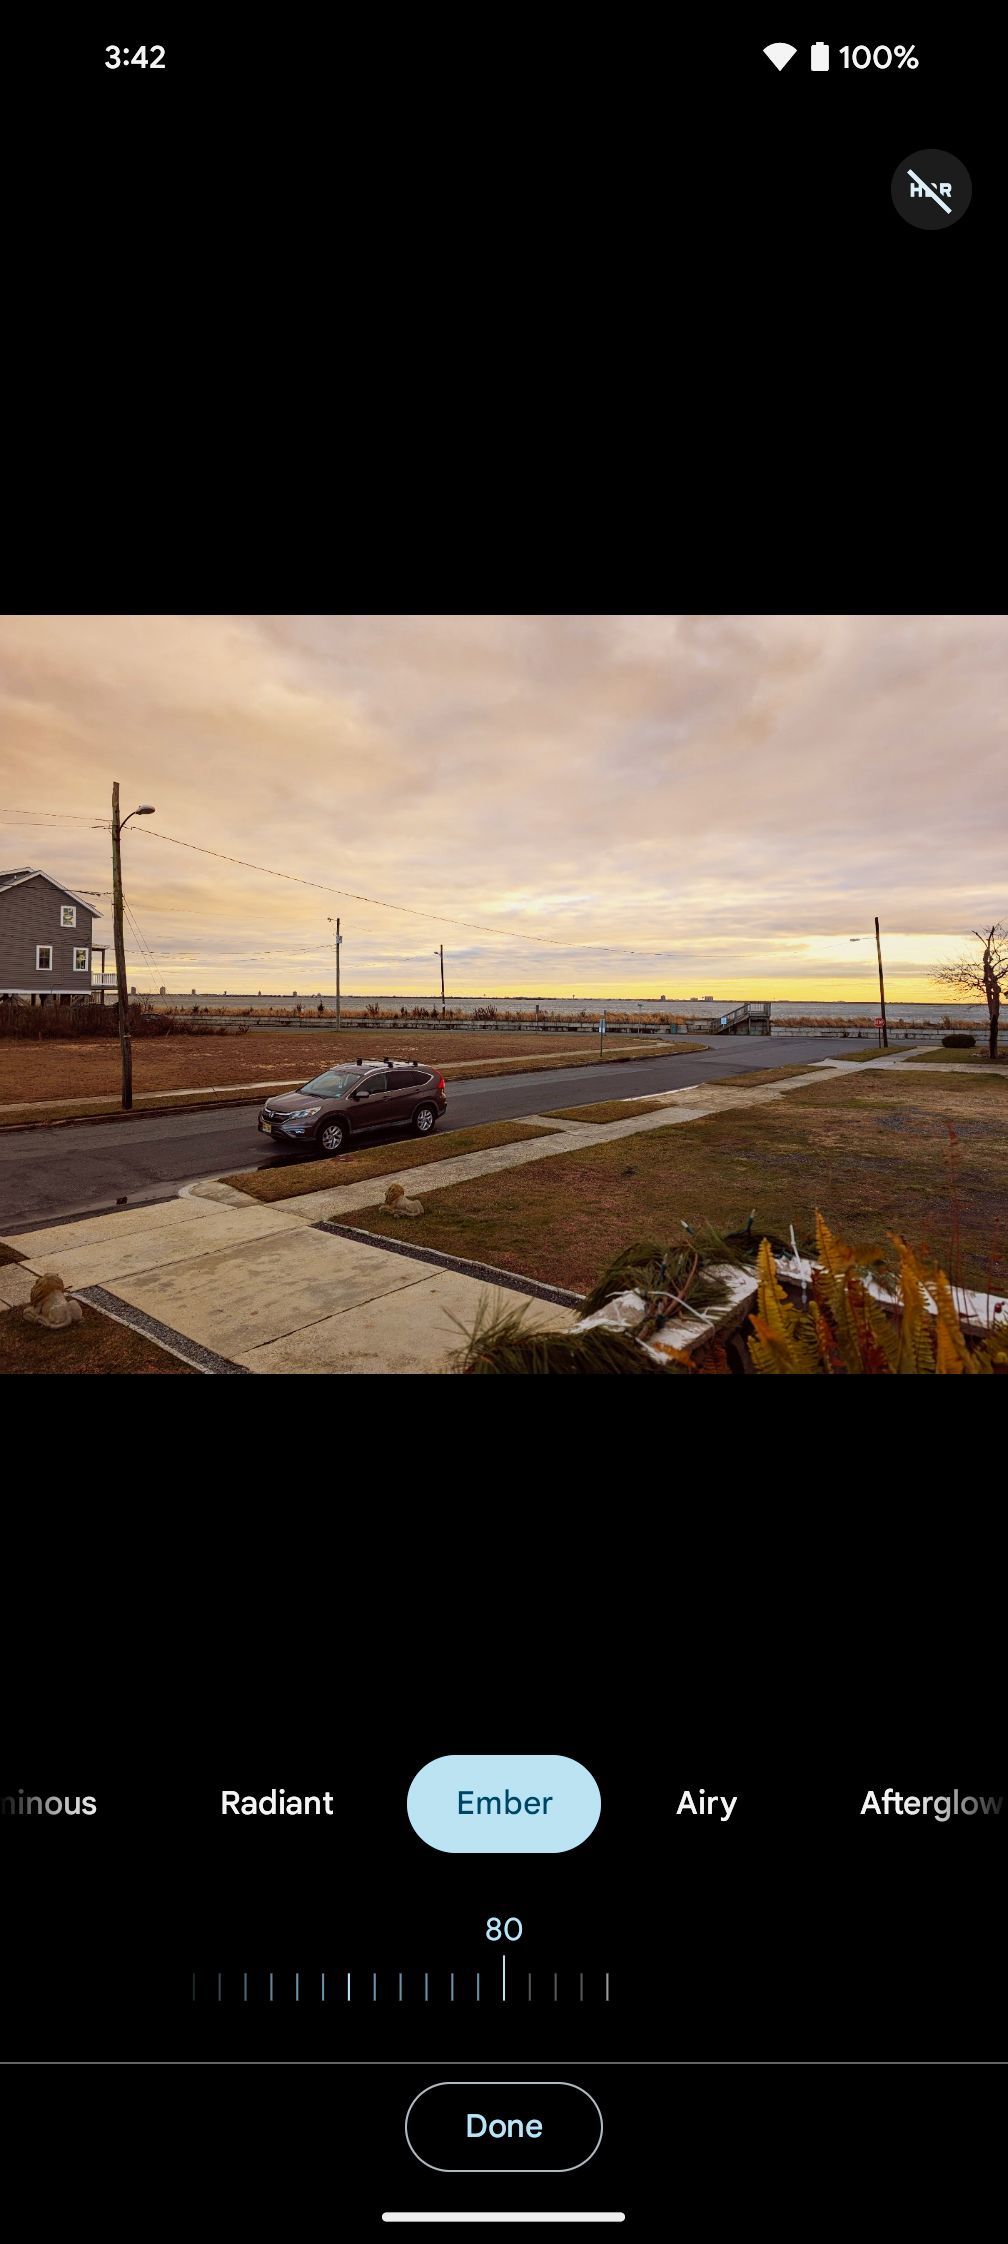
Plus, you get some really nice settings, such as portrait blur controls, which let you apply a blurry background to your subject after you’ve taken the shot. You also have a variety of filters and lighting settings for adjusting the sky or landscape.
How to use it: Open the Photos app on your Pixel, then select the photo you want to edit. Tap the slider icon at the bottom and you’ll be presented with all the editing options available. You can then save the changes you make as a separate copy of your photo or replace the original photo with your new one.
Edit with the power of AI
Google Pixel 8 Magic Editor
The Pixel 8 and 8 Pro are Google’s most AI-infused phones to date, and a big reason for that ties back to a single feature: Magic Editor.
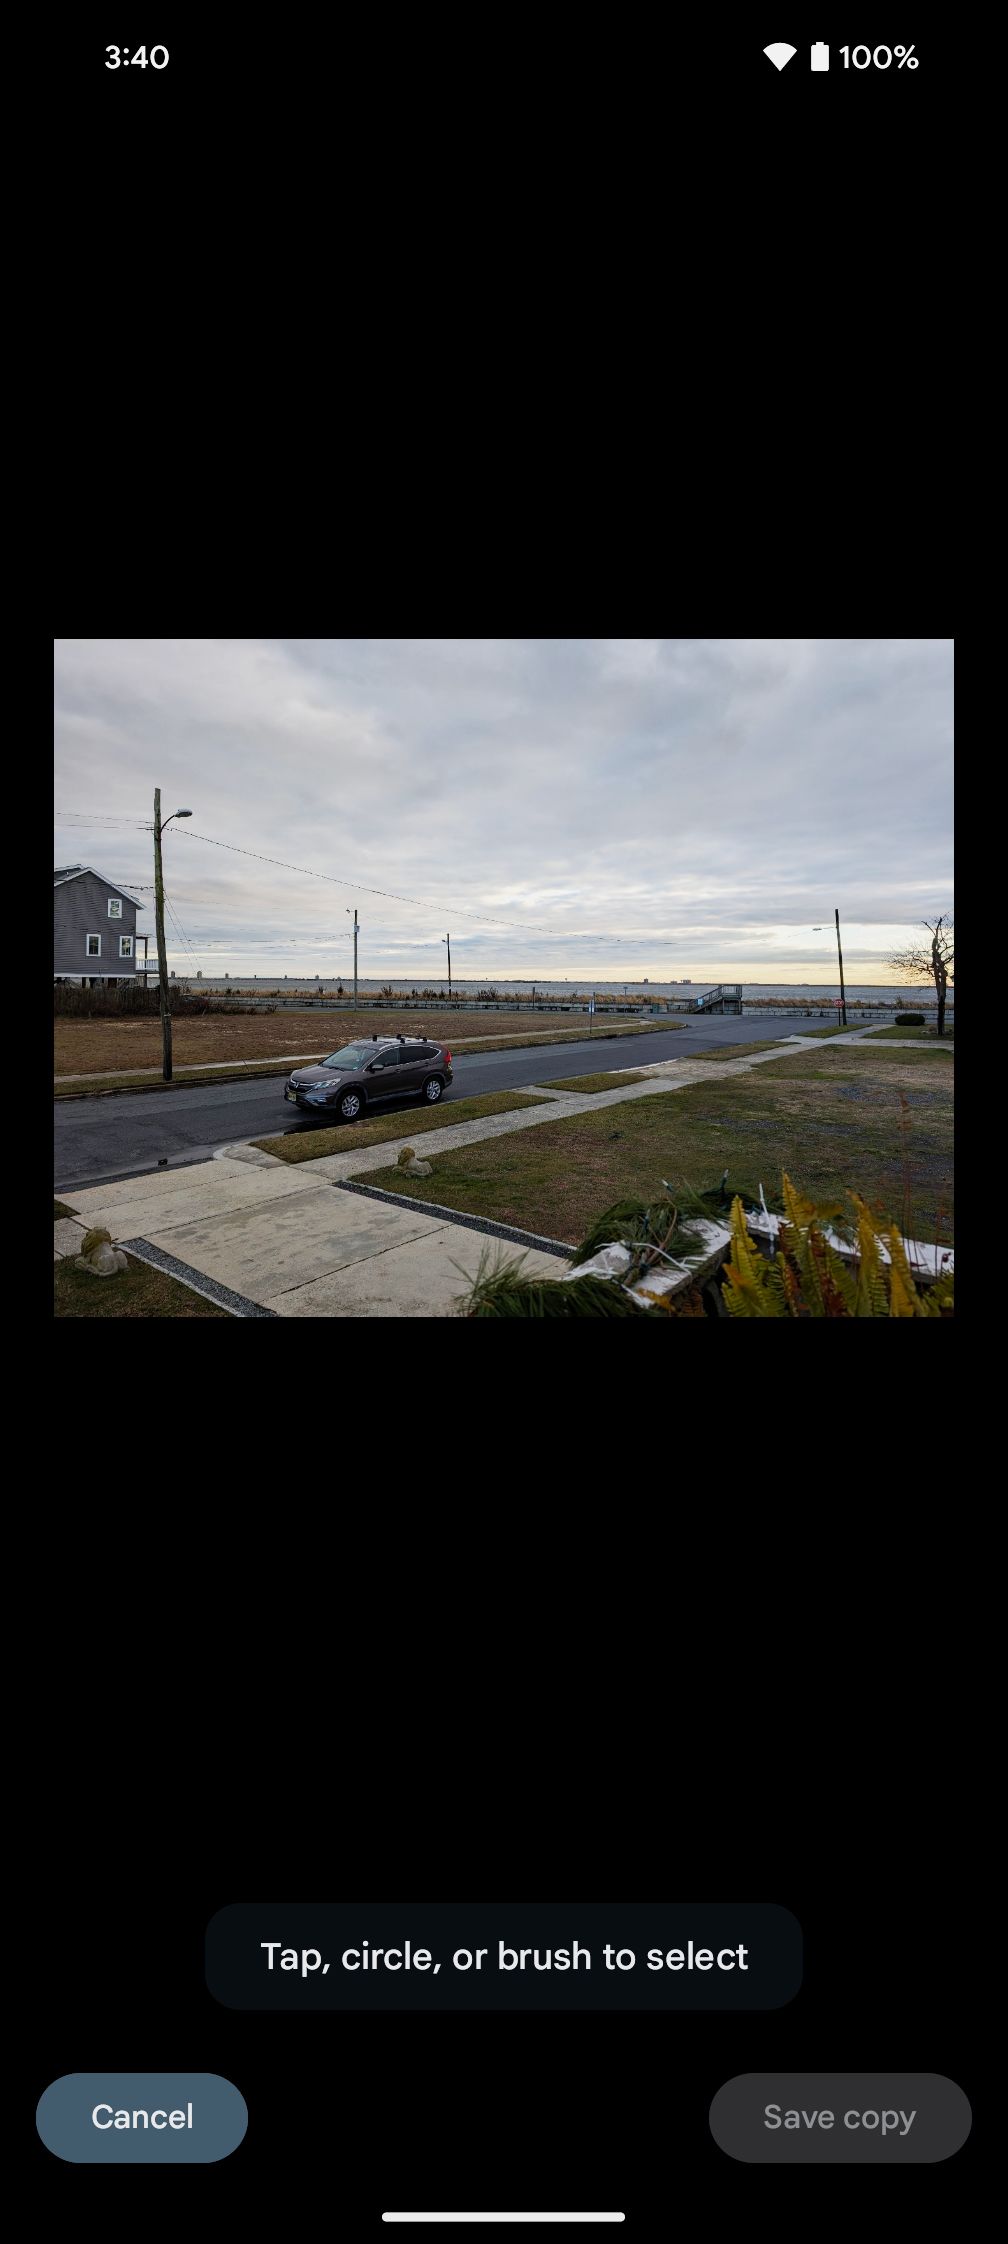
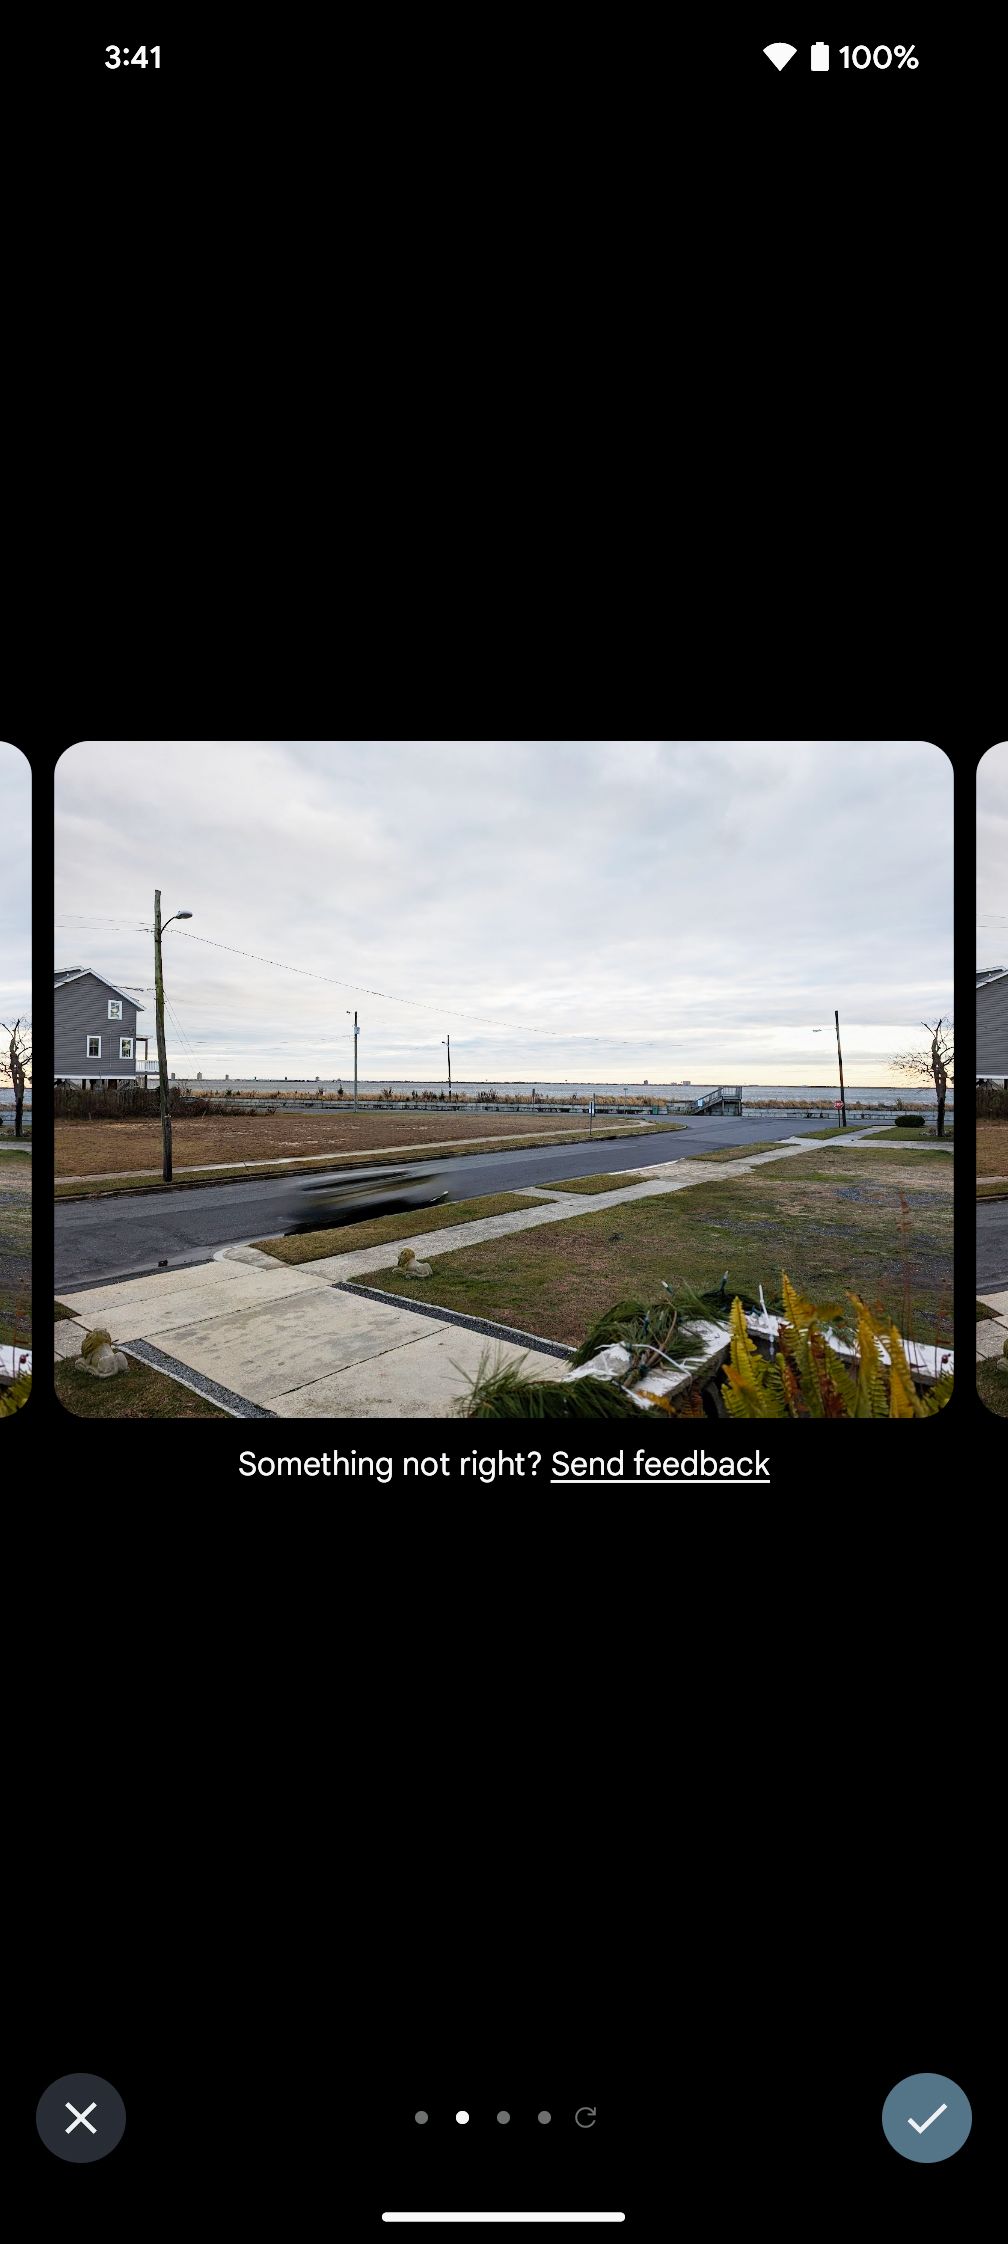
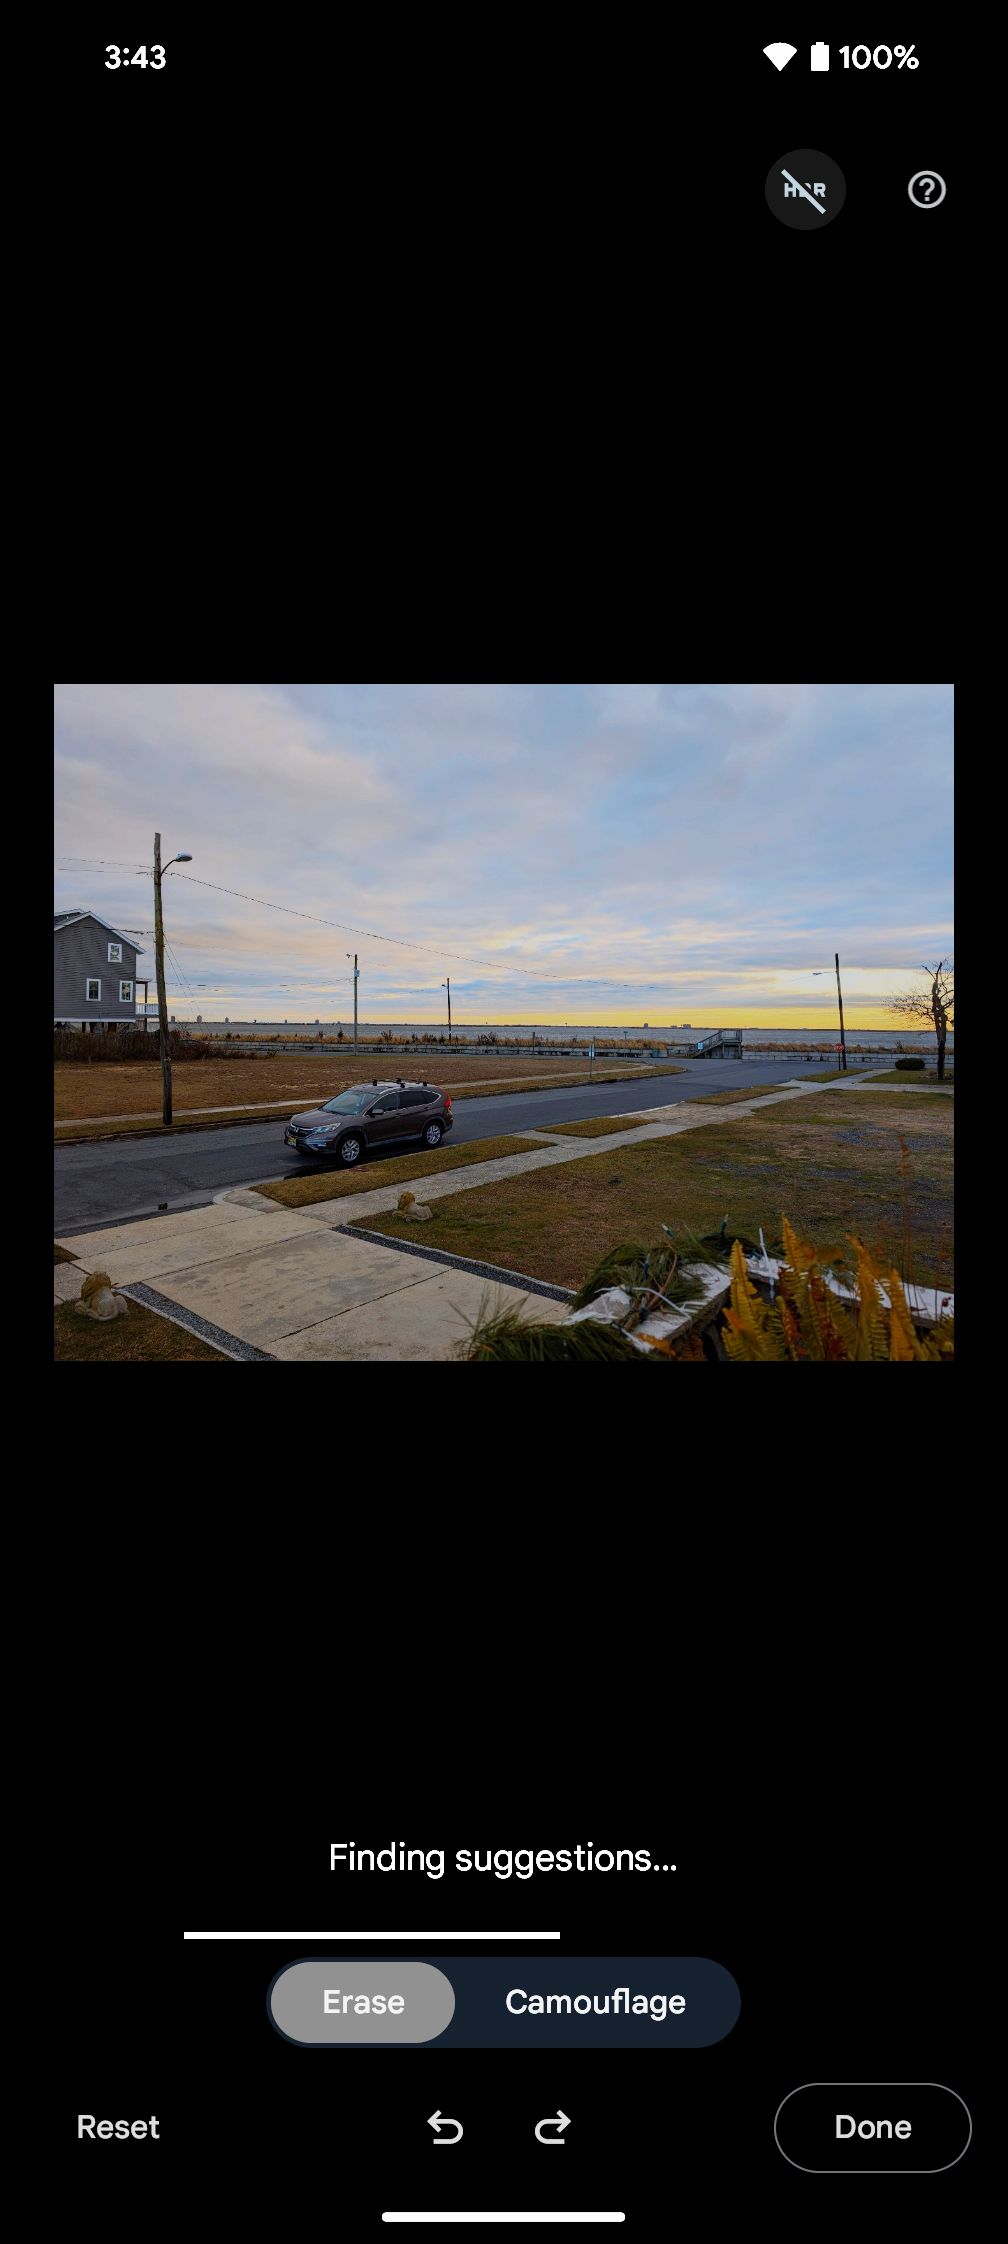
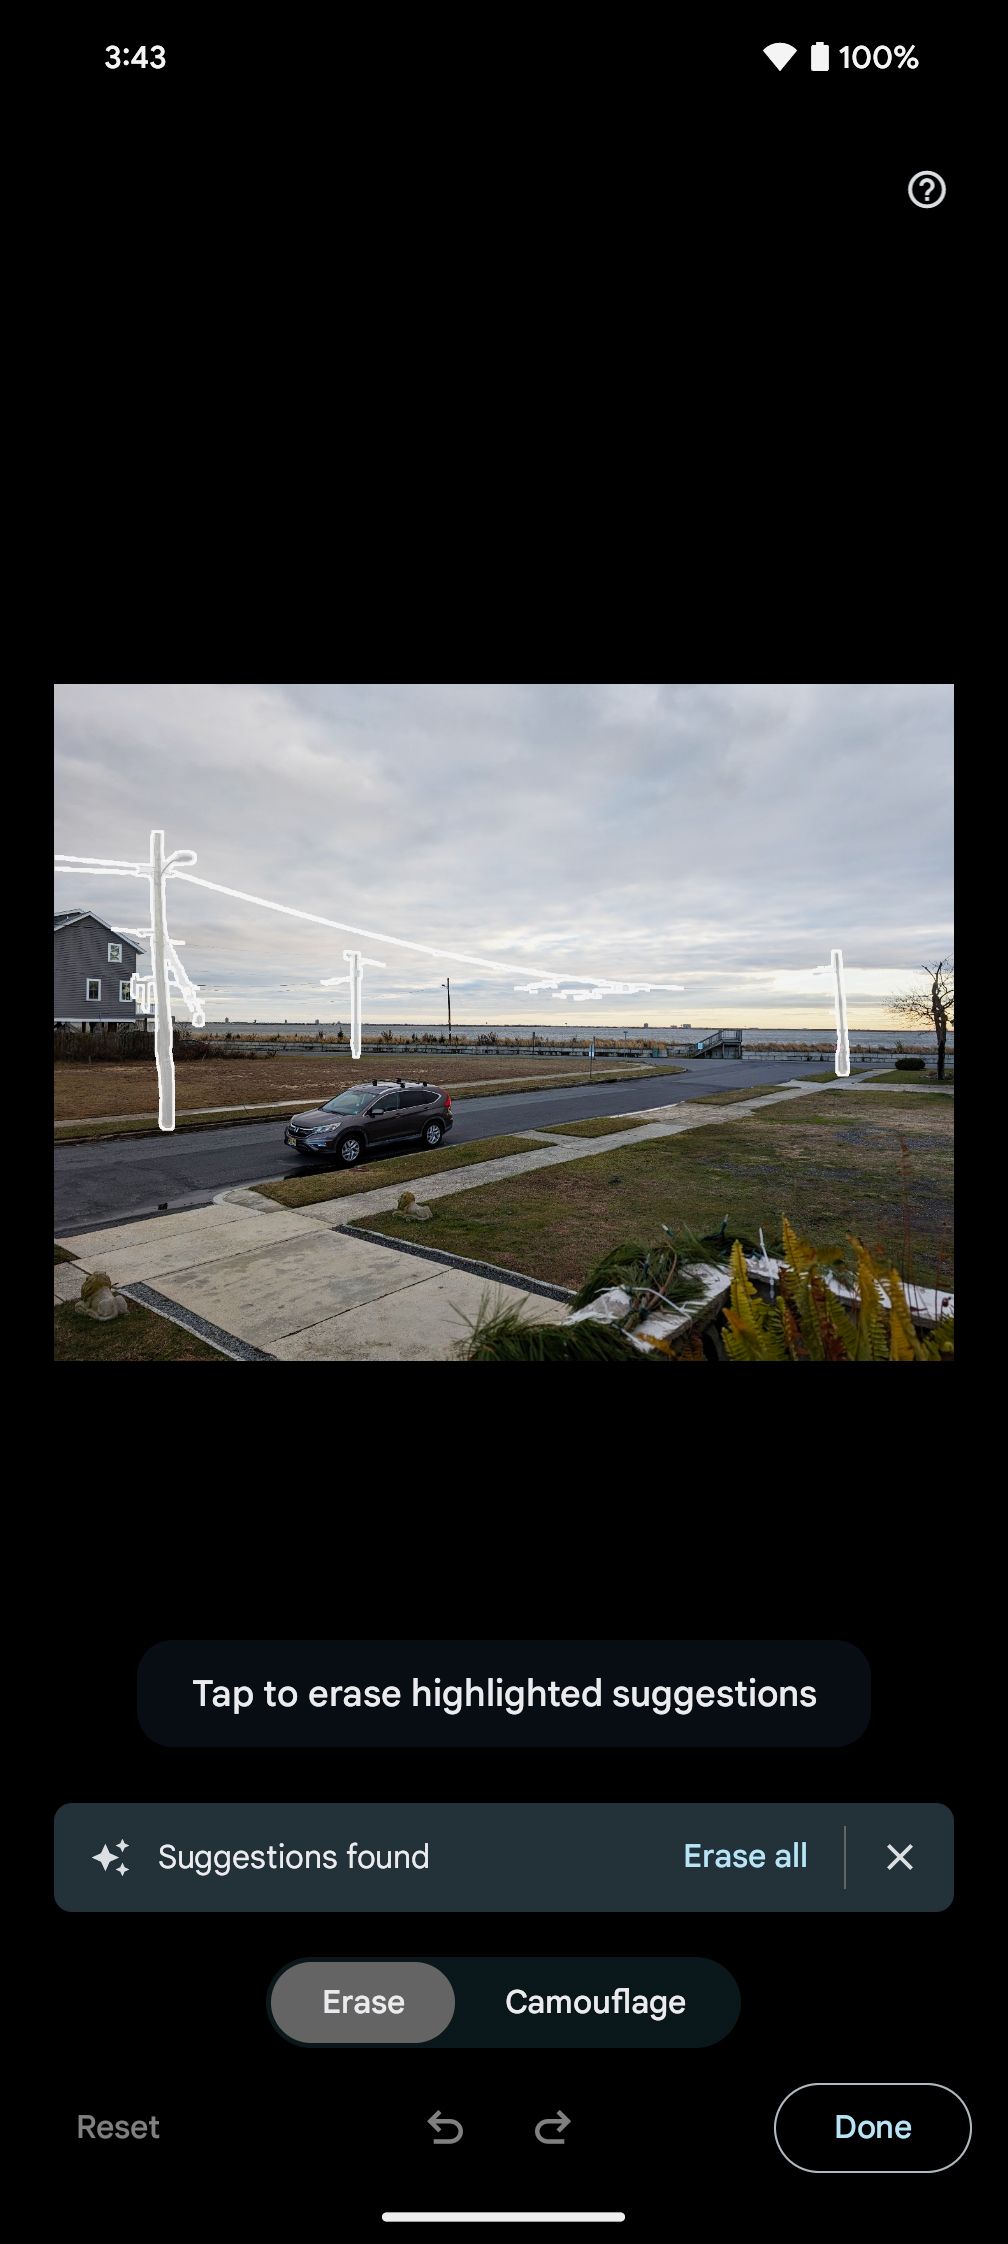
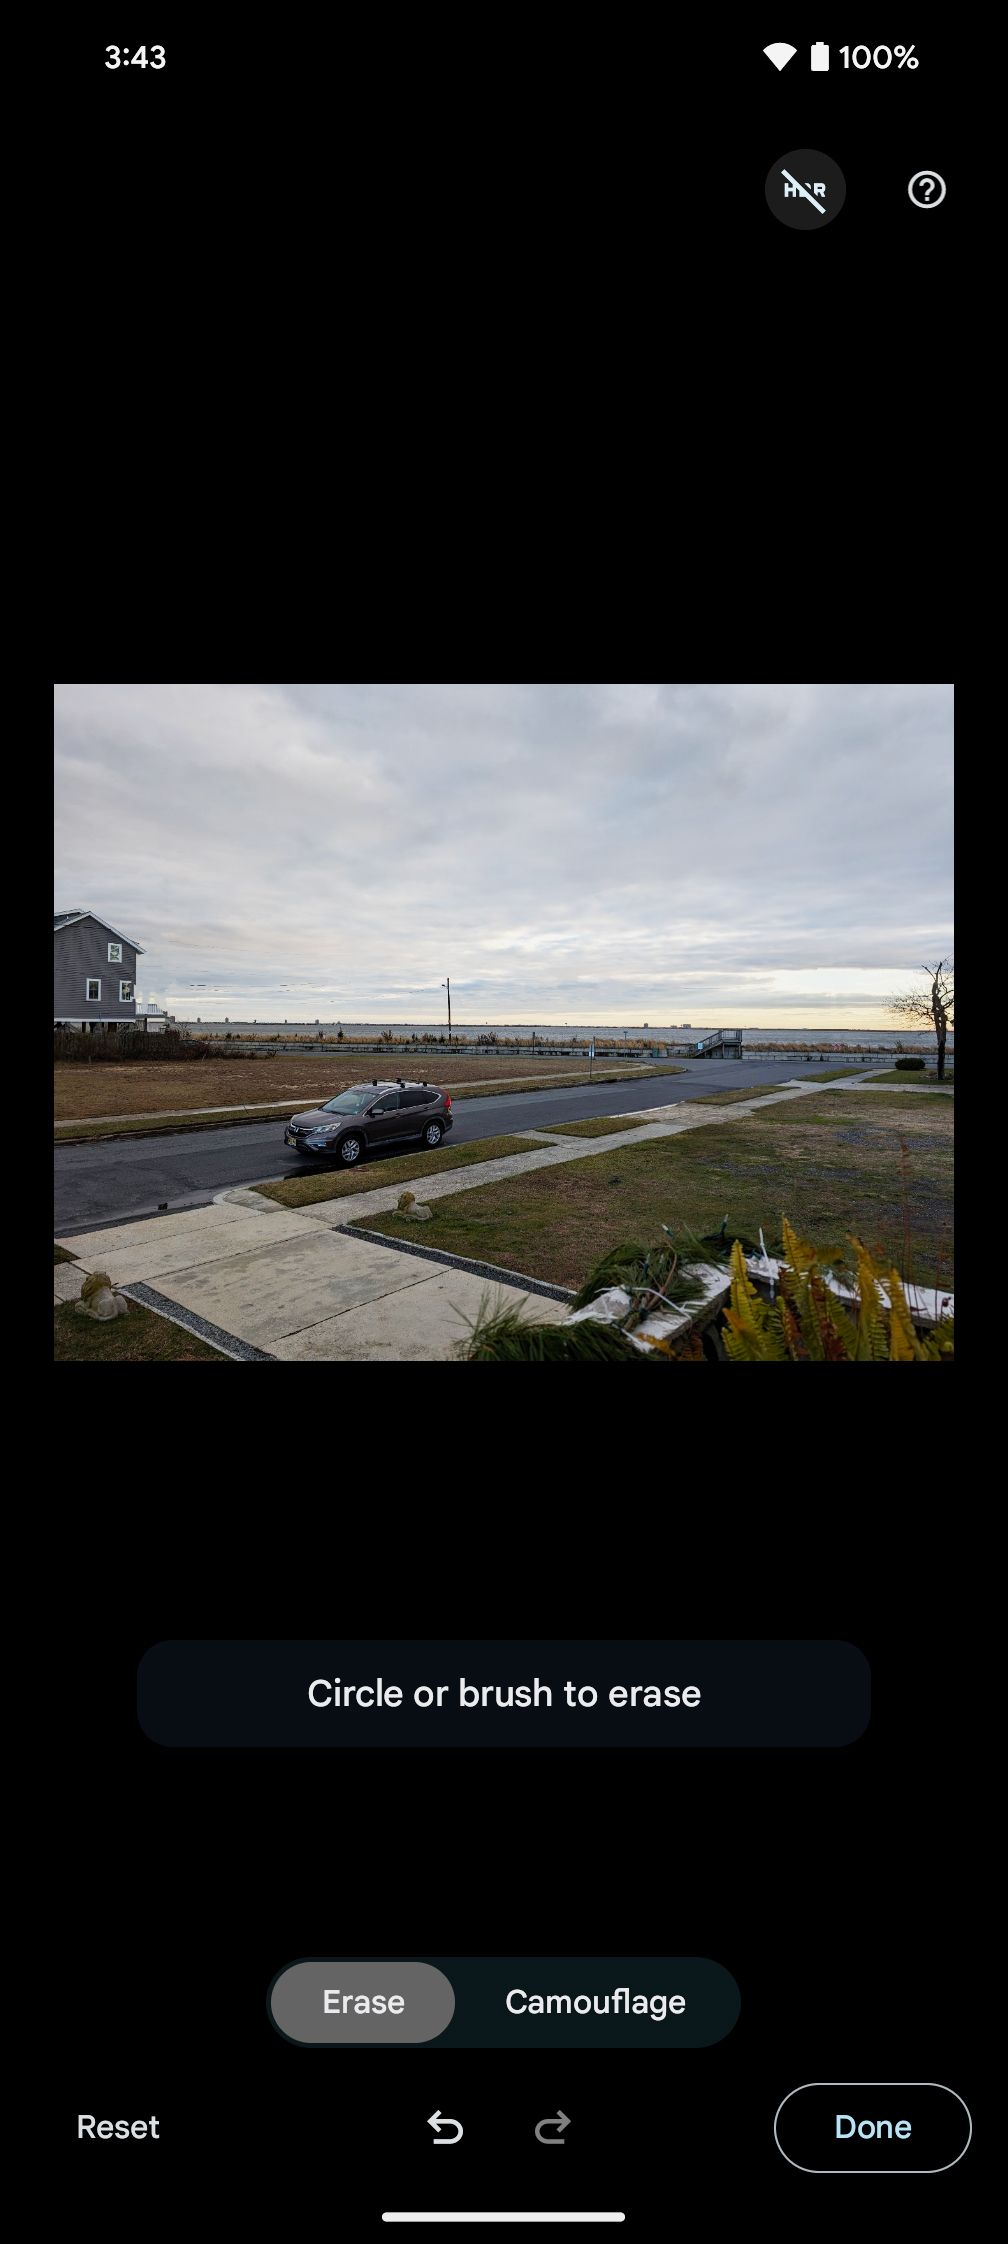
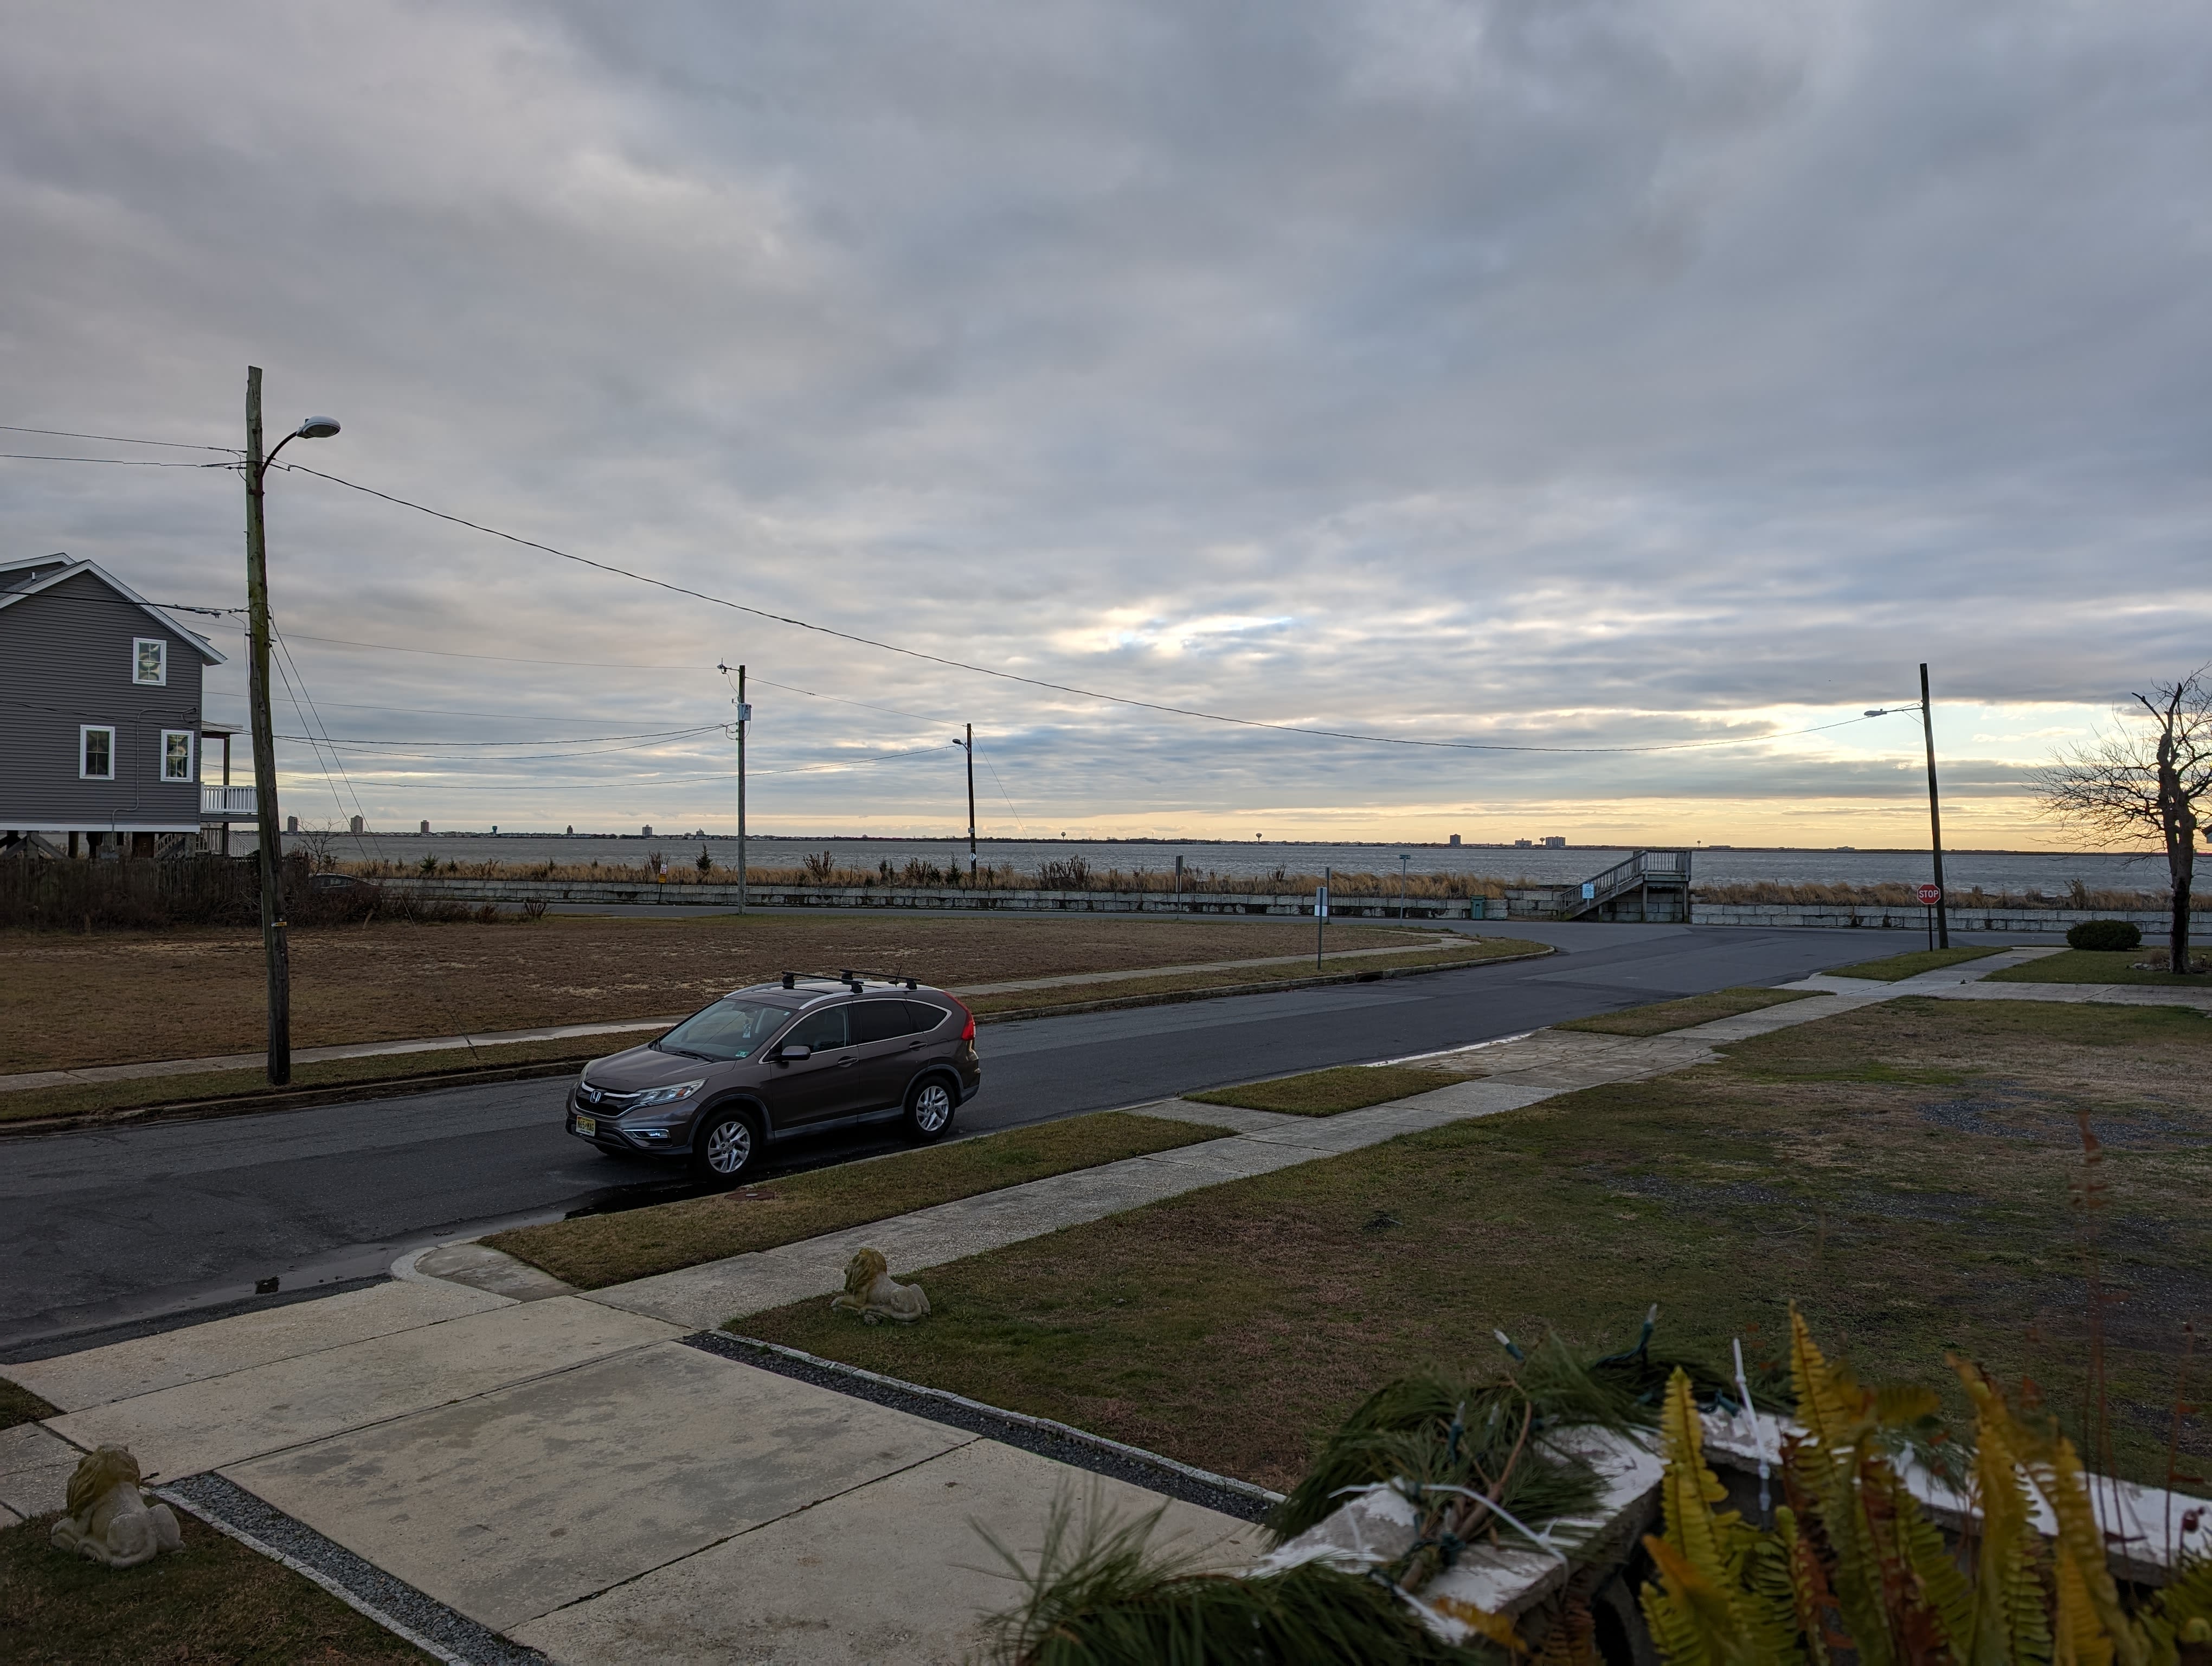
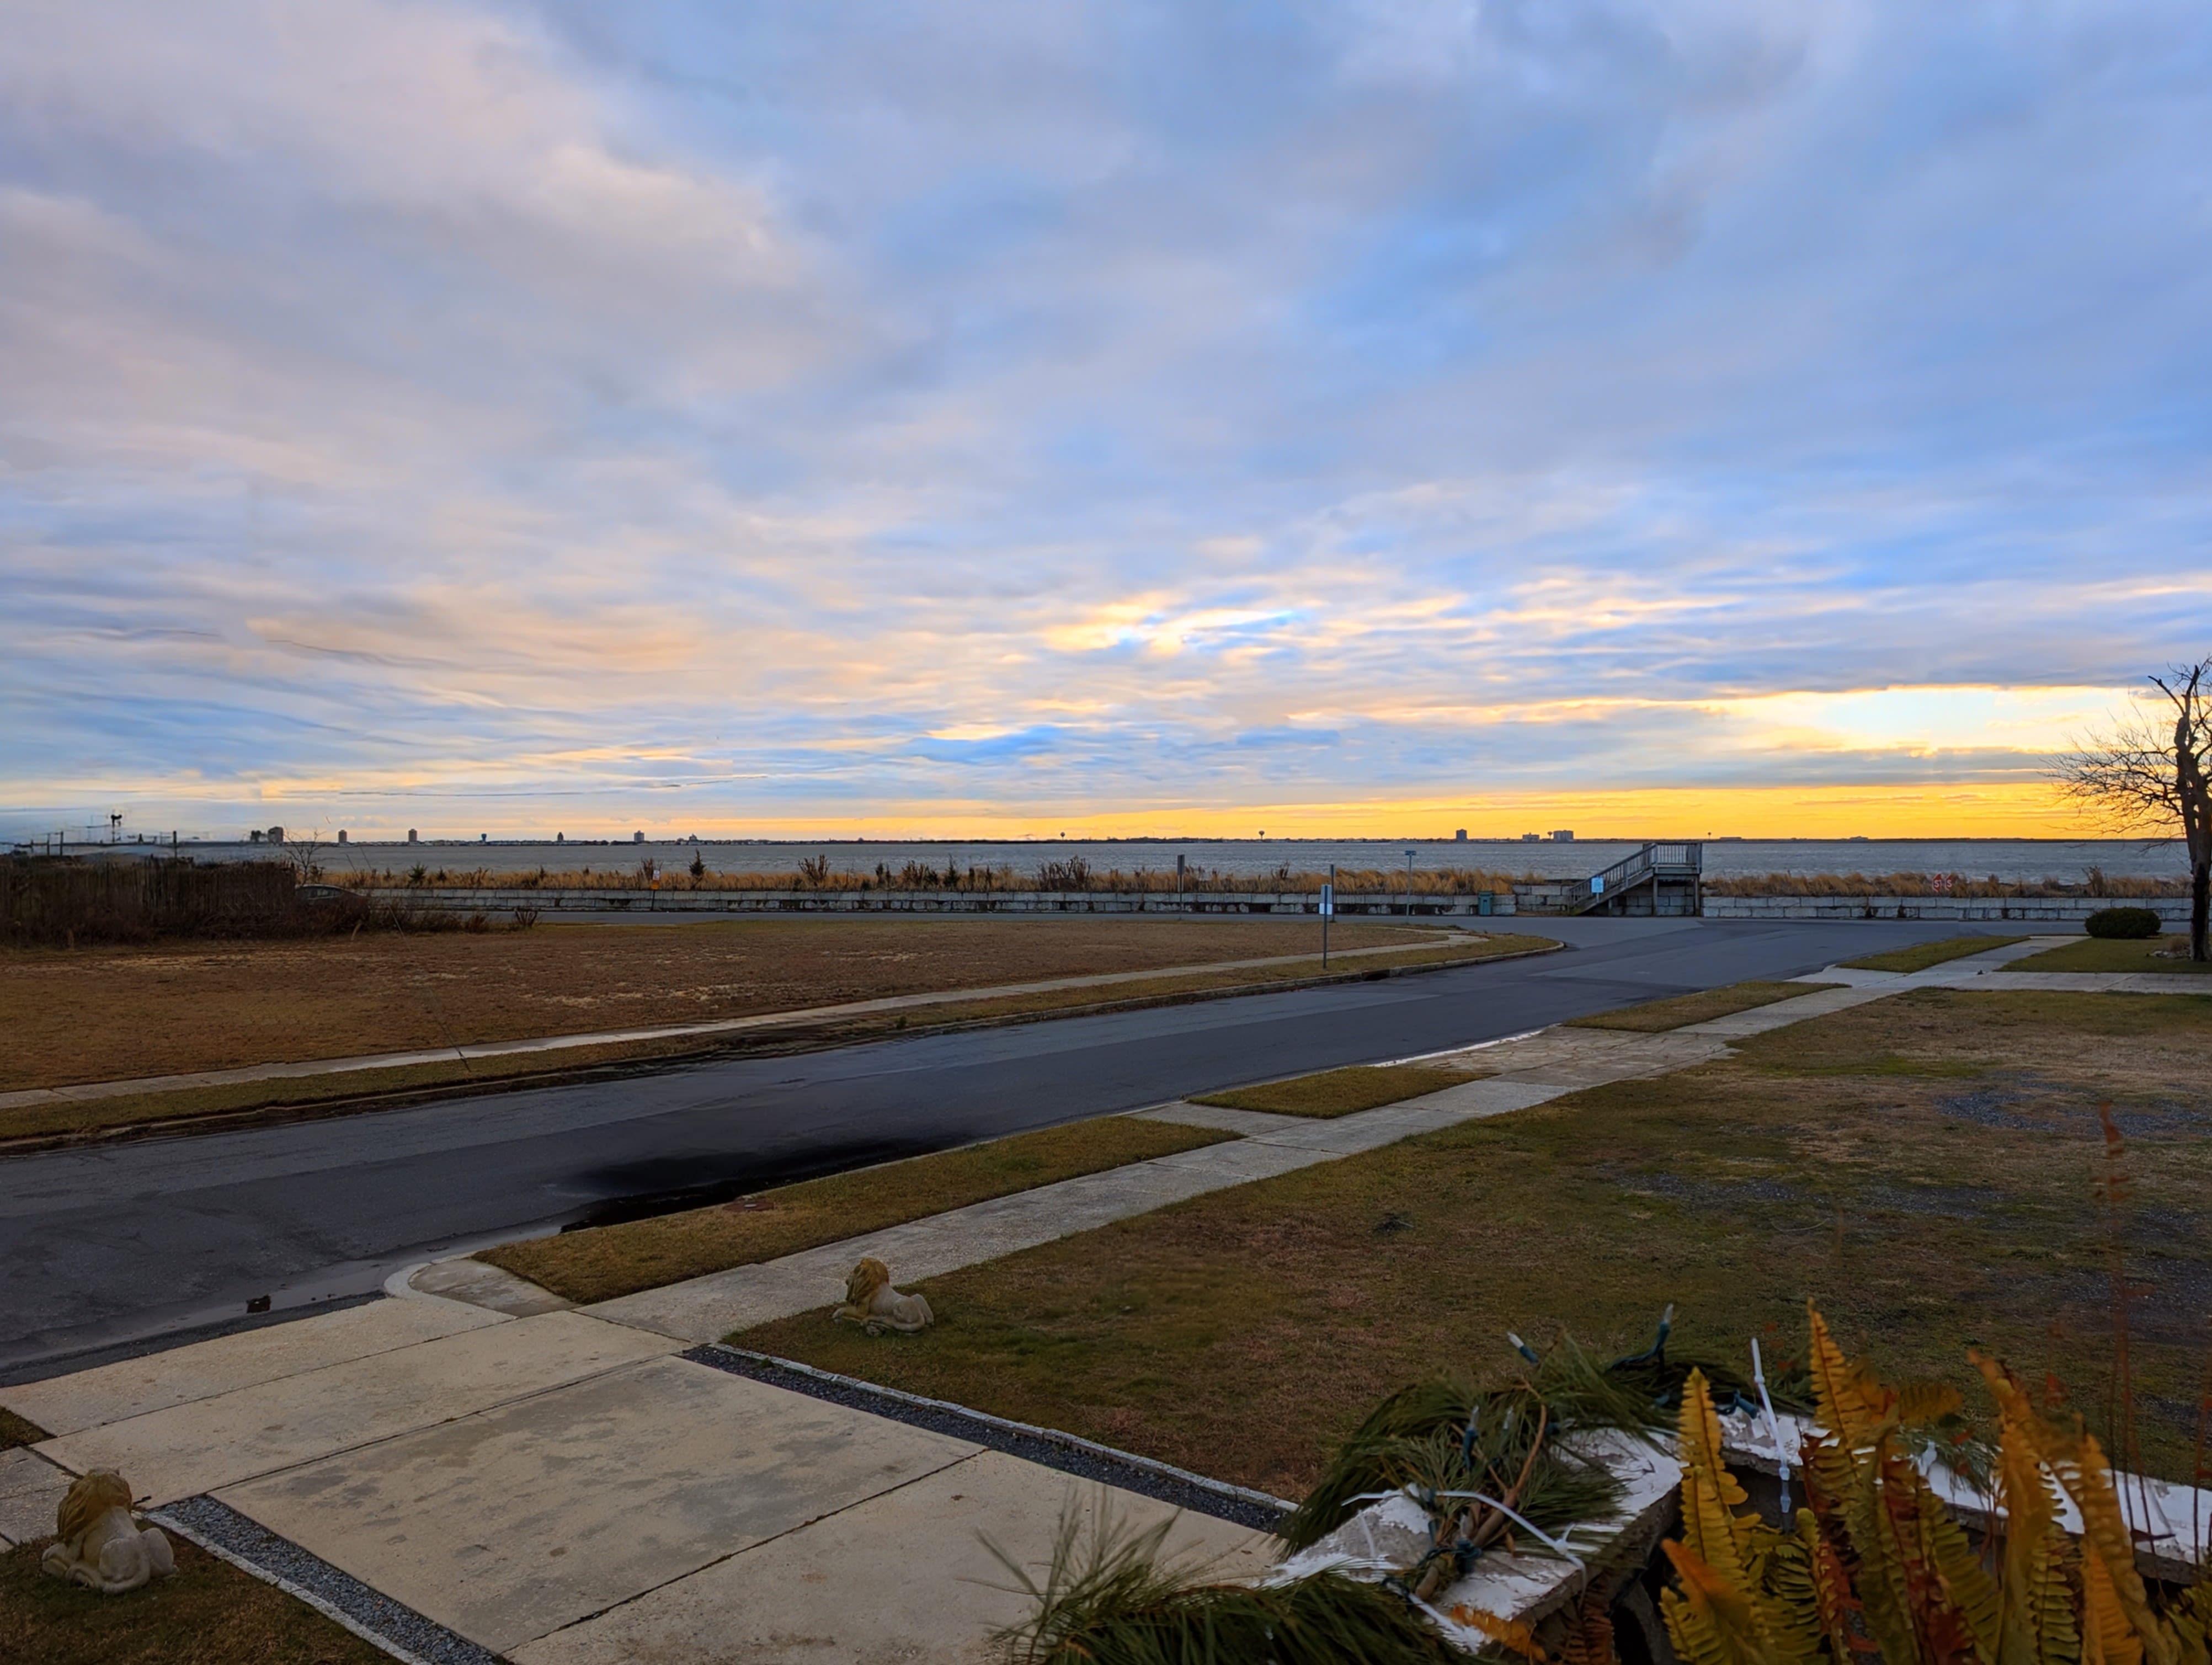
Magic Editor lets you remove objects from your photos, select subjects and move them around, change the color of the sky, erase people from the background and more, all while using generative AI. It’s one of the wackiest features we’ve seen come to the Pixel, but it can be abundantly helpful if you want to touch up your photo and aren’t sure how to use Photoshop.
Best Take is also a handy feature that’s powered by AI. It can help you fix group photos by letting you select the expression of each subject from different photos you took. That way, you don’t have to worry about one person ruining the shot by sneezing or looking away.
How to use them: To use Magic Editor, open Google Photos and select the photo you want to edit. Then tap the slider icon to go to the edit panel. At the bottom of your screen, you’ll see an option called “Magic Editor.” Tap it and the app will present you with a variety of options for editing your photos just the way you want. You can then save your edits to the original photo or make a separate copy. Similarly, for Best Take, you follow the same process as before, so long as the photo you want to edit was taken in burst mode, with each of the other photos captured within a 10-second window. Select “Best Take” from the list of options in the edit panel and start swapping faces.
Video tips and tricks
Video Boost takes your clips from good to great
If you want to enhance your videos, check out Video Boost on the Pixel 8 Pro. It’s one of the newest features to come to the Pixel, and it leans on Google’s cloud-based machine learning and AI tricks to boost the quality of your videos with more vibrancy, better exposure, improved highlights and more. It’s perfect not just for nighttime videos but those shot during the day too, especially if you’re dealing with challenging shadowy areas.
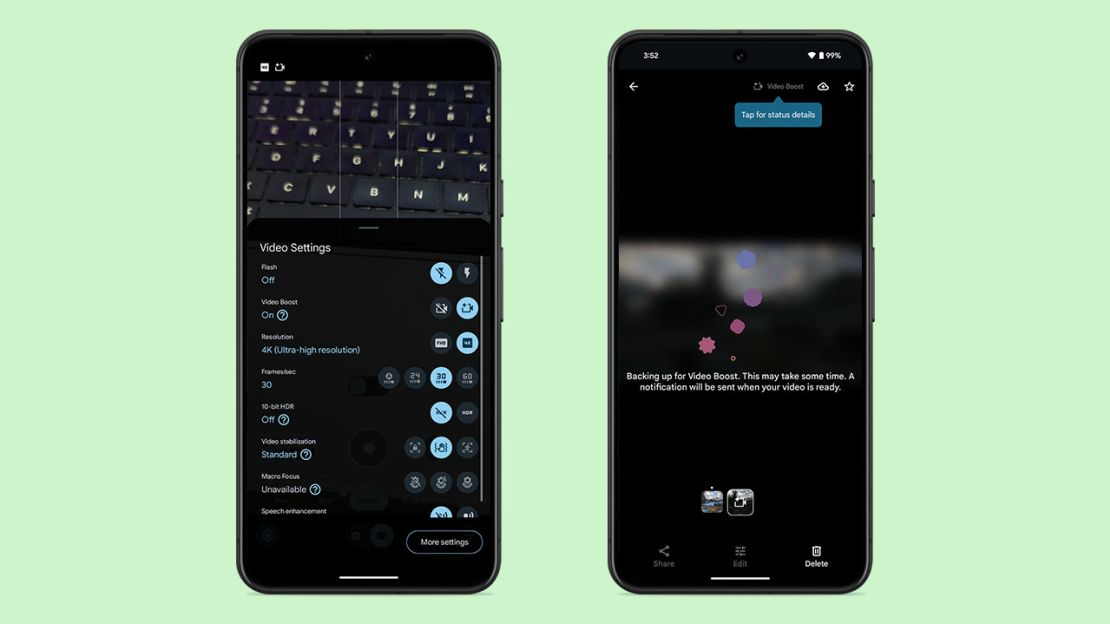
How to use it: To turn on Video Boost, swipe over to video mode in the Camera app, tap the gear icon, then toggle on Video Boost. From there, you can record any video you want and adjust the resolution to your liking (by default, it’s set to 4K 30 frames per second). Afterward, allow Google Photos to back the video up to your Google account, which will also send it through Google’s processing pipeline and present you with a boosted video in your gallery.
Audio Magic Eraser is perfect for noisy videos
Fixing the audio in your videos can be really tricky, but not on the Pixel. With the Pixel 8, Google includes Audio Magic Eraser which uses AI to remove background noise like wind, unwanted voices, sounds of the city, and more. While it’s not a night-and-day difference compared to when it’s turned off, it’s a handy tool if you just want to crank down some of the excess noise from your clips.
How to use it: Open Google Photos and find the video you want to edit. Tap on it, then tap the slider icon on the bottom to get to the edit panel. From there, select the Audio Eraser tool. It’ll walk you through the process of removing any audio you want and give you options to increase or decrease its effectiveness. Afterward, you can either save your edits to the original video or make a separate copy.
Bottom line
Google has done a great job at fleshing out all the features and tools you can use to get the perfect photo with your Pixel phone. The Pixel 8 and 8 Pro are two of the best when it comes to mobile photography, and by following these tips and tricks, you can get even better shots.
