From glowy dolphin skin to soap-like brow gels, innovative multi-stylers and invisible sunscreens, we’re no strangers to the fact that our feeds are constantly overflowing with new beauty trends, techniques and products. But every once in a while, we’ll try something out — a new makeup product or foolproof technique — that’s truly worth sharing wide and far; no gatekeeping here. Our latest obsession? Underpainting, a practical, versatile and super-effective contour technique. Most recently attributed to and made popular by celebrity makeup artists Mary Phillips and Scott Barnes — both of whom are known for painting the Kardashian-Jenner family and Jennifer Lopez — the result is flawlessly sculpted skin that doesn’t sacrifice on natural radiance.
What is underpainting?
“Underpainting is essentially ‘painting’ or applying contour and highlighter before your foundation,” explains Dani Kimiko Vincent, celebrity makeup artist, brow artist and founder of Kimiko. The technique helps to “create depth and dimension by defining the bone structure prior to foundation application,” she explains. And while it may not initially sound intuitive, the end result is “a diffused, skin-like finish.”
While it’s recently gone viral, celebrity makeup artist Aaron Barry explains that the underpainting technique isn’t really new at all. “This technique makes a comeback every few years,” he explains. “Originally attributed to drag artists, it became well known in the makeup industry due to Kevyn Aucoin,” who documented the technique in his now iconic makeup handbooks from the ’90s. But really, it’s a technique “that has been used by artists since they first put paintbrush to canvas,” Vincent says.
So why is it taking off in popularity all over again? “People want a more natural, luminous, skin-like finish to their makeup” while still accentuating their features through contouring and highlighting, Barry says. In fact, underpainting often makes it “look like you’re wearing less makeup because of the blurring effect of applying foundation over contour and highlighter,” Vincent says. And like with all style trends, there’s the nostalgia factor. “With the resurgence of ’90s makeup and the celebration of drag culture, we’re seeing more of these trends and techniques used for everyday glam in wearable ways,” says Sara Wren, director of artistry at Milk Makeup.
How to do the underpainting technique
The most important part to the underpainting technique is the order in which you apply your contour, highlight and foundation. “Trust the process, and be intentional with building up the product,” Barry says. “Too little product means not a lot of impact,” he shares, but “be careful with placement.”
Like with any contouring and highlighting technique, placement is key — which can take some time. Ultimately, you might have to go through some trial and error to understand the exact spots on your face you want to emphasize through highlighting, and minimize through contouring. Fortunately, there’s no one right way — it’s completely up to what you want to look like on any given day.
Step 1: Skin care and prep
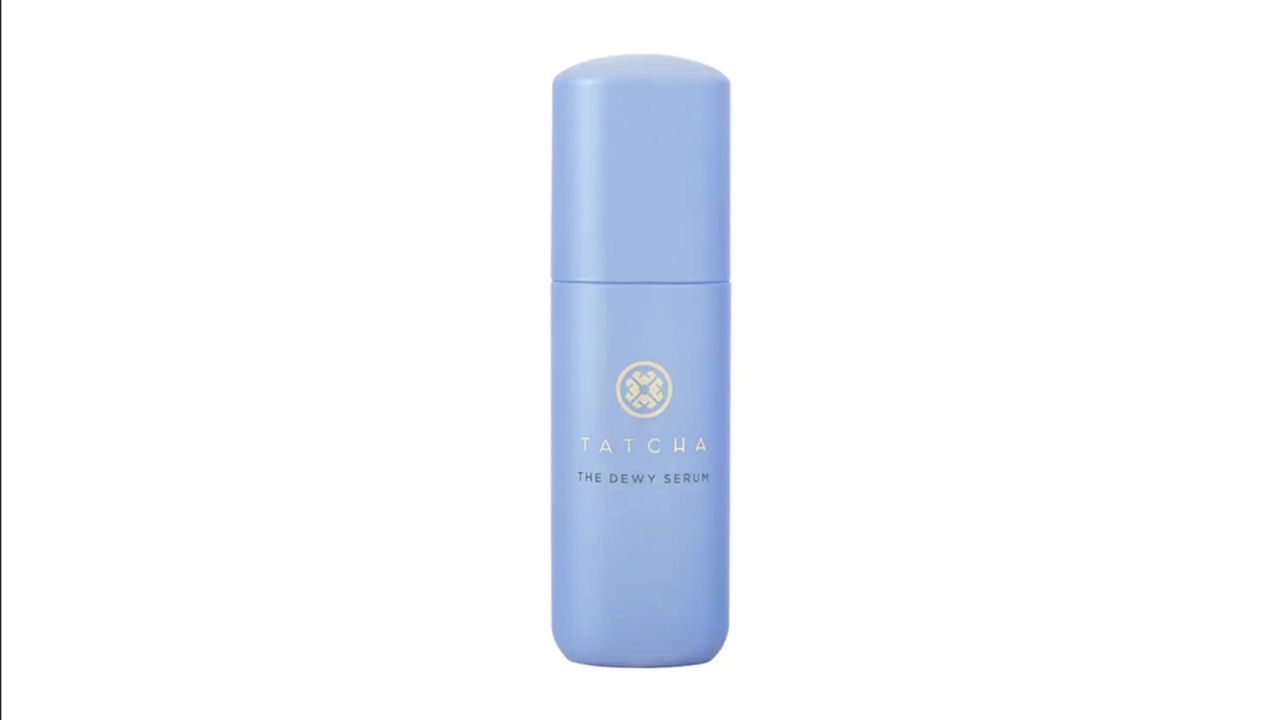
As with any complexion-focused technique, you’ll want to start off with well-prepped skin. Opting for a hydrating serum is the perfect way to simultaneously nurture your skin and create a smooth base for layering cream products on.
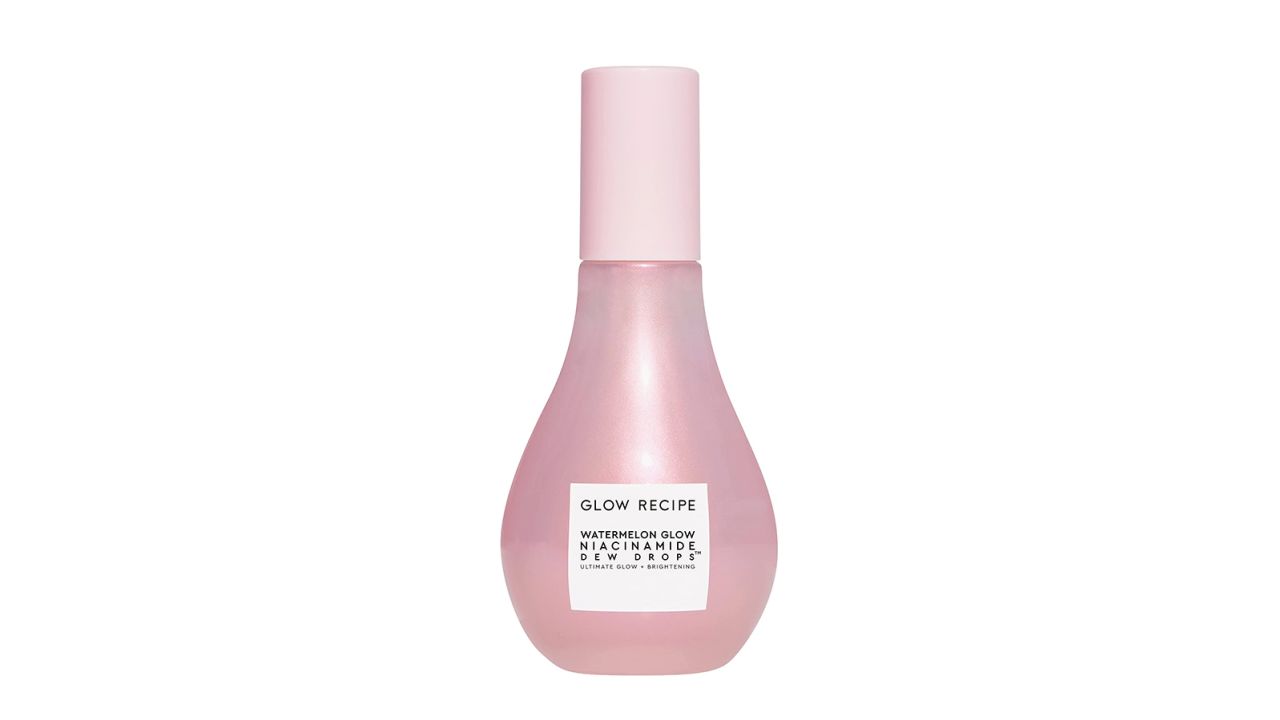
This super-rich, hydrating serum leaves your skin with a gorgeous glow that will shine through any makeup you layer over it.
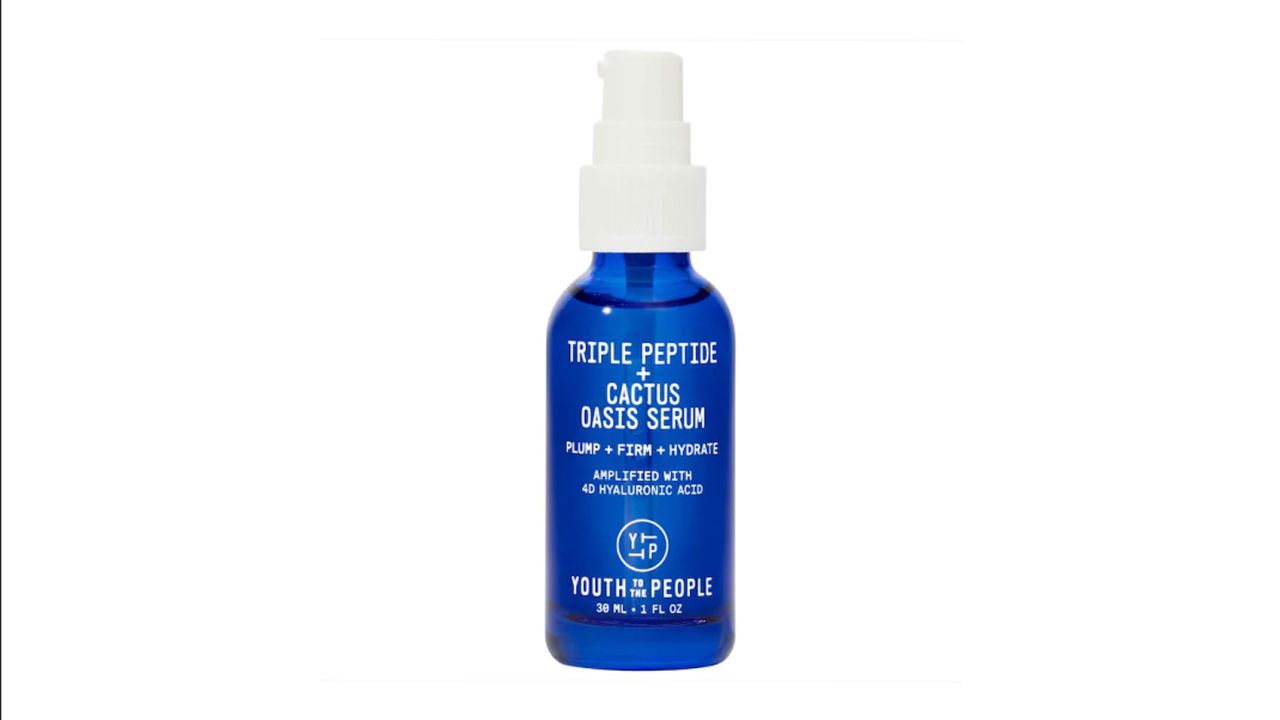
If you want a no-frills hydrating serum, this lightweight and fragrance-free option from Youth To The People is a potent, triple-peptide-infused option perfect for daily use.
This super-nourishing serum is packed with top-tier ingredients like hyaluronic acid and lactic acid, and it's particularly great for those with texture or fine lines.
After prepping the skin, Wren recommends following with a moisturizer and then a primer. While it may not seem like a crucial component to the underpainting process, I’ve experienced a significant decrease in the longevity and overall effect of my complexion when skipping these steps.
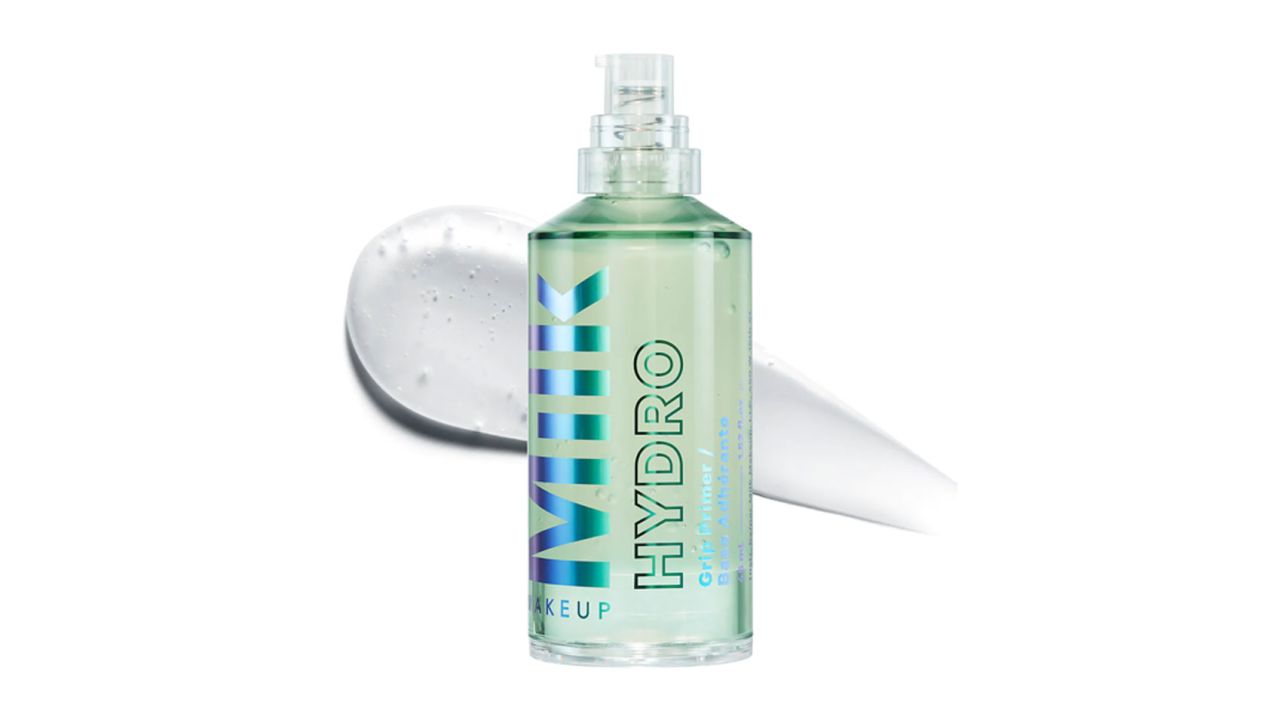
Wren recommends this cult-fave hydrating primer, which features a 94% natural gel formula that locks in moisture, leaving a smooth (and slightly sticky) base that truly grips onto makeup.
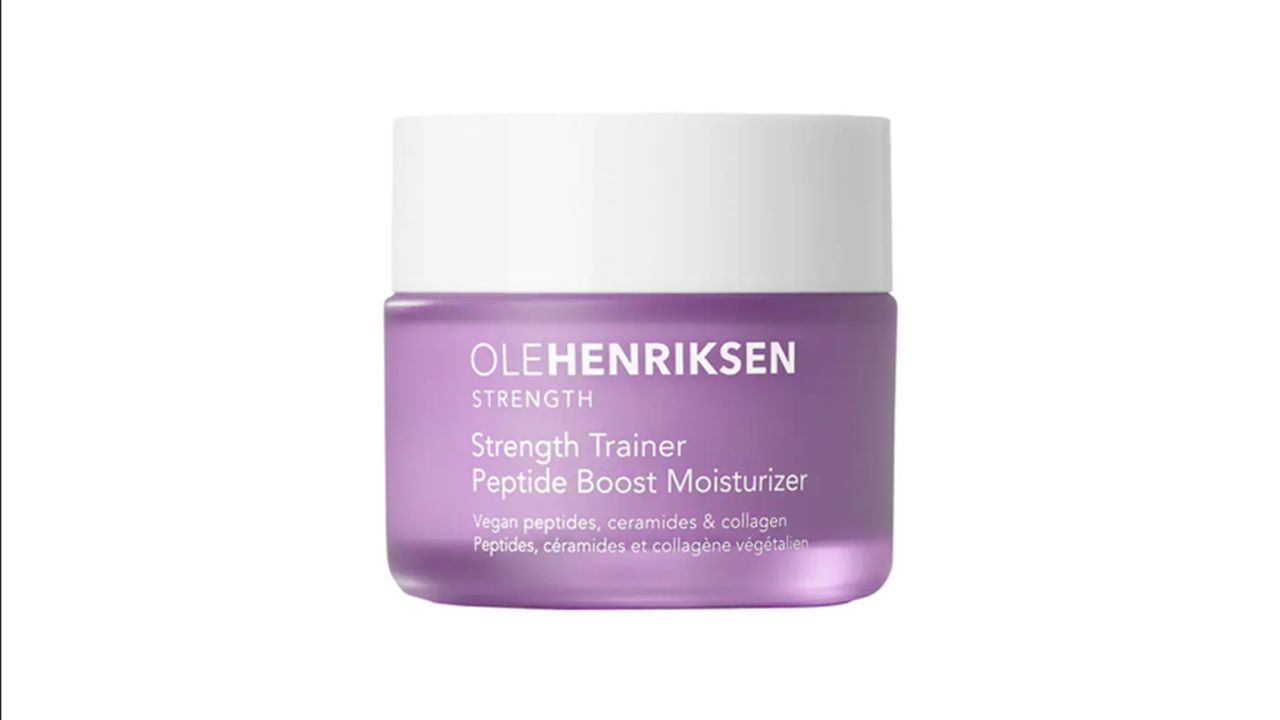
This moisturizer has transformed my skin — it’s the perfect combo of being richly nourishing without feeling heavy, something that’s super important when prepping your skin for makeup application.
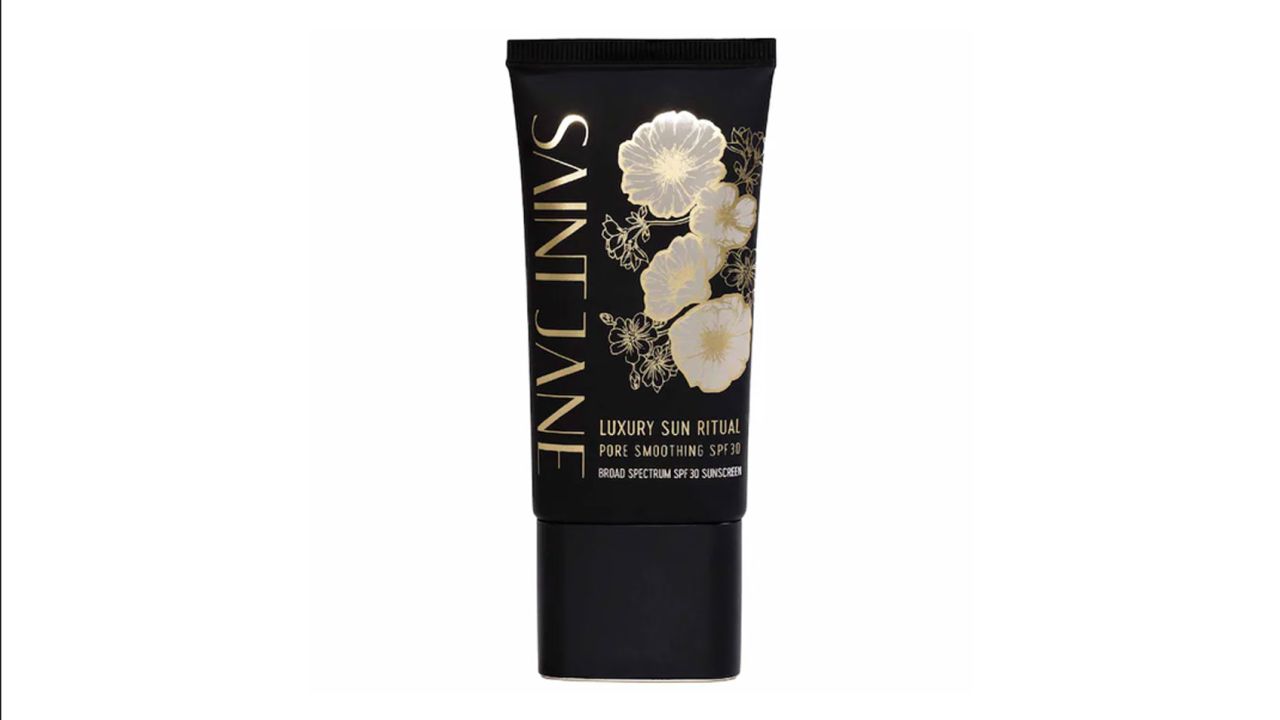
If you’re an all-in-one type of person, I have yet to come across a primer, moisturizer and SPF product that performs all three tasks so flawlessly. This lightweight sunscreen has a gorgeous, smooth texture that actually blurs your pores while hydrating your skin.
Step 2: Contour and highlight
Now comes the “painting” portion of the underpainting technique. “Contour and highlight are the two most important steps to underpainting,” Vincent says. “Think of it as defining your bone structure before perfecting the skin.” Using cream products — since you don’t want to apply a liquid or cream foundation over any powder products — you’ll “apply contour to all the usual spots,” Vincent says. “Below your cheekbones, your jawline, temples, around your hairline and your nose if you choose.”
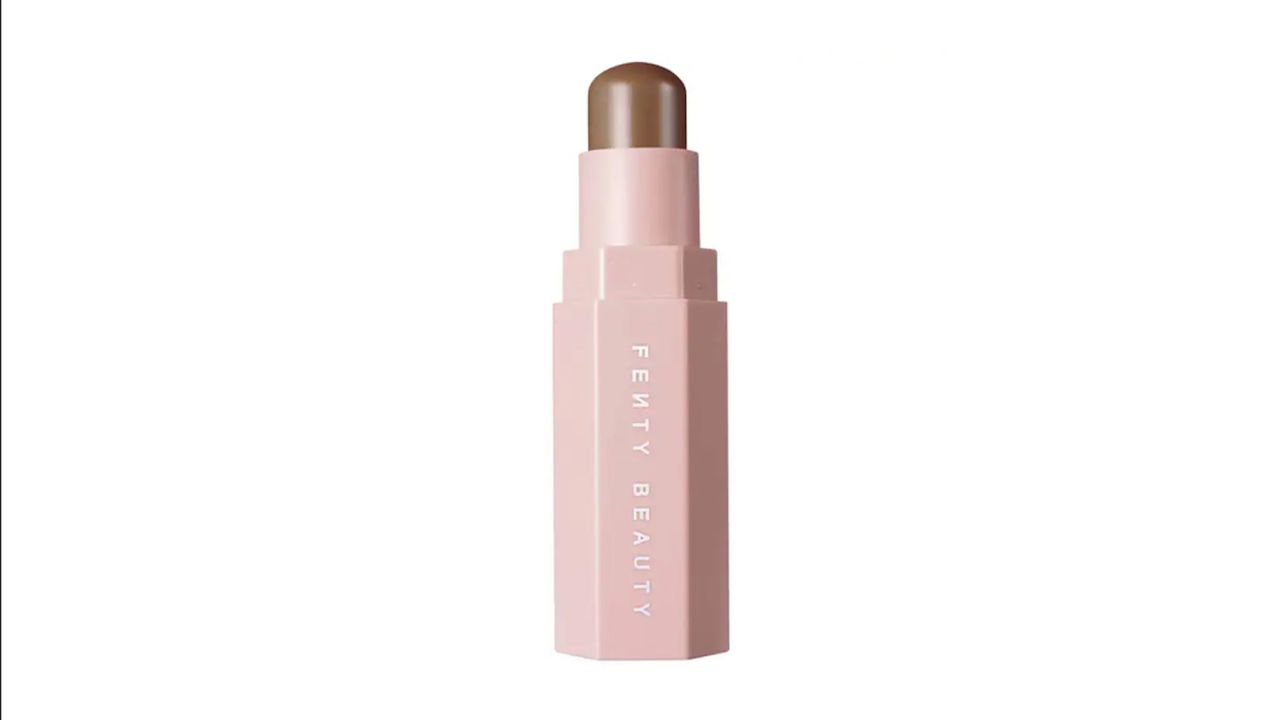
This option from Fenty Beauty is Barry’s fave. “I love how it sheers out when applying to the skin,” he says, “and a little goes a long way.”
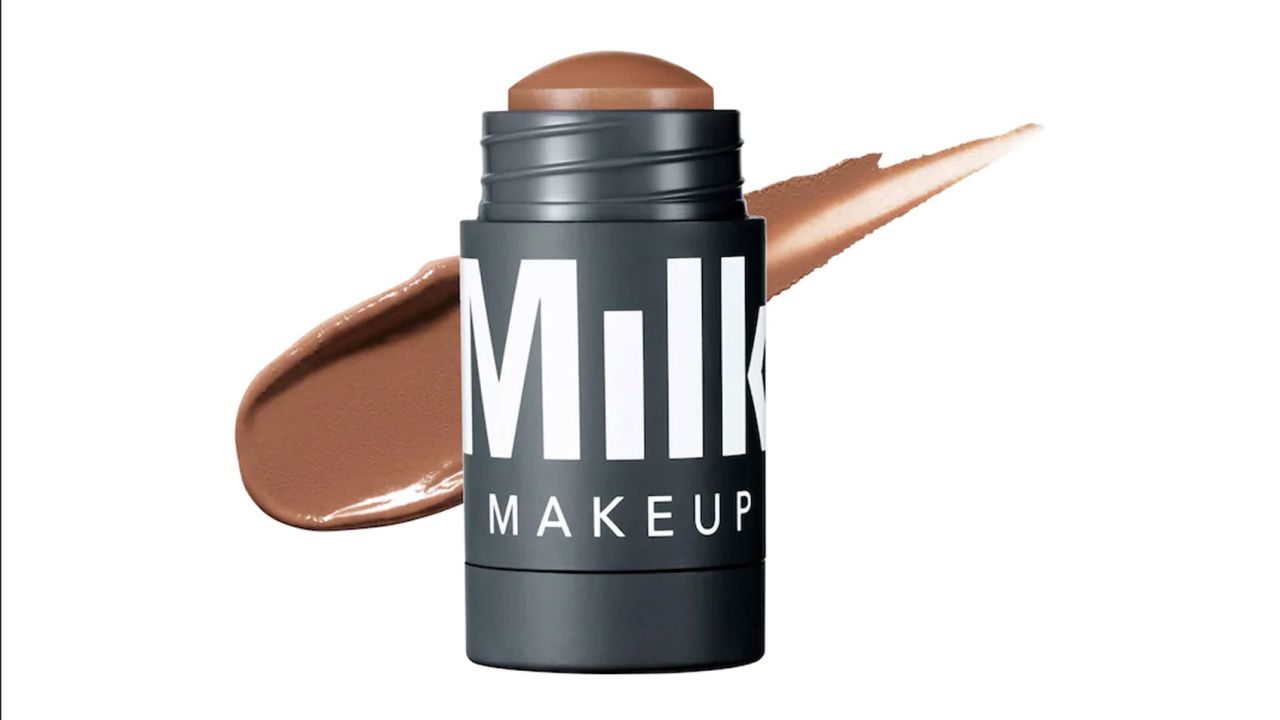
“I like to go in with this in all the areas that need more depth and where I want to create definition,” Wren says.
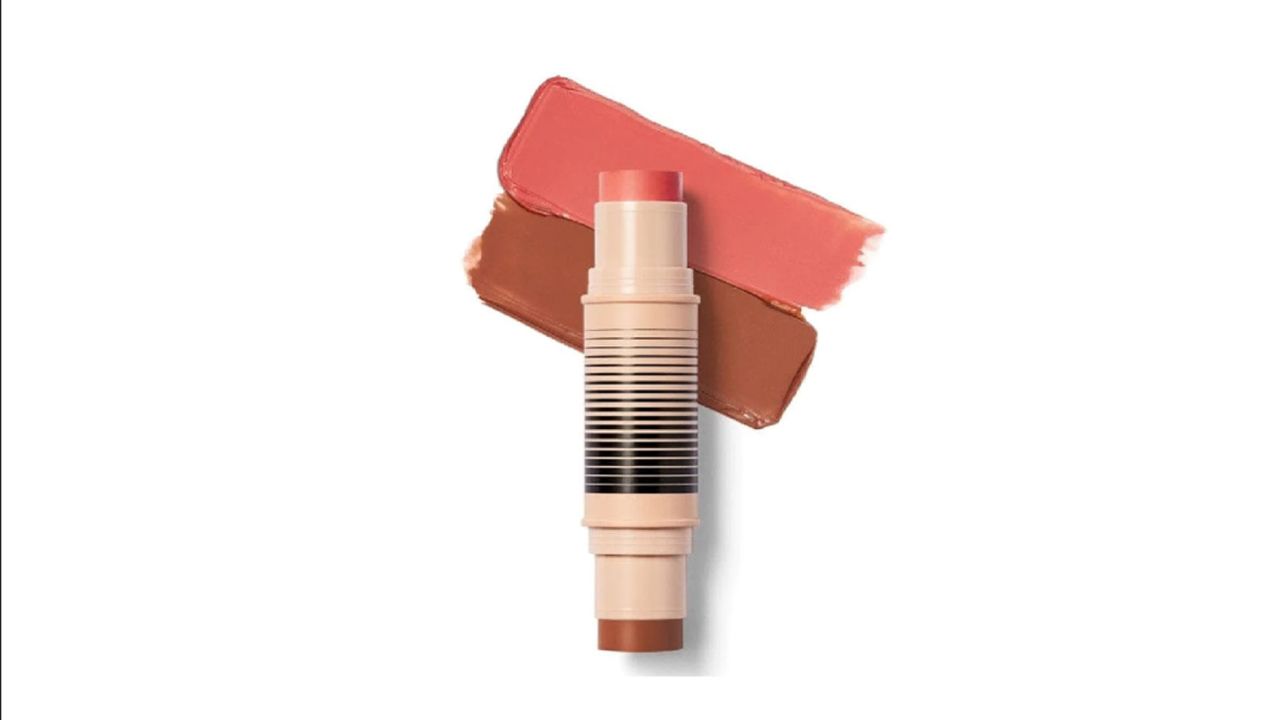
This super-creamy multiuse stick has you covered for the contour and blush steps of your underpainting look.
Then, it’s on to the highlighting. Vincent recommends a concealer that’s “about one shade lighter than your skin tone to brighten and bring forward.” Apply it to the “tops of your cheekbones, centerline of your face, nose and top of brow bones,” she says. You can also do some spot concealing here, Barry adds. Some common problem spots include around the nose and the chin — my personal favorite spots to smooth out with a concealer.
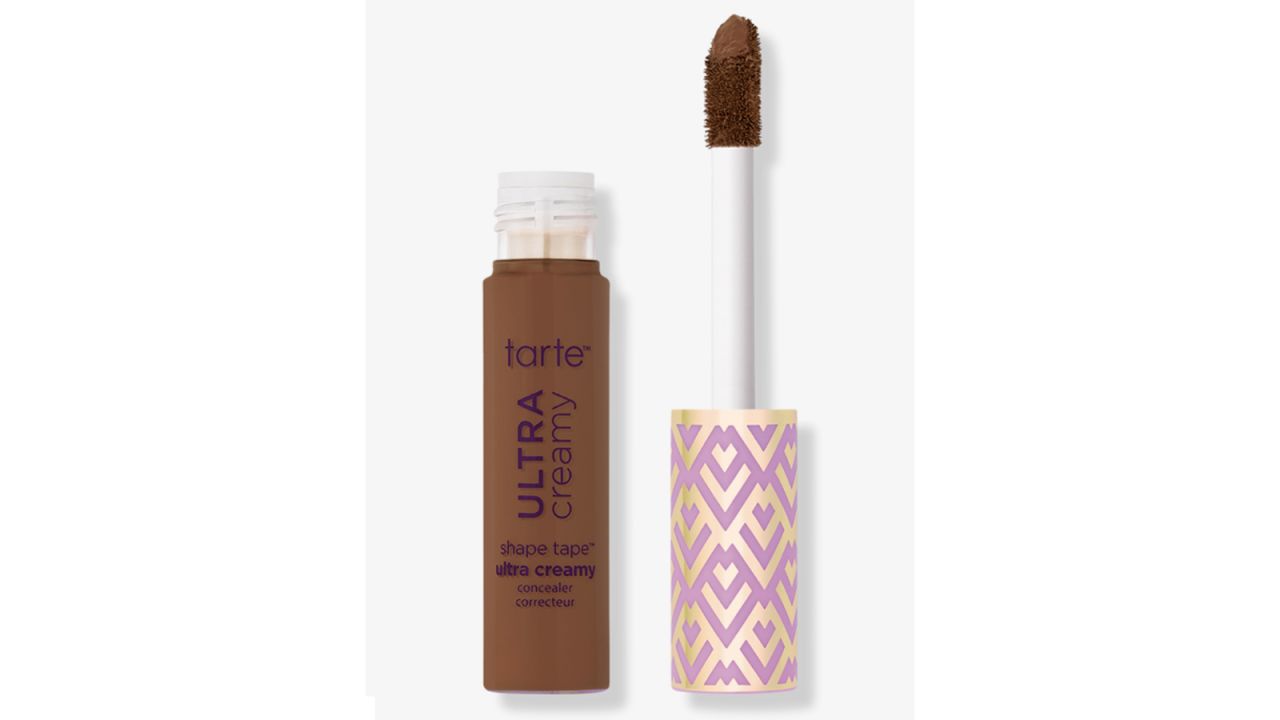
“A creamy concealer is a must for this technique,” Barry says, “as anything too drying will not blend as seamlessly.” He recommends this classic option from Tarte.
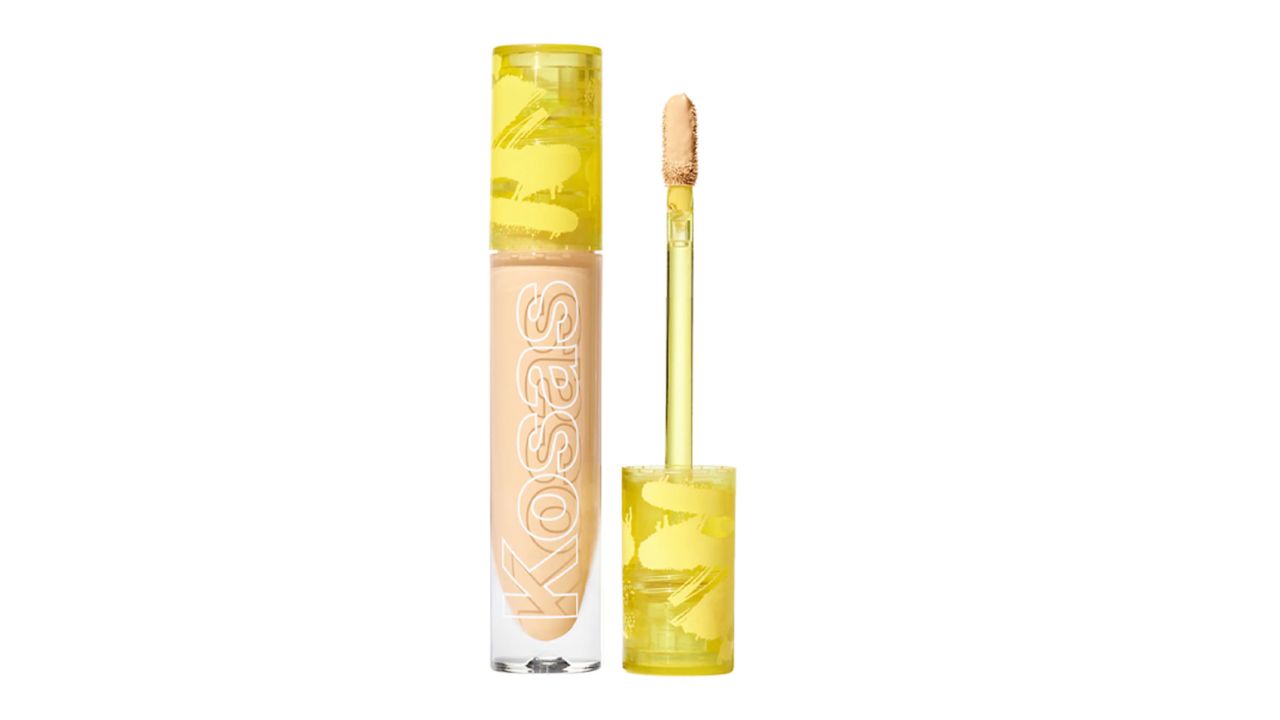
This creamy and wonderfully brightening concealer blends out so beautifully I’ve even been skipping foundation altogether.?
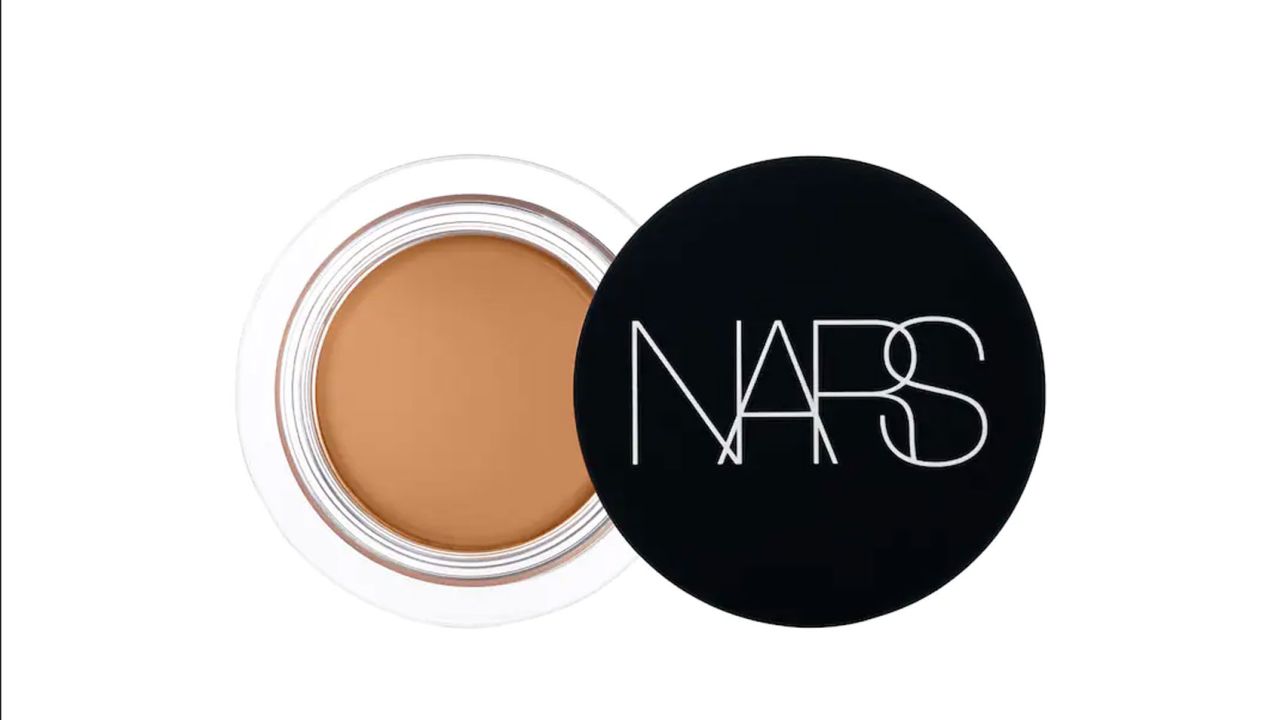
“I like this for its coverage and the great shade range,” Vincent says.?The cream formula is especially great for covering blemish-prone skin.
“When underpainting, remember to thoroughly blend and perfect your contour, highlight and concealer before applying your foundation for the most natural-looking, freshly defined skin,” Vincent says. Keeping your application blended and avoiding harsh lines is crucial since you’re creating a visible structure that should be visible through your foundation. “Blending is key,” Wren says. “I recommend using a damp sponge or makeup brush to create this look in lieu of fingers.”
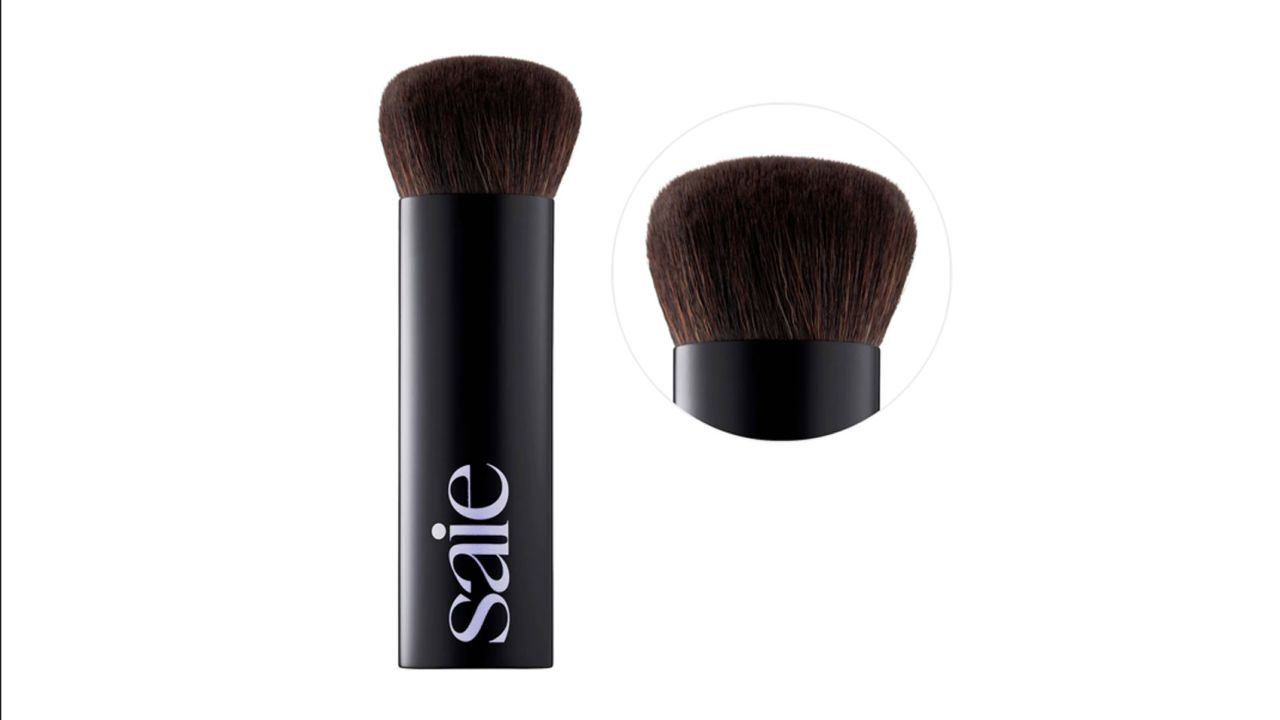
One of the most difficult parts of cream contouring is making sure you’ve blended enough while still keeping the placement intentional. A big buffing brush like this one makes it quick and easy to do.?
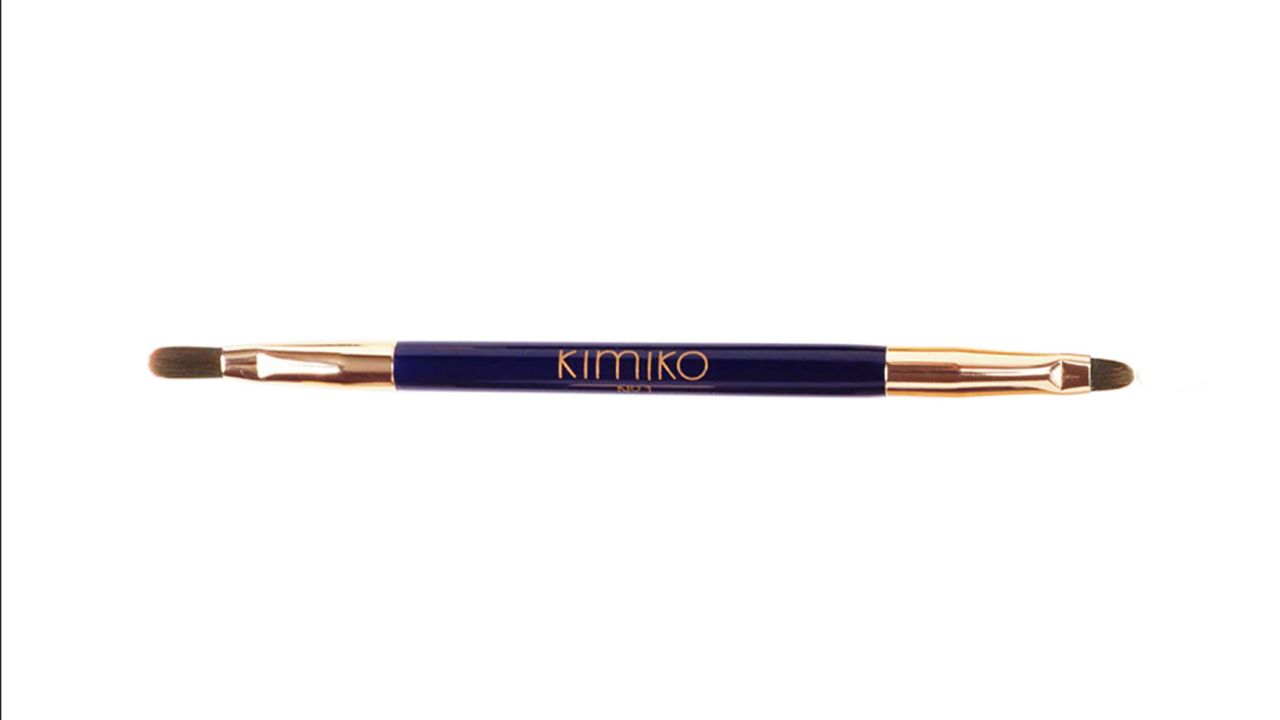
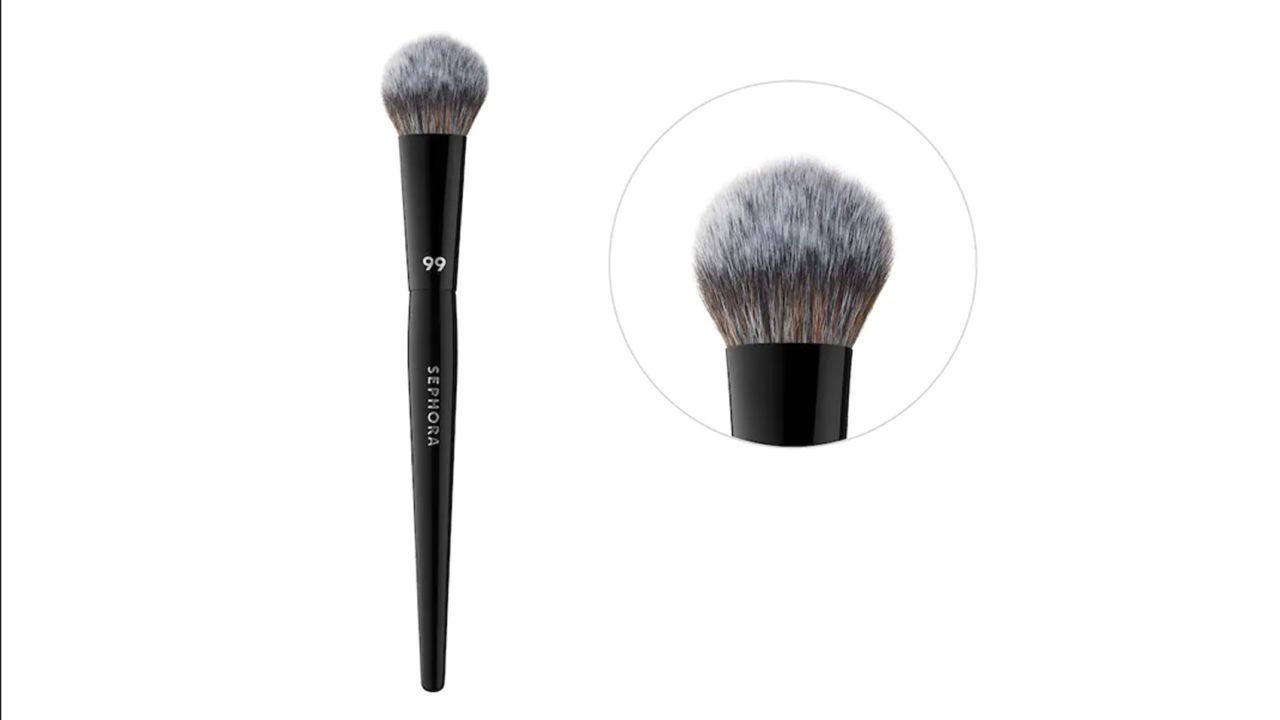
“For under-eyes, use a narrow, flat concealer brush like this one,” Vincent says. “It also has a pinpoint side for concealing tiny spots.”
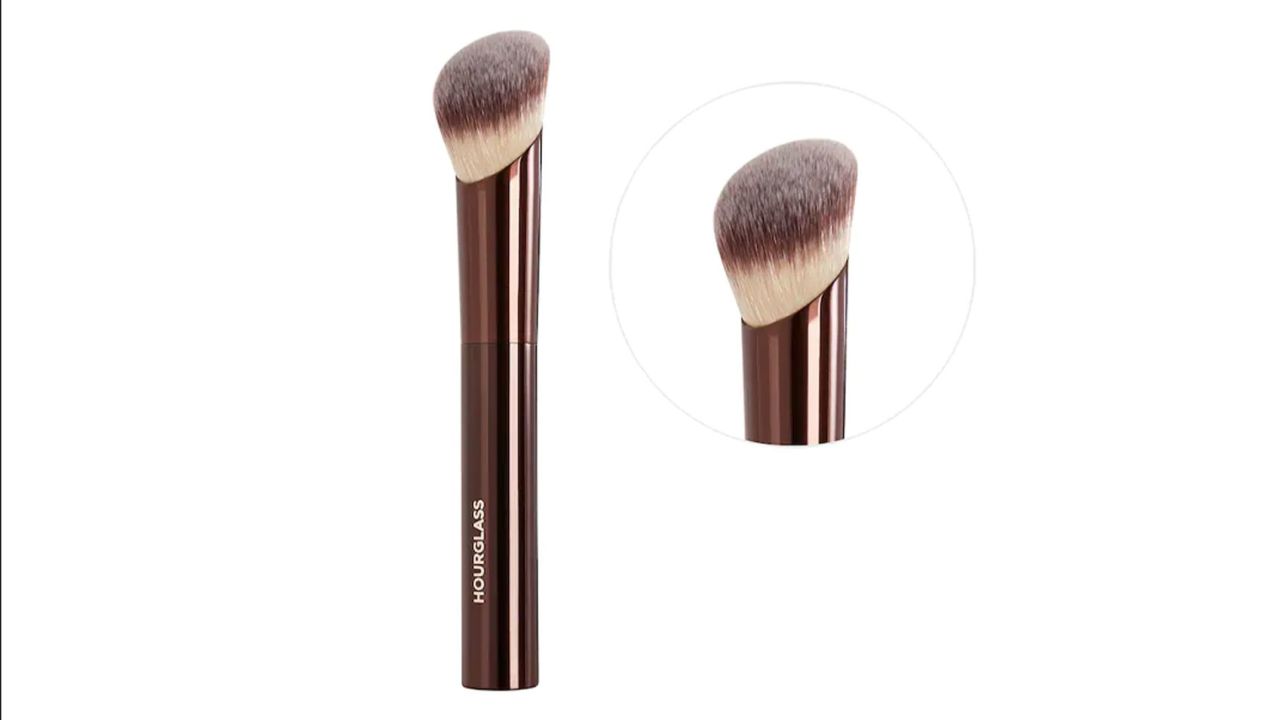
Even though it’s labeled as a foundation brush, the perfect density and softness of this brush makes it one of my favorites for blending both contour and highlight.
Step 3: Foundation
“Finish with your favorite liquid or cream foundation,” Vincent says. “I like using a liquid foundation and thinly buffing onto skin.” Barry explains that the purpose of layering foundation over the underpainting is to seamlessly blend your highlighting and contouring work. “Avoid applying the foundation directly to the contour,” he says. “Instead, start applying foundation in the center of the face using stippling motions to press the foundation into the skin.”
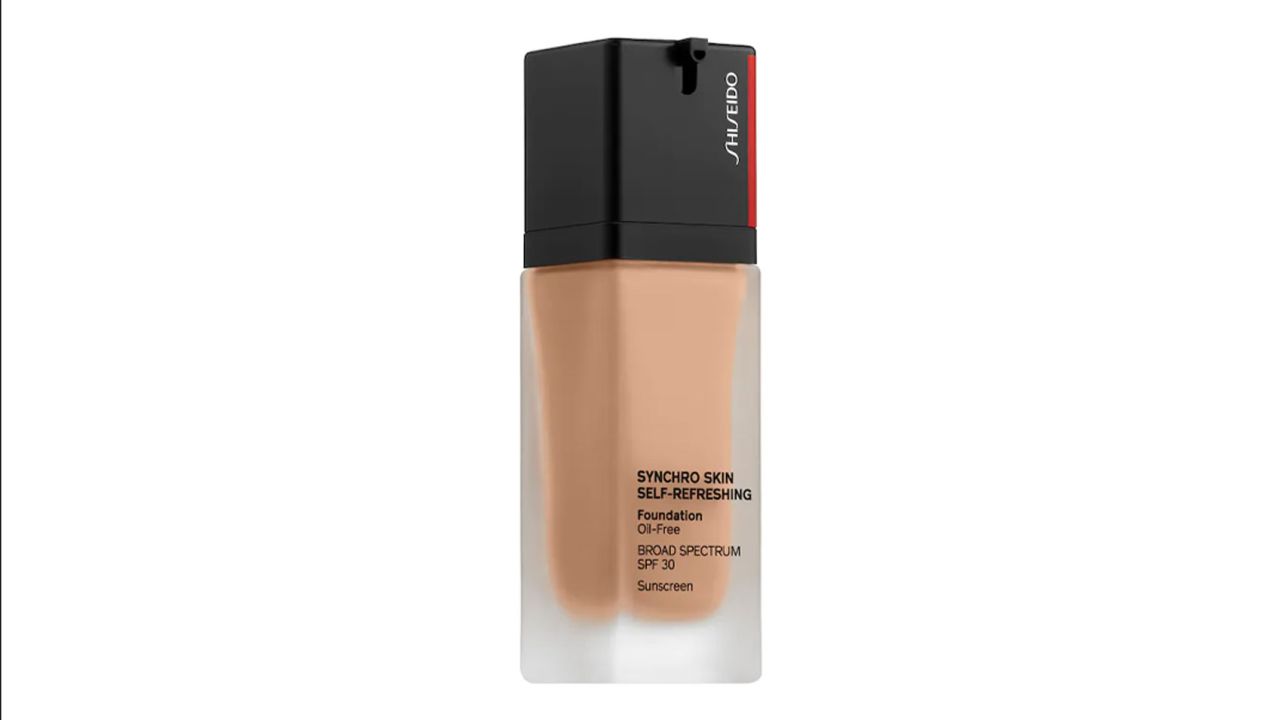
Vincent recommends this foundation, which she describes as having a “beautiful, breathable skin-like finish” that’s “lightweight yet buildable.”

This skin care-infused foundation is super comfortable on the skin and packs a perfect light-to-medium coverage that beautifully enhances your skin’s natural glow.
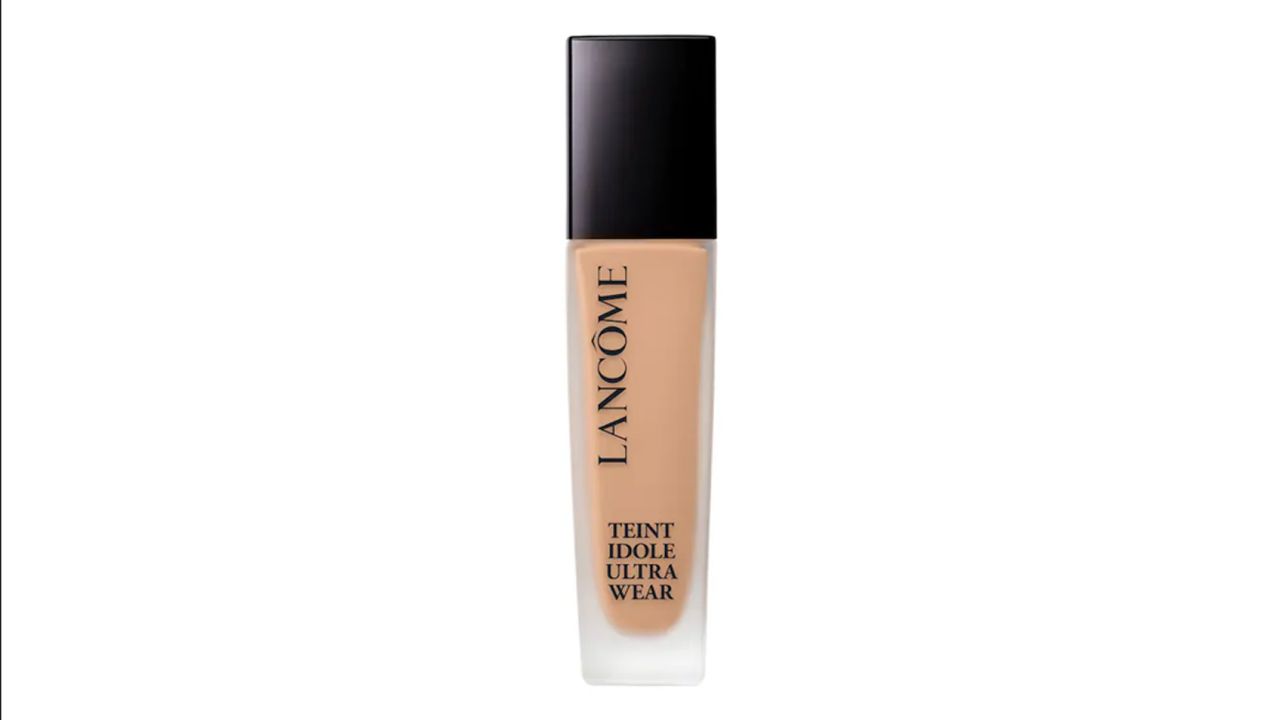
This is Barry’s favorite foundation for underpainting. “I love that it's radiant without looking too shiny,” he says. “It’s a semi-matte but sheers out beautifully and lasts all day.”
“Apply and blend, moving outwards towards the perimeter of the face,” Barry says. “Using a stippling motion is a must for applying the foundation as opposed to a paint-and-drag motion, which will lift the underpainting.” Follow these steps and your outcome should look seamless and well blended, he shares.
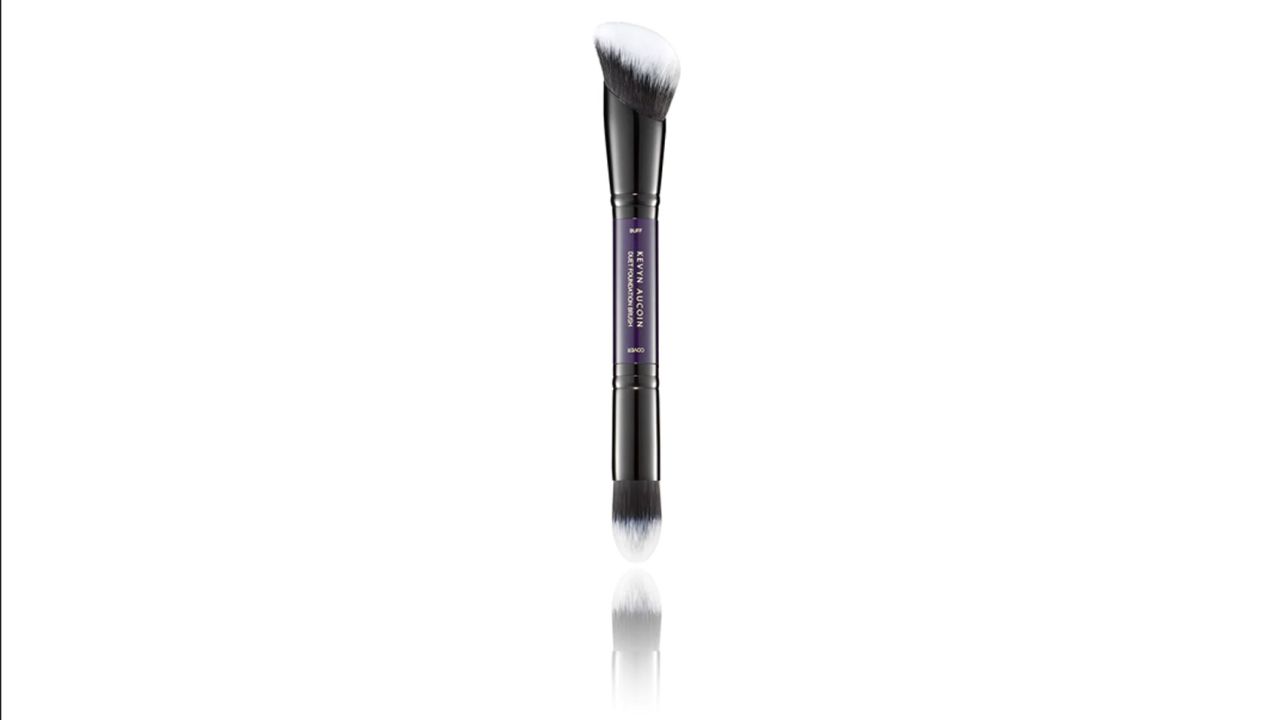
“Using the correct foundation brush is key,” Barry says. “My favorite brushes for this technique are from Kevyn Aucoin.”?
Wren recommends this brush and says, “Blending is key. I recommend using a damp sponge or brush to create this look in lieu of fingers.”??
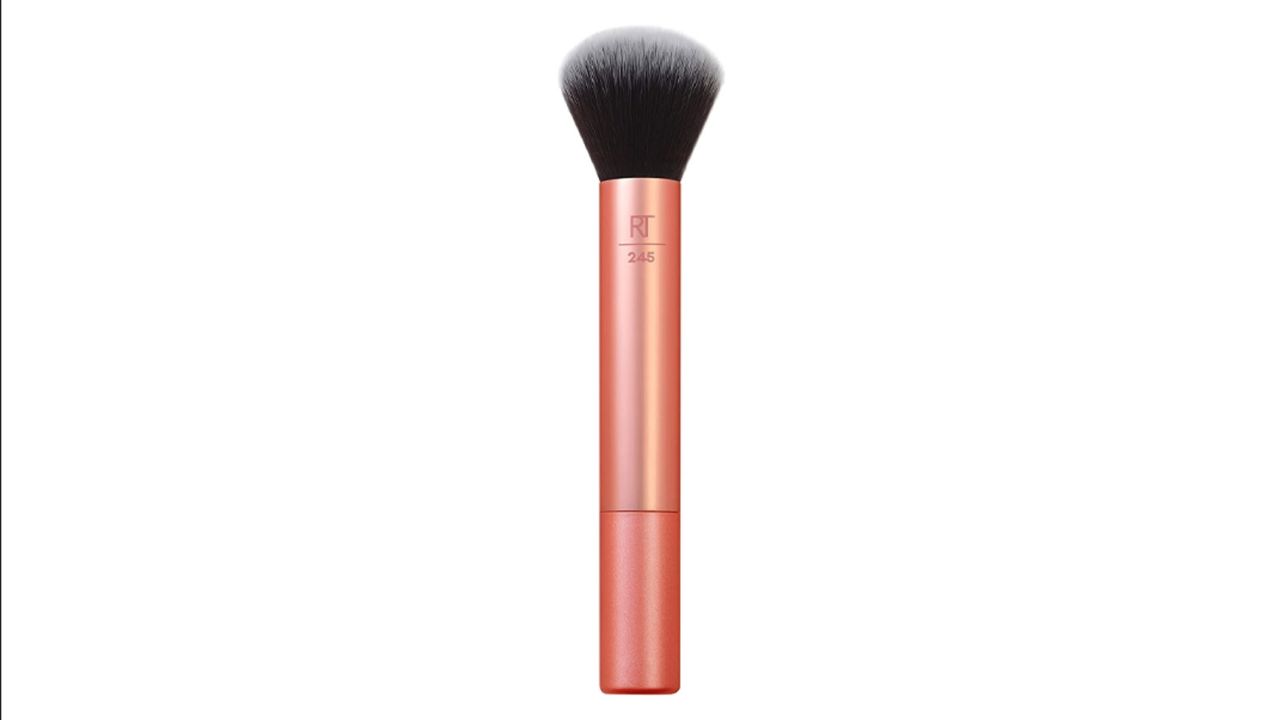
Vincent recommends applying your foundation with a large, fluffy brush like this budget-friendly option from Real Techniques.
Step 4: Blush and finishing touches
“I think cream blush is a must to finish off this style of makeup,” Barry says. “It’s important to add color back into the face to enhance the flawless base.” He recommends applying a cream blush to the apples off your cheeks, along with some cream highlighter on the high points of your cheeks. You can also spot conceal if there are any areas you want to add a bit more coverage too.
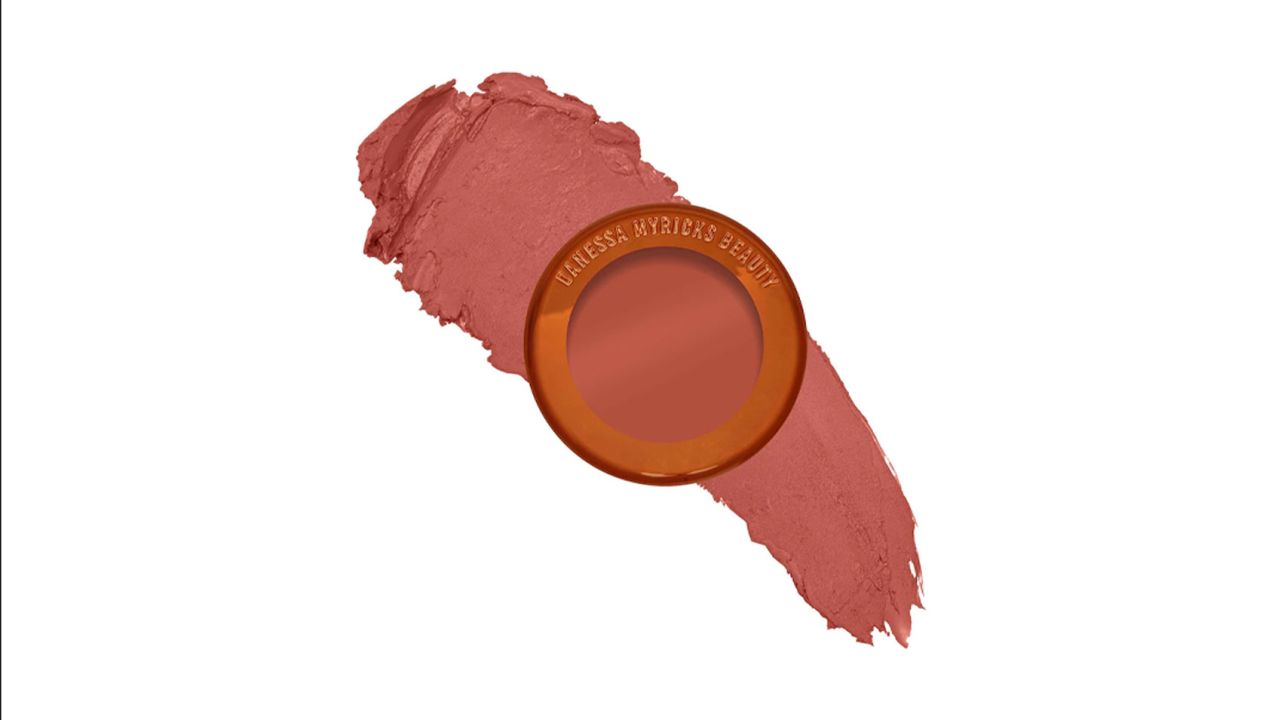
This super-versatile cream blush-like product is gorgeous on the skin and super easy to build up. You can opt for a subtle tint of color or a statement blush.
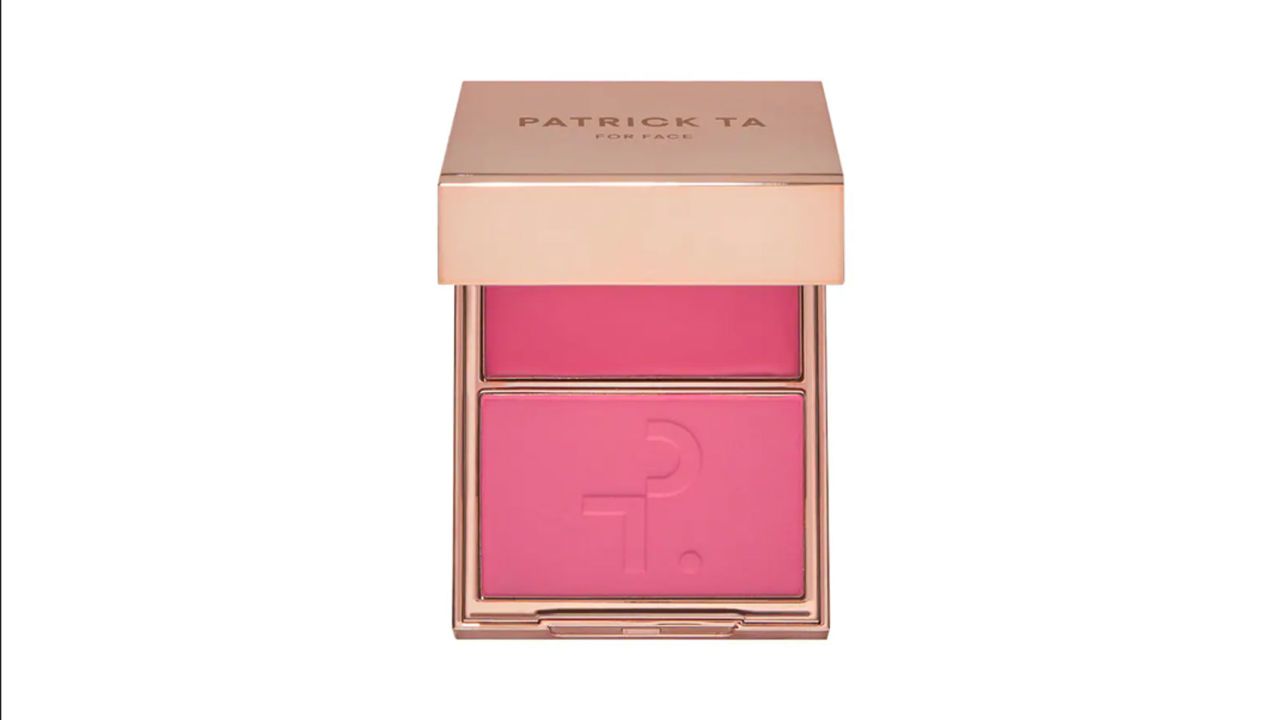
A cream and powder blush duo is useful and practical for so many reasons, but rarely do you get two such effective products in one compact.?
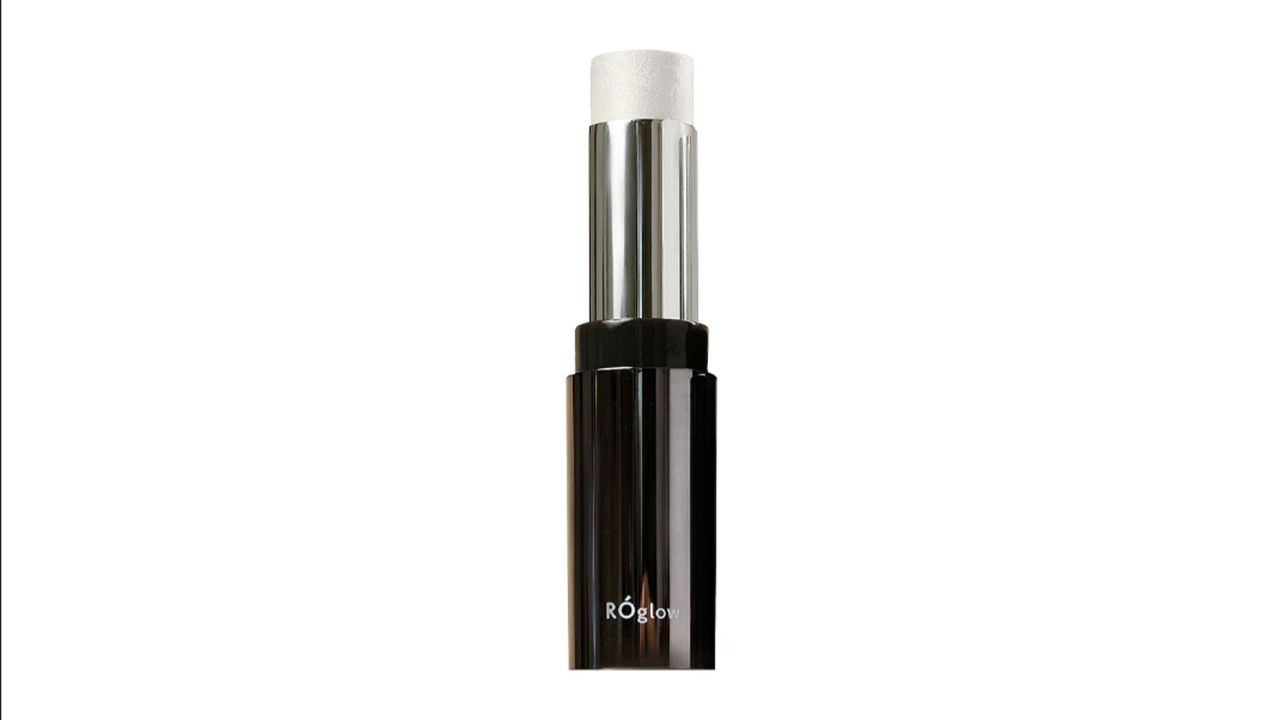
Barry recommends this “subtle cream-based highlighter if you want to enhance the glow.”
Then, set the under eyes and T-zone with a light “dusting of hyaluronic powder to maintain the dewy finish,” Barry says. Wren’s final step of choice — which we can’t recommend enough — is a setting spray. Not only will it lock your artistry and makeup in place, but it will also give that “airbrushed-looking filtered finish to your skin,” she says. “When spending this much time on creating the perfect base, we need it to last!”
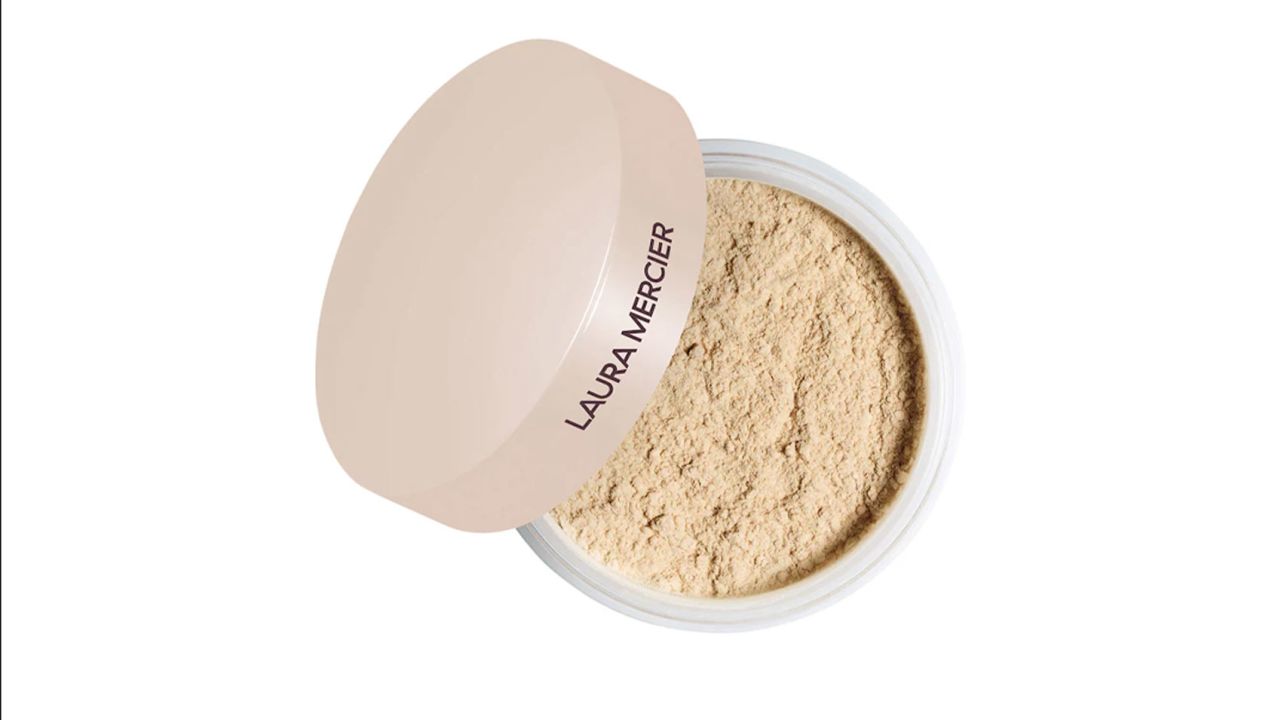
This cult-fave powder that boasts hyaluronic acid in its formulation is also a staple in my personal makeup bag. It’s blurring, comfortable, lightweight and completely translucent.
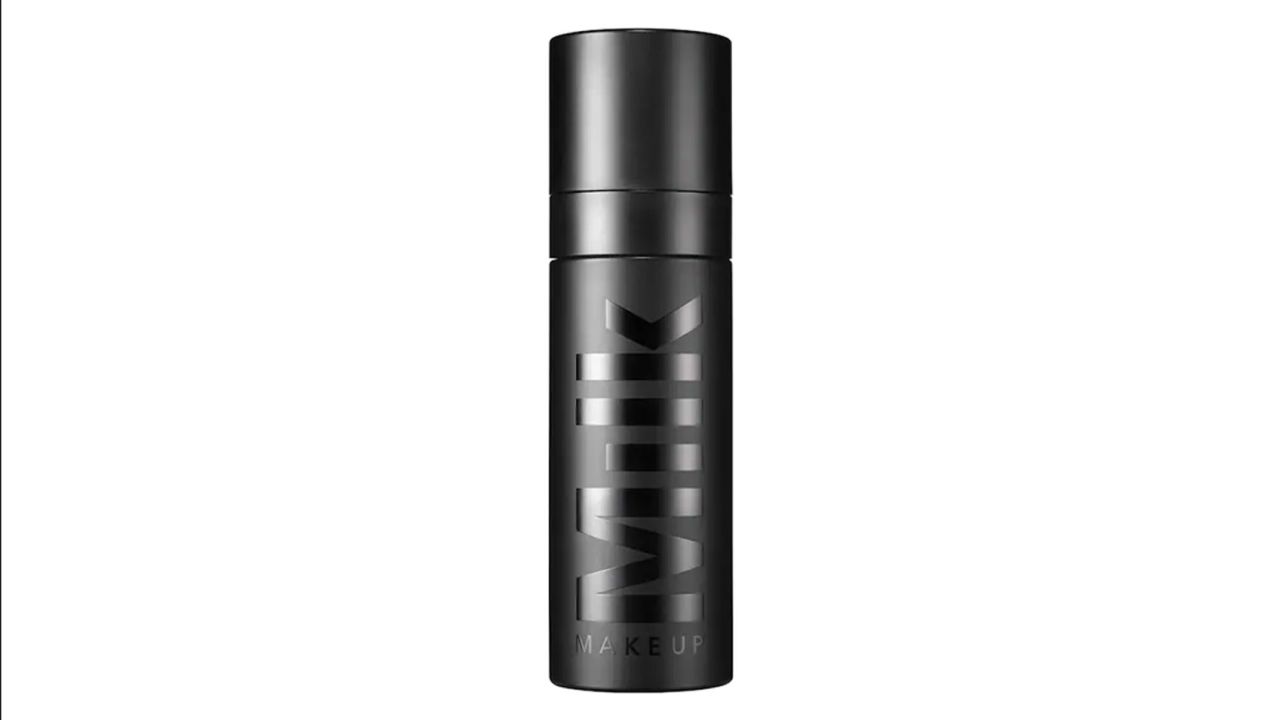
“For me, a must is setting spray on top of the final look,” Wren says. She opts for this mattifying and blurring option.?
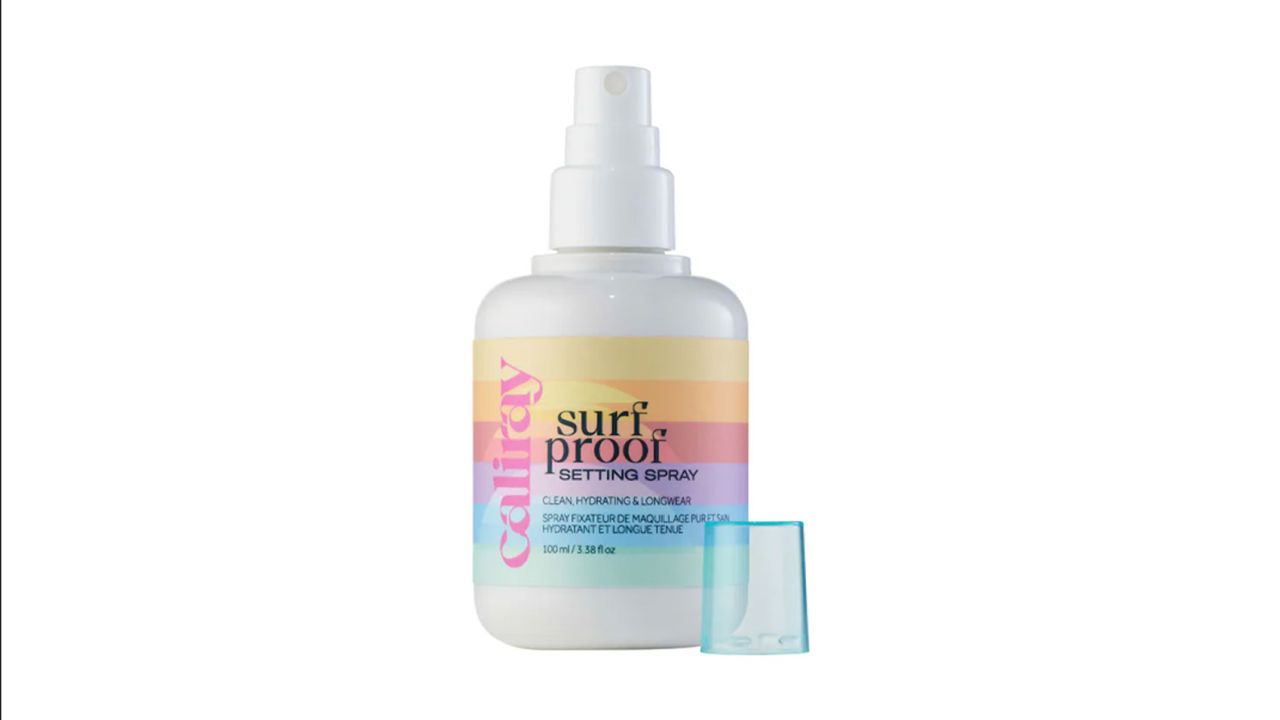
There are tons of mattifying, longwear setting sprays, but this option completely sets your face in place without sacrificing on the gorgeous glow and natural skin look that you benefit from when opting for cream over powder products.?