
There’s nothing quite like that salon-fresh manicure feeling — baby-soft hands and your digits all done up to perfection — but if you’re looking to save some money, an at-home manicure is definitely the way to go. After all, with just a few key tools and a steady hand, you can achieve nails on par with what you’d get at a salon. (But seriously, though.)
To find out exactly what goes into scoring a salon-worthy manicure at home, we tapped two pros — manicurist Gina Edwards and board-certified dermatologist and nail expert Dr. Dana Stern — for a step-by-step breakdown. And guess what? It’s actually pretty simple and easy to execute so long as you have the right products on hand, plus some patience.
Keep reading for a step-by-step guide to getting a gorgeous at-home manicure, including must-know tips on nail care and product recommendations that will have you feeling like a pro in no time.

Take off any polish
Yes, this first step is just as straightforward as it sounds. “If you have polish on, remove any remaining polish prior to your manicure,” Stern says.

Made sans acetone, this nail polish remover is ultra gentle on your digits thanks to a combination of grapefruit peel oil and rosemary leaf extract. “Our award-winning [nail polish remover] will remove the darkest of colors and leave nails healthy and hydrated," Stern says.
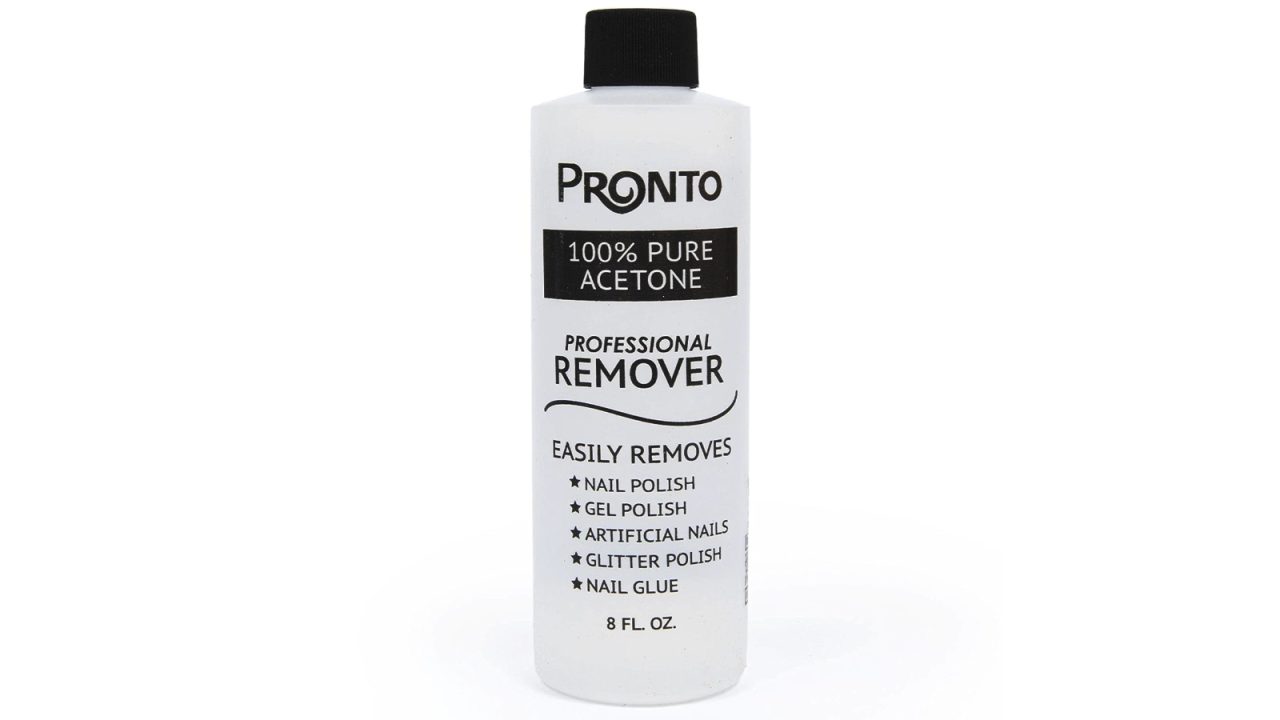
An acetone remover will tackle stubborn polish, like glitter or gel, as well as nail glue, acrylics and other artificial nails. This top-rated formula is pure acetone, like what they use at the salon.
Tend to your cuticles
It’s important to give your cuticles some TLC to ensure your nails look clean and polished. “Gently push the cuticle back after a shower in prep for an at-home manicure,” Stern says. “This can be done with a washcloth after showering or bathing.” What you don’t want to do, she adds, is cut a healthy cuticle, as this could potentially damage it. Edwards agrees. “I don’t recommend using cuticle clippers unless you are trained or feel really comfortable,” she says. “A light buff around the cuticles can take off the dead skin.”
Alternatively, you can use a cuticle remover serum or cream to help soften any dead skin, in turn making it easier to remove. The key is to be gentle and not rush it.

This highly rated cuticle pusher makes achieving healthy-looking nails a breeze. Made from medical-grade stainless steel, it features a V-shaped design to help thoroughly remove dead skin without causing any damage or irritation.?

“I love this cuticle remover because it gently softens and helps remove unwanted skin,” Edwards says. “It makes it easy to push back your cuticles.” Enriched with moisturizing ingredients like lanolin and dimethicone, it leaves your nails and cuticles healthy and hydrated.?

“Cuticle oil is essential, and this one from Hermès provides great hydration for the cuticle with white mulberry extract and vitamin E oil,” Edwards says. It aids in nourishing and protecting your nails from external aggressors — plus, despite being pricy, a little goes a long way. Just use a drop for each nail and you’re good to go.

Another excellent option, Butter London’s cuticle exfoliator melts away dry, overgrown cuticles in mere minutes. Irish moss helps soften cuticles for easy removal, while potassium hydroxide gently exfoliates.

Apply lotion to your hands
A step that should never be skipped is moisturizing your hands and nails. It not only feels incredible but also leaves your skin looking great. “Apply the lotion of your choice to both your hands and cuticles, then cleanse the nail plate so it’s free of oil,” Edwards says.

As its name suggests, this bestselling hand cream from L’Occitane features soothing almond oil — along with almond milk — to deeply hydrate and help repair dry skin. It also happens to smell divine, which is an added bonus when doing an at-home manicure.?

This antioxidant-packed hand cream contains a hero blend of grapeseed oil, shea butter and vitamin E, along with other MVP hydrators like avocado oil and dimethicone. The weightless formula instantly relieves dryness and reveals noticeably softer, smoother, brighter skin.?

Soothe and soften rough, dry skin with this decadent shea butter-infused hand cream from Clarins. The rich, silky formula leaves hands impossibly soft and hydrated for hours, and it never feels greasy or too heavy.
File your nails
Next up, if your nails are long enough, use nail clippers to give them a trim and then a nail file and/or buffer to achieve your desired shape, whether it be oval, almond or a classic square. If your nails are super short, simply use a buffing tool along the edges to ensure they all look even, smooth and polished.

Experts say that straight-edge nail clippers are best for a crisp, clean cut. The clippers are to remove length, and then you can shape your nails as desired with a nail file or buffer.

Another excellent at-home manicure must-have, this glass file from Tweezerman shapes and smooths nails to salon-level perfection. It’s also super simple to clean and won’t dull because it’s made of glass.

This staple buffing tool effortlessly shapes nails and works great no matter what length you’re working with.?
Apply a base coat
Now it’s finally time to paint your nails. You can opt for either regular polish or gel. If gel is what you prefer, try an at-home nail gel kit, as there are so many highly rated, easy-to-use ones to choose from. Either way, you’ll want to start with a base coat.
“Use a base coat always,” Edwards says. Base coats make it so that your polish adheres firmly to your nails, and also helps prevent peeling and chipping.

This drugstore formula is a favorite among nail techs everywhere because it’s weightless, it's fast-drying and it does an A1 job at resisting chipping and peeling. For under $10, you can’t go wrong.

Another drugstore gem, this base coat from OPI helps extend the life of your manicure while protecting your natural nails from yellowing or staining. It leaves nails shiny, smooth and ready for whatever polish you put on top.?

Paint your nails
Once you start painting, Edwards recommends working slowly and starting with light, thin coats. Additionally, allowing each layer to dry a little before you apply another one will help the polish last longer. “I like Essie, OPI and Chanel,” says Stern of her favorite polish brands. “All of these brands have similar formulations from a health perspective and manufacture quality nail products, though ultimately my choice will depend on color.”
Pro tip: Keep a precision Q-tip dipped in nail polish remover nearby to quickly clean the edges of your nails should some polish bleed onto them.

As far as affordable polishes go, Essie is a top-tier option. Its formulas are vegan and pigmented, and the wide brush delivers a beautiful streak-free finish. Plus, the brand has endless stunning colors to choose from.?

On the luxury end, Chanel’s polishes reign supreme. With a vast array of long-lasting hues to choose from, and nail care ingredients to help keep natural nails strong and healthy, it’s easy to see why its formula is a favorite among nail artists.
Add nail art (if you want)
This step is completely optional, but if you want to level up your manicure and really impress people, give an easy nail art look a shot. “A pro tip for creating simple nail art at home is using a thin liner brush,” Edwards says. “You can always tailor the brush to thin out the hairs, which makes it easy to do straight lines, but if a brush is too thick it can lead to flooding with too much polish preventing clean crisp lines.”
Some easy looks for nail art neophytes include polka dots, stripes and the ever-iconic French manicure.

This simple duo comes with a fine line brush and dotting tool to help make all your nail art needs a breeze.

If you're short on time, these nail tattoos are a quick and easy way to jazz up your manicure. Unlike nail stickers, which can be finicky and peel off, these are applied like temporary tattoos and then sealed with a top coat.
Apply a top coat
No manicure is complete without a top coat, so once you’ve allowed your color polish to properly dry, apply this final layer to lock in your work and further prevent chipping and peeling.

A must-have among artists and editors alike, Seche Vite’s top coat dries lightning fast and keeps your manicure looking fresh and chip-free for days on end. It’s a staple in Edwards’ kit, and a nail product Underscored beauty and fashion editor Sophie Shaw can’t go without when doing at-home pedicures and manicures.?

Just one swipe of this fan-favorite top coat leaves nails next-level shiny, smooth and protected. It also provides up to seven days of wear, allowing you to get the absolute most out of your at-home manicure.?


